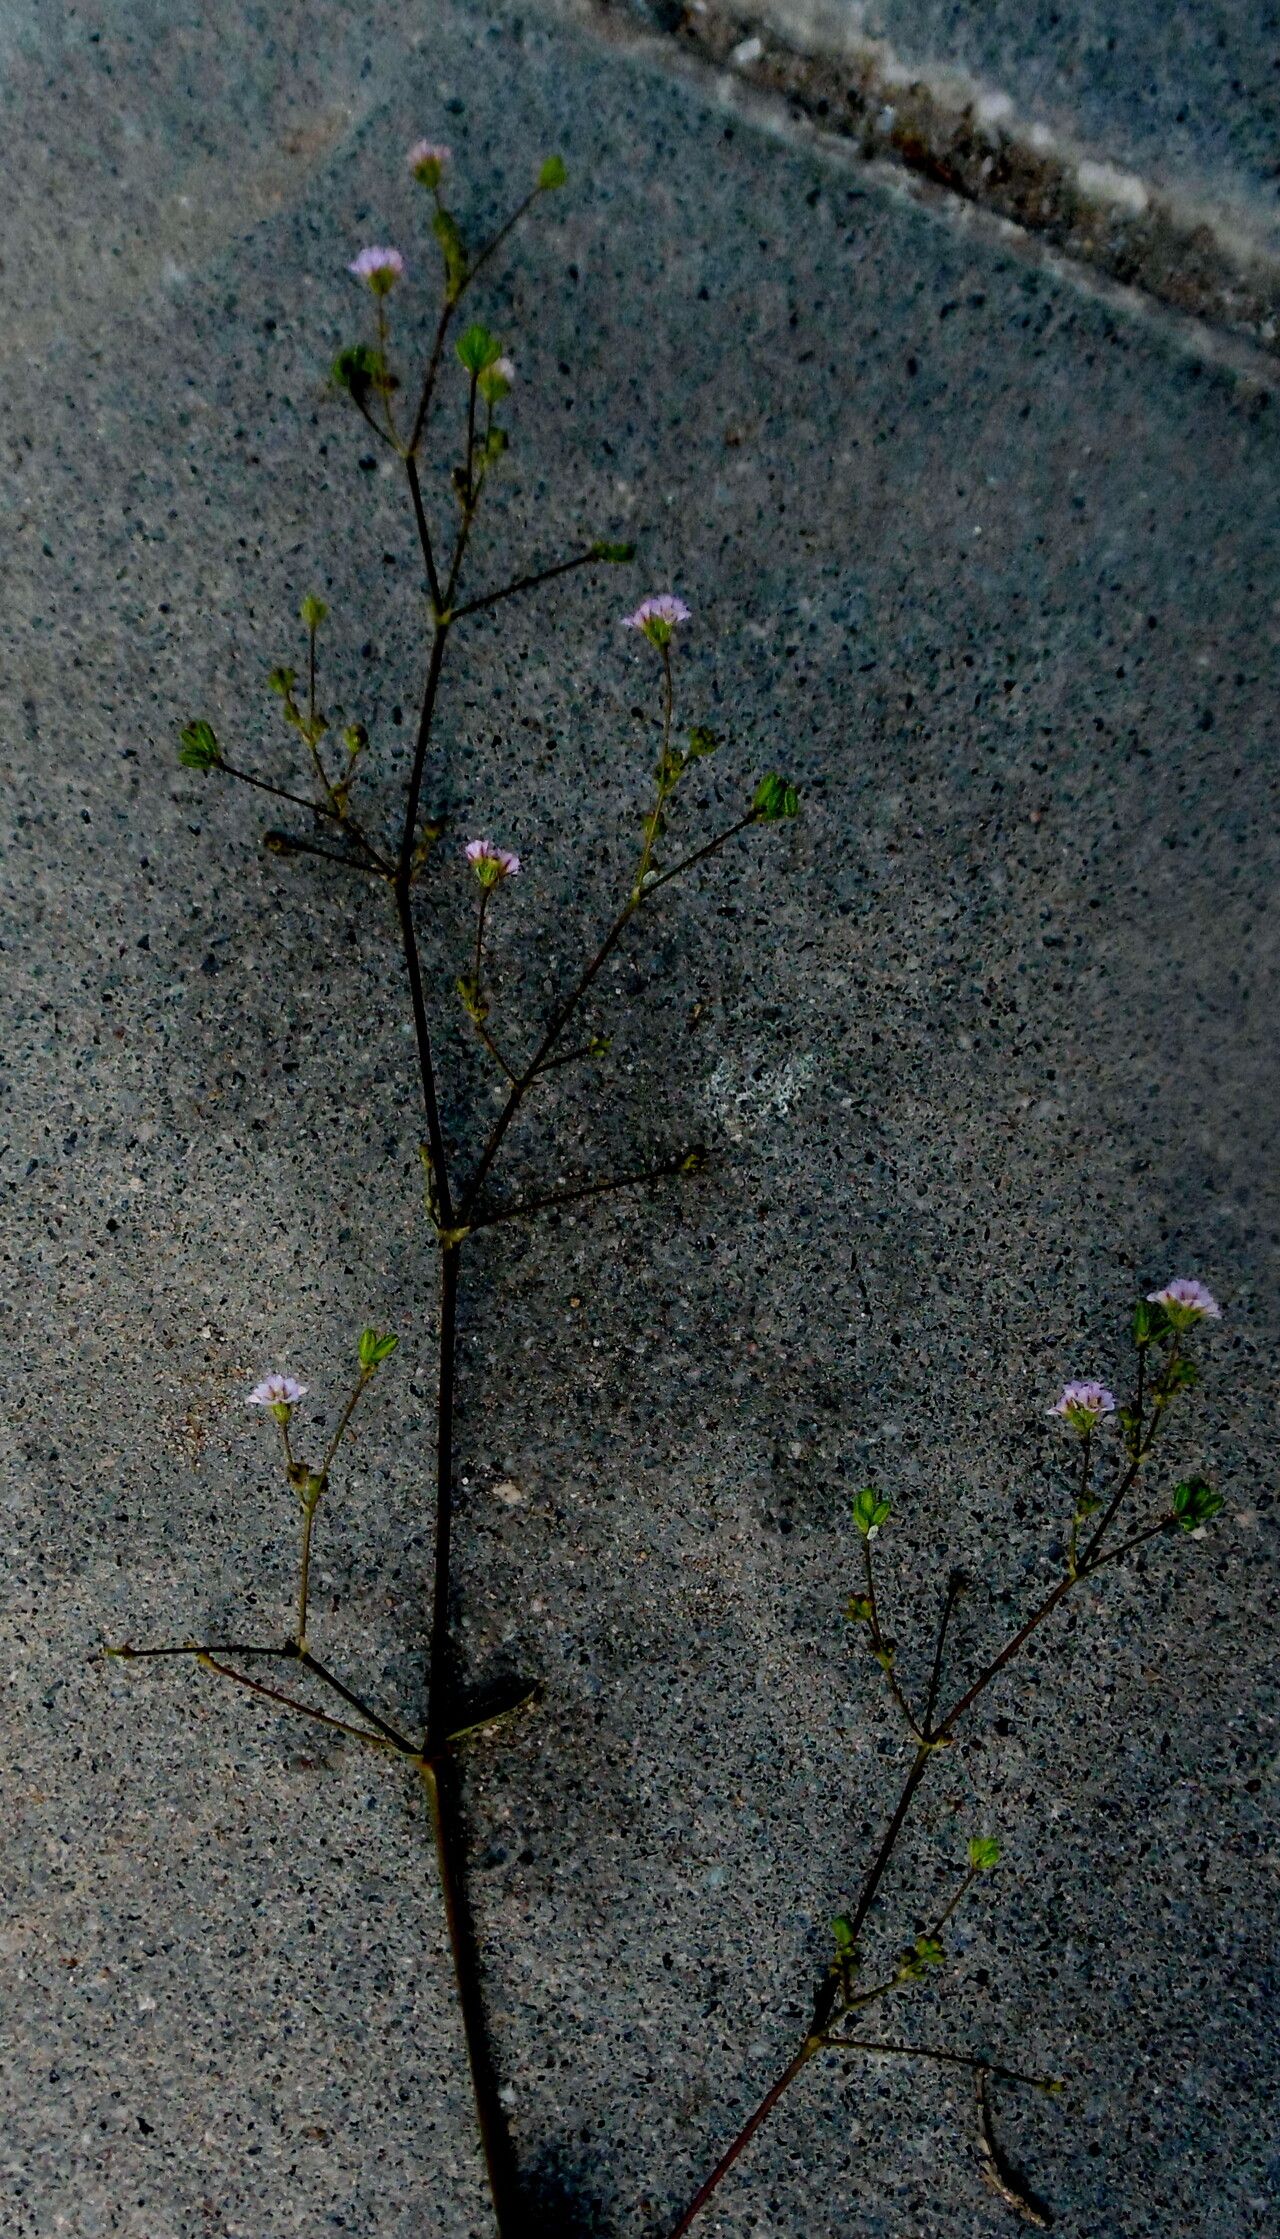
Oh, hello there! Grab a mug, let’s talk about a truly delightful plant: Boerhavia erecta. If you haven’t met it yet, imagine a plant with delicate, often strikingly colored flowers that seem to dance on slender stems. It’s a real charmer in the garden, attracting pollinators and adding a splash of effortless beauty. Propagating it is one of those incredibly satisfying gardening experiences, and I’m thrilled to share how you can do it yourself. For beginners, Boerhavia erecta is quite forgiving, making it a wonderful plant to get started with your propagation adventures.
The Best Time to Start
When it comes to getting new Boerhavia plants going, late spring through early summer is your golden window. This is when the plant is in its most vigorous growth phase. You’ll find it’s much easier to get cuttings to root and divisions to establish when the weather is warm and there’s plenty of sunlight. Think about collecting material when the plant is actively producing new shoots and hasn’t yet set a lot of seed.
Supplies You’ll Need
Here’s what I like to have on hand when I’m propagating Boerhavia:
- Sharp pruning shears or a clean knife: For making clean cuts.
- Rooting hormone (optional but recommended): A powder or gel can significantly boost success.
- Well-draining potting mix: A blend of peat moss, perlite, and a bit of compost works beautifully.
- Small pots or seed trays: With drainage holes, of course!
- Watering can or spray bottle: For gentle watering.
- Plastic bags or a propagation dome: To create a humid environment for cuttings.
- Labels: To keep track of what you’ve planted!
Propagation Methods
Boerhavia erecta can be propagated in a couple of ways, and I find both to be quite effective.
Stem Cuttings
This is my go-to method for Boerhavia. It’s straightforward and yields great results.
- Take your cuttings: In late spring or early summer, select healthy, non-flowering stems. Using your sharp shears or knife, cut stems that are about 4-6 inches long, just below a leaf node (where a leaf attaches to the stem).
- Prepare the cuttings: Gently remove the lower leaves from the stem, leaving just a couple of leaves at the very top. This helps the cutting conserve energy. If your leaves are quite large, you can even snip them in half.
- Apply rooting hormone: Dip the cut end of the stem into your rooting hormone powder or gel. Tap off any excess.
- Plant the cuttings: Fill your small pots or seed trays with your well-draining potting mix. Make a small hole in the center of each pot with a pencil or your finger.
- Insert and water: Carefully insert the prepared cutting into the hole, making sure the leaf nodes are buried. Gently firm the soil around the base of the cutting. Water thoroughly but gently, allowing excess to drain.
- Create humidity: Place the potted cuttings under a plastic bag or inside a propagation dome. This creates a mini-greenhouse effect, keeping the humidity high, which is crucial for cuttings to root. Place them in a bright spot but out of direct, scorching sunlight.
Division
If you have an established clump of Boerhavia, dividing it is another excellent way to multiply your plants.
- Prepare to dig: Gently dig around the base of your established plant, trying to disturb the roots as little as possible.
- Lift and divide: Carefully lift the entire plant from the soil. You’ll notice the roots may be naturally divided or can be gently pulled apart. You can use your hands or a clean trowel to separate the plant into smaller sections, ensuring each section has a healthy root system and a few shoots.
- Replant immediately: Pot up the divisions into their own containers filled with your well-draining potting mix, or replant them directly into your garden if the season is right. Water them in well.
The “Secret Sauce” (Pro Tips)
Now, for a couple of little tricks that I’ve learned over the years that really make a difference with Boerhavia:
- Don’t let leaves touch the water. If you’re attempting water propagation (which I’m less keen on for Boerhavia as soil is generally better), make absolutely sure that no leaves are submerged. Rot sets in so quickly with any plant if its foliage is sitting in stagnant water. So, strip all lower leaves.
- Bottom heat is your friend. For stem cuttings, placing your pots on a heated propagator mat can dramatically speed up the rooting process. It encourages root development from the bottom up, giving those little hormones something good to work with.
Aftercare & Troubleshooting
Once your cuttings have rooted (you’ll know because you’ll see new growth and they’ll resist a gentle tug), it’s time for a bit of special attention.
- Acclimate them slowly: Gradually remove the plastic bag or open the dome for increasing periods over a week to help them adjust to normal humidity.
- Water consistently: Keep the soil moist but not soggy. Overwatering is the most common pitfall and can lead to root rot, which you’ll see as wilting, mushy stems, or even a blackening at the base. If you see rot, unfortunately, that cutting is likely lost.
- Look for new leaves: Seeing fresh, healthy leaf development is the best sign that your propagation efforts are successful!
A Warm Wrap-up
Propagating Boerhavia erecta is such a rewarding journey. It’s about patience, observation, and a little bit of horticultural magic. Don’t be discouraged if a few don’t make it – that’s part of the learning process for all of us. Just enjoy the act of nurturing and soon you’ll have a beautiful collection of these charming plants to share or enjoy in your own garden. Happy propagating!
Resource:
https://identify.plantnet.org/k-world-flora/species/Boerhavia%20erecta%20L./data