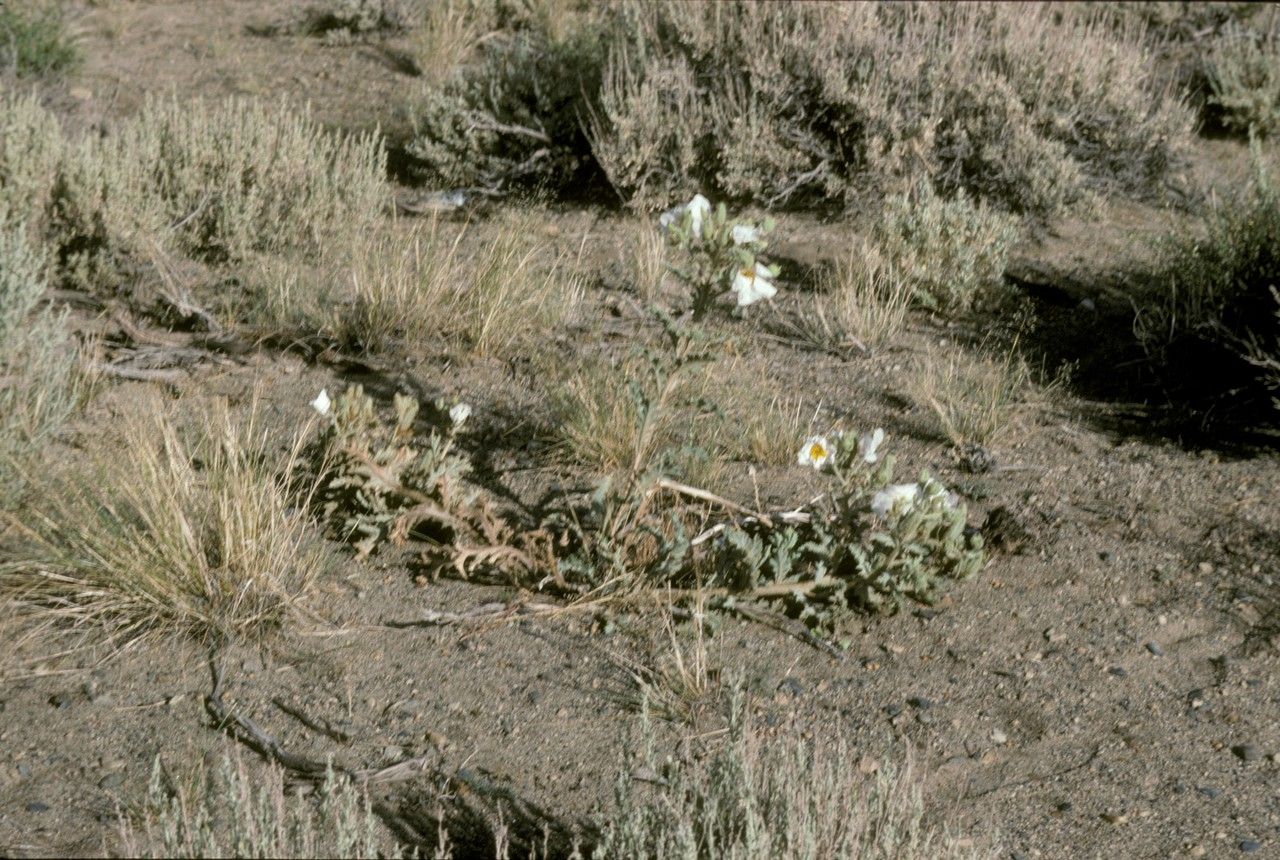
Hello fellow garden enthusiasts! It’s so good to be back here with you, sharing a cup of tea and talking about what we love – our plants! Today, we’re diving into something truly special: propagating Argemone corymbosa, often known as the prickly poppy or desert poppy.
I’ve always been drawn to the airy, delicate blooms of the prickly poppy. They look like tiny, sun-kissed ballerinas dancing in the breeze, a wonderful contrast to their spiny foliage. Growing them from scratch is a truly rewarding experience. It’s a bit like unlocking a little bit of garden magic! For beginners, I’d say it’s moderately easy. It’s not a plant that demands constant fuss, but it does appreciate a little know-how.
The Best Time to Start
Timing is everything in gardening, isn’t it? For Argemone corymbosa, I find late spring to early summer to be the sweet spot. This is when the plant is actively growing, and newly formed stems will have the best energy reserves to root. Avoid trying to propagate from older, woody stems.
Supplies You’ll Need
Before we get our hands dirty, let’s gather our tools. It’s always good to be prepared!
- Sharp Pruning Shears or a Knife: For clean cuts that heal well.
- Rooting Hormone (Optional but recommended): Helps encourage root development.
- Well-Draining Potting Mix: A cactus or succulent mix works wonderfully, or you can make your own by combining equal parts potting soil, perlite, and coarse sand.
- Small Pots or Trays: Clean ones are a must to prevent disease.
- Watering Can or Spray Bottle: For gentle watering.
- Labels: So you don’t forget what you planted!
Propagation Methods
Argemone corymbosa is quite adaptable, and I’ve had success with a couple of common methods.
Stem Cuttings
This is my go-to method for this lovely plant.
- Take Cuttings: Using your sharp shears, select healthy, non-flowering stems. Aim for pieces that are 4-6 inches long. Make a clean cut just below a leaf node (where a leaf attaches to the stem).
- Prepare the Cuttings: Gently remove any lower leaves, as these will just rot when buried. You want a clean stem for rooting.
- Apply Rooting Hormone (Optional): If you’re using rooting hormone, dip the cut end of each stem into the powder or gel. Tap off any excess.
- Plant the Cuttings: Fill your small pots with the well-draining mix. Make a small hole with a pencil or your finger and insert the cut end of the stem, ensuring at least one leaf node is buried. Firm the soil gently around the stem.
- Water and Shelter: Water the cuttings lightly. You can cover the pots loosely with a plastic bag or place them in a propagator with a lid to create a humid environment.
Division
If you already have a mature plant, division is a great way to get more plants without starting from scratch.
- Excavate the Plant: In late spring or early summer, carefully dig up your established prickly poppy. Try to disturb the roots as little as possible.
- Separate the Divisions: Gently tease apart the root ball into smaller sections. You’re looking for divisions that have both roots and some healthy stems.
- Replant: Pot up each division into its own container with fresh, well-draining soil or replant them directly into their new garden spots. Water them in well.
The “Secret Sauce” (Pro Tips)
Now, for a few little tricks I’ve picked up over the years that can really boost your success rate.
- Let Cuttings Callous: After taking stem cuttings, I like to let them sit out in a dry, shaded spot for a day or two. This allows the cut end to form a slight callus, which can help prevent rot and encourage root formation.
- Bottom Heat is Your Friend: If you can provide a little warmth from below, like using a seedling heat mat, it makes a significant difference for stem cuttings. Roots are more eager to emerge when the soil is consistently warm.
- Don’t Overwater New Cuttings: This is a big one! It’s so tempting to keep new cuttings moist, but waterlogged soil is their worst enemy. Let the top inch of soil dry out slightly between waterings. A light misting with a spray bottle is often enough to keep the humidity up.
Aftercare & Troubleshooting
Once those magical roots start to form (you might see new leaves appearing!), it’s time to adjust your care.
- Gradual Acclimation: If you’ve covered your cuttings, begin to gradually remove the plastic over a few days to acclimate them to drier air.
- Continue Gentle Watering: Keep the soil consistently moist but not soggy.
- Transplanting: When the new plants have a good root system and are showing robust growth, you can transplant them into larger pots or their final garden location.
The most common issue you’ll encounter is rot. If a cutting looks mushy, turns black, or simply wilts without drying out, it’s likely rotted. This is usually due to overwatering or poor drainage. Don’t be discouraged if a few don’t make it; it’s all part of the learning process.
A Warm Encouragement
So there you have it! Propagating Argemone corymbosa is a wonderful way to fill your garden with these ethereal blooms. Be patient with your little propagations. Sometimes they take their time, and that’s perfectly okay. The joy of watching a new plant unfurl its first leaves is a feeling that never gets old. Go ahead, get your hands in the soil, and happy propagating!
Resource:
https://identify.plantnet.org/k-world-flora/species/Argemone%20corymbosa%20Greene/data