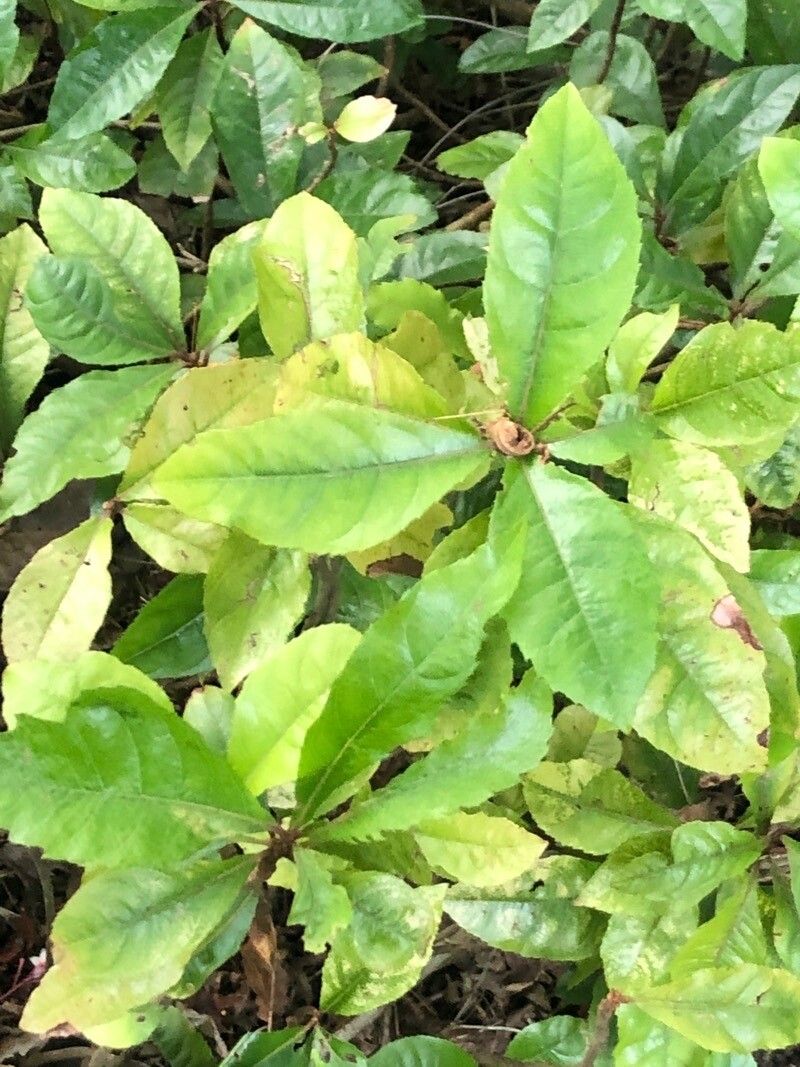
Hello, fellow plant lovers! Today, I want to talk about a plant that has truly captured my heart: Ardisia japonica, also known as Japanese Ardisia or Japanese Holly. Its glossy, deep green leaves and delightful clusters of red berries in the cooler months bring such a touch of elegance to shaded corners of the garden. And the best part? Propagating it is not as daunting as you might think! I’d say it’s a pretty rewarding project for beginners, with a little patience and the right approach.
The Best Time to Start
For the highest success rate with Ardisia japonica, I’ve found that late spring to early summer is ideal. This is when the plant is actively growing, and new shoots are readily available. They have a good amount of energy to put into rooting.
Supplies You’ll Need
Here’s a quick rundown of what you’ll want to have on hand:
- Sharp, clean pruning shears or a sharp knife: For making clean cuts.
- Rooting hormone (optional but recommended): Especially for stem cuttings, this gives them a helpful boost.
- Well-draining potting mix: A blend of potting soil, perlite, and a bit of horticultural sand works beautifully. You want the mix to be airy.
- Small pots or seed trays: With drainage holes, of course!
- Plastic bags or a propagation dome: To create a humid environment.
- Watering can with a fine rose or a spray bottle: For gentle watering.
Propagation Methods
Let’s dive into the two main ways I successfully propagate Ardisia japonica.
Stem Cuttings
This is my go-to method.
- Select healthy, new growth: Look for stems that are not too soft and floppy, but also not woody. They should be about 4-6 inches long.
- Make a clean cut: Using your sharp shears, make a cut just below a leaf node. A node is that little bump where a leaf attaches to the stem.
- Prepare the cutting: Remove the lower leaves, leaving just two or three at the top. This prevents them from rotting in the soil. If the leaves are very large, you can even cut them in half horizontally to reduce water loss.
- Dip in rooting hormone (optional): If you’re using it, dip the cut end of the stem into the rooting hormone powder, tapping off any excess.
- Plant your cuttings: Insert the prepared cuttings into your well-draining potting mix. Make sure the leaf nodes are buried as this is where roots will emerge.
- Water gently: Water the potting mix thoroughly but gently, allowing excess water to drain away.
- Create humidity: Cover the pots with a plastic bag, ensuring the leaves don’t touch the sides, or place them under a propagation dome. This creates a humid microclimate the cuttings love.
- Find a bright spot: Place the pots in a location with bright, indirect light. Avoid direct sun, which can scorch the delicate cuttings.
- Be patient: Check the moisture levels regularly – the soil should always be slightly moist but not soggy. Roots can take anywhere from 4-8 weeks to develop. You’ll know they’re ready when you see new growth.
Division
If you have a mature Ardisia japonica plant that has become a bit crowded, division is a fantastic and quick way to get new plants.
- Gently unpot the plant: Carefully remove the entire root ball from its pot.
- Inspect the root system: Look for natural divisions where the plant is already separating into sections, each with its own roots and shoots.
- Separate the divisions: Using a clean, sharp knife or your hands, gently pull or cut the root ball apart into smaller clumps. Try to ensure each division has sufficient roots and at least one or two healthy shoots.
- Pot up the divisions: Plant each division in its own pot filled with your well-draining potting mix.
- Water and place: Water thoroughly and place in a bright location with indirect light.
The “Secret Sauce” (Pro Tips)
Here are a couple of little tricks I’ve learned over the years:
- Don’t let the leaves touch the water: If you’re doing water propagation (which I find a bit trickier for Ardisia as they can be prone to rot), make absolutely sure that no leaves are submerged. Only the stem should be in the water. A small support like a piece of cardboard with holes can help.
- Bottom heat works wonders: If you have the setup, placing your pots on a heat mat designed for plants can significantly speed up root development. It mimics the warmth of spring soil and gives those cuttings a real boost.
Aftercare & Troubleshooting
Once you see signs of new growth on your cuttings, or your divisions are happily settled, it’s time for continued care. Gradually acclimate your new plants to normal room conditions by opening the plastic bag or propagation dome a little more each day over a week. Continue to keep the soil consistently moist.
The most common issue you’ll encounter is rot. This usually happens if the soil is too wet or the humidity is too high for too long without adequate air circulation. If you see a cutting turning yellow and mushy, unfortunately, it’s likely beyond saving. Discard it to prevent the rot from spreading. Good drainage is truly your best defense.
Keep Growing!
Propagating Ardisia japonica is a wonderful way to expand your collection or share these beautiful plants with friends. Remember, gardening is a journey, and sometimes things don’t work out on the first try. That’s perfectly okay! Be patient, observe your plants, and enjoy the process of nurturing new life. Happy growing!
Resource:
https://identify.plantnet.org/k-world-flora/species/Ardisia%20japonica%20(Thunb.)%20Blume/data