Hello, fellow garden enthusiasts!
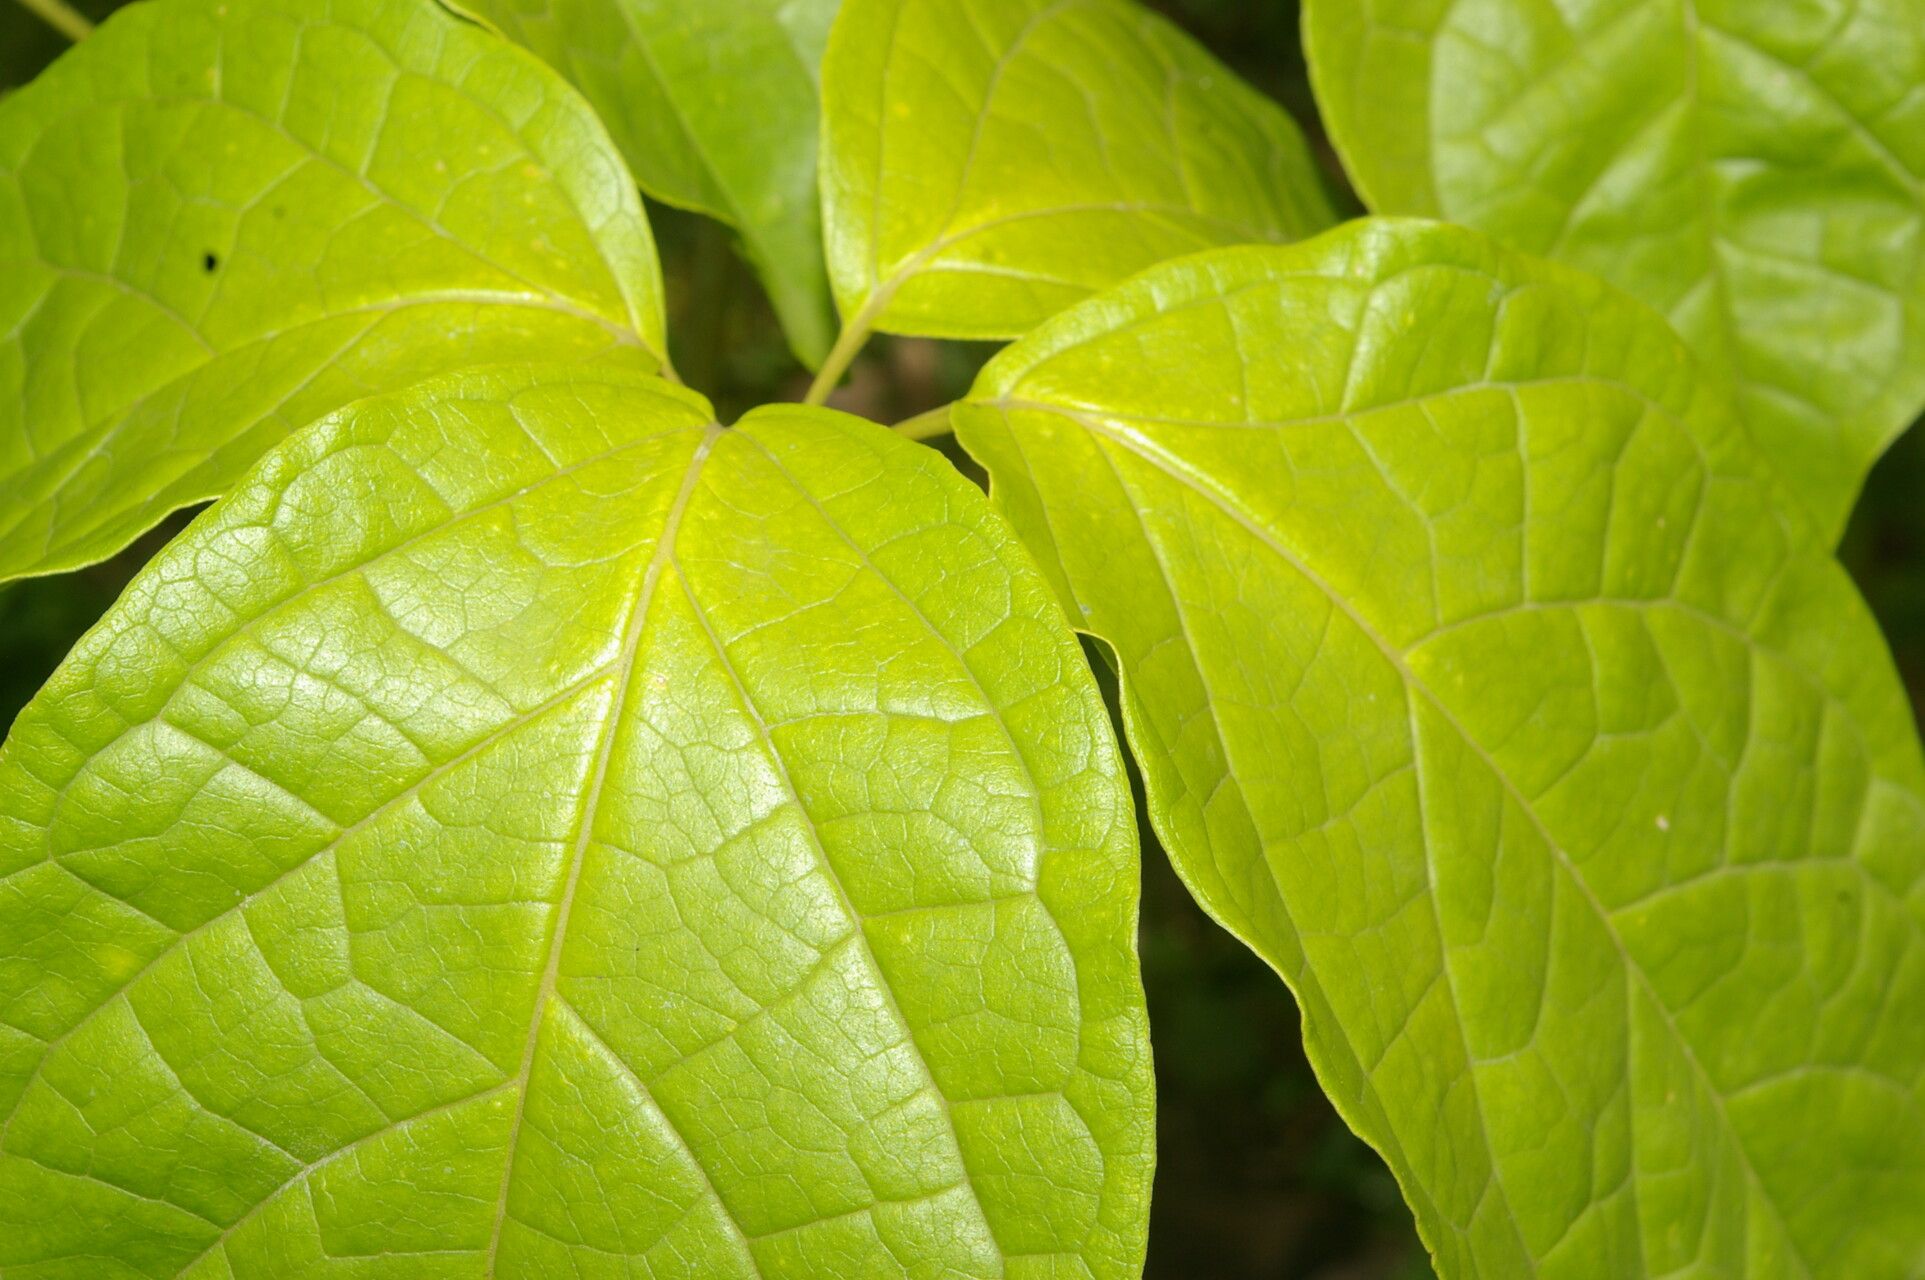
There’s something truly magical about coaxing a new life from a piece of an existing plant. It’s like holding a little bit of nature’s creative power in your hands. Today, I want to share my love for Anemopaegma orbiculatum, also known as the cup-and-saucer vine or simply Anemopaegma. Its vibrant, trumpet-shaped flowers, often a cheerful yellow or orange, bring such a burst of color and life to any garden, scrambling over trellises or draping gracefully from hanging baskets. Seeing those blooms unfurl knowing you had a hand in creating that plant? Pure joy.
Now, about its propagation. Is Anemopaegma orbiculatum a walk in the park for a beginner? I’d say it’s on the moderate side. It’s not as forgiving as some of the fussier species, but with a little attention and the right approach, you’ll be well on your way to success.
The Best Time to Start
For the highest success rate, I always recommend taking cuttings in late spring or early summer, when the plant is actively growing. This is when the stems are still somewhat pliable but have a bit of maturity to them, and they have plenty of energy to put into developing roots. Avoid taking cuttings from woody, old stems or from fresh, soft new growth.
Supplies You’ll Need
Here’s what I keep on hand when I’m ready to propagate:
- Sharp Pruning Shears or a Clean Knife: Essential for making clean cuts.
- Rooting Hormone: A powder or gel can give your cuttings a significant boost.
- Potting Mix: A light, well-draining mix is crucial. I usually use a blend of perlite, peat moss, and a bit of regular potting soil. Some folks like to add a bit of coarse sand too.
- Small Pots or Trays: Clean pots are a must to prevent disease.
- Plastic Bags or a Propagation Dome: To create a humid environment.
- Water: For misting and, if you choose, water propagation.
- Labels: To keep track of what’s what!
Propagation Methods
I’ve found the most reliable method for Anemopaegma orbiculatum is through stem cuttings. Here’s how I do it:
- Select Your Cuttings: Look for healthy, semi-hardwood stems. You want stems that are no longer bright green and floppy but haven’t turned completely woody. Aim for cuttings that are about 4-6 inches long.
- Make the Cut: Using your clean pruners or knife, take a cutting just below a leaf node (the point where a leaf attaches to the stem). This is a prime spot for root development.
- Prepare the Cutting: Gently remove the lower leaves from the cutting, leaving just two or three leaves at the top. If the remaining leaves are very large, you can cut them in half horizontally to reduce water loss through transpiration.
- Apply Rooting Hormone: Dip the cut end of the stem into your rooting hormone, tapping off any excess.
- Plant Your Cuttings: Fill your clean pots with the well-draining potting mix. Make a small hole in the center with your finger or a pencil. Insert the cut end of the stem into the hole, making sure the node where you removed the leaves is below the soil line. Gently firm the soil around the cutting.
- Water and Cover: Water the soil lightly, just enough to moisten it. Then, cover the pot with a plastic bag or place it under a propagation dome. This creates a humid microclimate, which is vital for preventing the cuttings from drying out before they can root. You can prop up the bag with a stick so it doesn’t touch the leaves.
Alternatively, you can try water propagation for a visual treat:
- Follow steps 1-3 above for selecting and preparing your cuttings.
- Place the cuttings in a jar or glass of clean water, ensuring the leaf nodes that you removed leaves from are submerged.
- Place the jar in a bright spot out of direct sunlight.
- Change the water every few days to keep it fresh and prevent rot.
- Once you see roots about an inch long, you can carefully transplant them into your potting mix using the method described above.
The “Secret Sauce” (Pro Tips)
Here are a few things I’ve learned over the years that make a difference:
- Bottom Heat is Your Friend: If you have a propagation mat, using it can dramatically speed up rooting. A gentle warmth from below encourages root development. Just make sure it’s not too hot – lukewarm is perfect.
- Don’t Let Leaves Touch the Water: If you’re doing water propagation, and especially if you’re covering your soil cuttings with a bag, resist the urge to let those remaining leaves dip into the water. This is a surefire way to invite fungal issues and rot. Keep them airy and detached from excess moisture.
- Be Patient with Your Pots: When your cuttings are planted in soil, don’t be tempted to pull them out every few days to “check for roots.” This disrupts the delicate root formation. Give them a good few weeks – at least 4-6 weeks – before you gently tug them to see if they’ve established.
Aftercare & Troubleshooting
Once you see new growth on your cuttings, those roots are likely making good progress! You can now gradually acclimate them to normal conditions. Start by opening the plastic bag or dome for a few hours each day, slowly increasing the time over a week or so. Once they seem sturdy, you can remove the cover entirely. Continue to keep the soil evenly moist but not waterlogged.
The most common issue you’ll encounter is rot. If a cutting turns black and mushy, it’s a sign that conditions are too wet or there’s a fungal infection. Unfortunately, these cuttings are usually lost. The best defense is a good, well-draining soil mix and careful watering. Another sign of a failed cutting is if it wilts significantly and never recovers, even after you’ve ensured it has consistent moisture and humidity.
A Encouraging Closing
Propagating plants is a journey, and like any good journey, it requires a bit of patience and a lot of observation. Don’t get discouraged if not every cutting takes. Each attempt is a learning experience, and the satisfaction of seeing that tiny new plant stretch towards the sun is truly worth the effort. So go ahead, grab your pruners, and get your hands dirty. Happy propagating!
Resource:
https://identify.plantnet.org/k-world-flora/species/Anemopaegma%20orbiculatum%20(Jacq.)%20DC./data