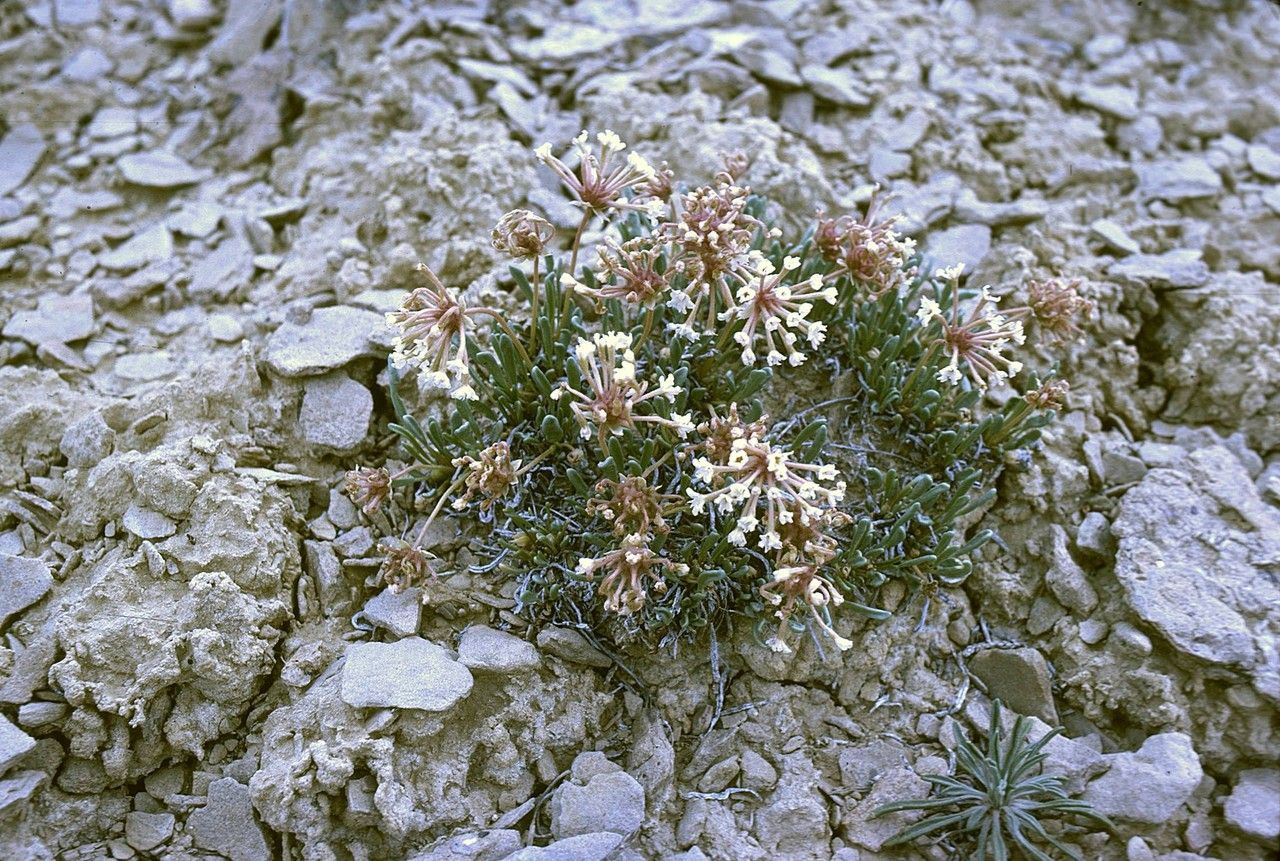
Hello fellow plant lovers! Today, we’re going to talk about a little gem that steals my heart every spring: Abronia bigelovii, often called Bigelow’s Sand Verbena. If you’ve ever seen its delicate, star-shaped flowers shimmering in the sun, you know why it’s so special. They have this airy, almost ethereal quality that I just adore. And the best part? You can bring more of that magic into your garden by propagating your own!
Now, for those new to the propagation game, I’ll be honest: Abronia bigelovii can be a touch finicky. It’s not quite a “stick it in the ground and it’ll grow” kind of plant. But don’t let that deter you! With a little patience and the right know-how, you’ll be rewarded with a whole new patch of these beauties. It’s a journey, and like all good garden journeys, the destination is well worth the effort.
The Best Time to Start
My favorite time to get busy with Abronia bigelovii propagation is late spring to early summer. This is when the plant is actively growing and has plenty of energy to put into developing new roots. You’re looking for stems that have emerged and developed a good bit of their growth spurt for the season. Avoid trying to propagate from old, woody stems or during extreme heat or cold.
Supplies You’ll Need
To give your Abronia bigelovii the best start, gather these essentials:
- Sharp, clean pruning shears or a sharp knife: Cleanliness is key to prevent disease!
- A well-draining potting mix: I like a blend of 50% perlite or pumice and 50% excellent quality potting soil. This mimics their native sandy environment.
- Rooting hormone (optional but recommended): Especially helpful for sand verbena. Look for one formulated for cuttings.
- Small pots or trays: Clean pots are crucial.
- A mister or spray bottle: For LIGHTLY misting cuttings.
- Clear plastic bags or a propagation dome: To create a humid environment.
- Labels and a permanent marker: To keep track of your efforts!
Propagation Methods
There are a couple of ways we can encourage Abronia bigelovii to create new life. I find stem cuttings to be the most reliable.
Stem Cuttings:
- Take your cuttings: Using your clean shears, snip off healthy, non-flowering stems that are about 3-4 inches long. Make the cut just below a leaf node (where the leaves attach to the stem). Remove the lower leaves, leaving just a few at the top.
- Dip in rooting hormone: If you’re using it, gently dip the cut end of the stem into your rooting hormone powder or gel. Tap off any excess.
- Plant the cuttings: Fill your small pots or trays with your well-draining potting mix. Make a small hole with a pencil or your finger and gently insert the cutting, ensuring the bottom leaf nodes are buried. Firm the soil gently around the stem.
- Water lightly: Give the soil a very light watering with your mister. You want the soil to be moist, not waterlogged.
- Create humidity: Cover the pots with a clear plastic bag or place them under a propagation dome. This will trap humidity, which is vital for root development. Ensure the leaves don’t touch the plastic.
- Provide warmth and light: Place your pots in a bright spot that receives indirect sunlight. If you have a heat mat, placing the pots on top of it can really speed things up.
The “Secret Sauce” (Pro Tips)
Here are a few tricks I’ve learned over the years that can really boost your Abronia bigelovii propagation success:
- Don’t drown your cuttings! This is probably the biggest mistake I see. Abronia absolutely hates sitting in soggy soil. A light misting is all they need to get started. Check the moisture often and only water when the top inch of soil feels dry.
- Bottom heat is your friend. As I mentioned, a gentle warmth from below, like from a seedling heat mat, signals to the plant that it’s time to focus on root growth. It’s like a little warmth buffet for those developing roots.
- Patience is paramount. These guys don’t always sprout roots overnight. I often find that the roots are forming much later than I expect, so don’t give up too soon! Give them a good 4-6 weeks, and then some.
Aftercare & Troubleshooting
Once you start to see new growth appearing on your cuttings, it’s a good sign that roots have formed! You can gently tug on the cutting to feel for resistance. At this point, you can start to gradually acclimatize them to less humid conditions by opening the plastic bag a bit more each day.
The most common issue you’ll face is rot. If you see your cuttings turning mushy or black, it’s usually a sign of overwatering. In this case, it’s best to discard them and start again, focusing on that well-draining soil and lighter watering. If a cutting just seems to be wilting and not showing any signs of life after a good while, it might just not have taken. Again, not a failure, just a learning opportunity!
A Encouraging Closing
And there you have it! Propagating Abronia bigelovii is a rewarding way to expand your collection and share these delightful blooms. Remember to be patient with yourself and the plants. Nature has its own timeline, and the joy is in nurturing these new lives from a simple cutting. Happy propagating, and may your gardens be filled with the sunshine colors of Bigelow’s Sand Verbena!
Resource:
https://identify.plantnet.org/k-world-flora/species/Abronia%20bigelovii%20Heimerl/data