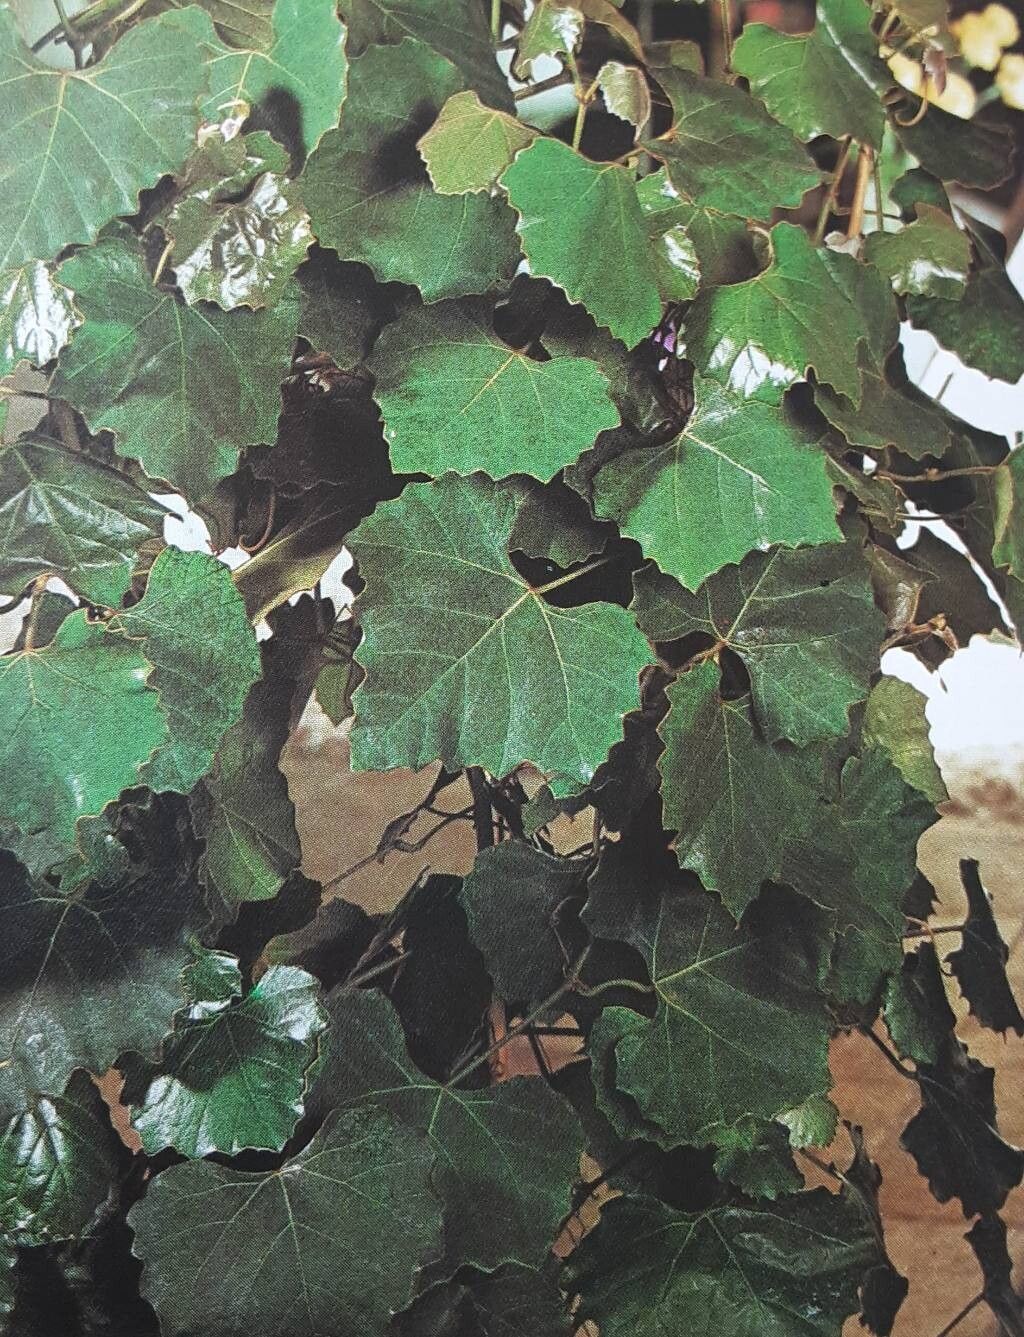
Oh, hello there! So, you’ve fallen for the charms of Rhoicissus tomentosa, have you? I don’t blame you one bit. This delightful plant, often called the “Wild Grape” or “Cape Grape,” brings such a lovely, lush, and somewhat wild energy to any space, whether it’s climbing a trellis or cascading from a hanging basket. It’s got these gorgeous, fuzzy leaves that really catch the light, and the way it drapes is just so elegant.
And the best part? Growing more of them yourself is incredibly rewarding. It’s a fantastic way to share the plant love with friends or simply to fill your own garden with more of this beauty. For those of you just starting out with propagation, I’m happy to tell you that Rhoicissus tomentosa is quite forgiving. It’s a great plant to get your hands dirty with and build your confidence.
The Best Time to Start
When you’re looking to take cuttings of your Rhoicissus tomentosa, spring and early summer are your golden ticket. This is when the plant is in its most vigorous growth phase. The new shoots are soft and pliable, making them ideal for rooting. You’re essentially catching it at its peak energy, which really boosts your chances of success. Trying to take cuttings from older, woody growth in late fall or winter is much more likely to be disappointing.
Supplies You’ll Need
Before you dive in, let’s gather your tools. Having everything ready makes the process smooth and enjoyable.
- Sharp Pruning Shears or a Craft Knife: For making clean cuts.
- Potting Mix: A blend of equal parts peat moss and perlite or vermiculite works wonders. It needs to be well-draining but also hold a little moisture. You can also use a specialized seed-starting mix.
- Small Pots or Seedling Trays: Clean ones are key to preventing disease.
- Rooting Hormone (Optional but Recommended): A powdered or liquid hormone can give your cuttings a helpful boost, especially if you’re aiming for high success rates.
- Small Watering Can or Mister: For gentle watering.
- Plastic Bag or Clear Dome: To create a humid microclimate around your cuttings.
- Labels and a Pen: Trust me, you’ll thank yourself later for labeling!
Propagation Methods
Here are the tried-and-true ways to get more Rhoicissus tomentosa from your existing plant.
Stem Cuttings
This is my go-to method for this plant, and it’s usually quite successful.
- Select Your Cuttings: Look for healthy, semi-hardwood stems that are about 4-6 inches long. You want pieces that have started to firm up a bit but are not completely woody. You’ll see small leaf scars where leaves used to be – that’s good!
- Make the Cut: Using your clean shears or knife, make a clean cut just below a leaf node. A leaf node is where a leaf attaches to the stem; roots love to form from these areas.
- Prepare the Cuttings: Gently remove the leaves from the lower half of the stem. If your leaves are large, you can even cut them in half to reduce water loss.
- Apply Rooting Hormone: If you’re using rooting hormone, dip the cut end of the stem into the powder or liquid. Tap off any excess.
- Plant the Cuttings: Fill your small pots with your prepared potting mix. Make a hole in the center with your finger or a pencil. Place the prepared cutting into the hole, ensuring the node where you removed the leaves is buried. Gently firm the soil around the stem.
- Water Gently: Water the soil thoroughly but avoid making it soggy.
Water Propagation (with a caveat!)
While many plants root beautifully in water, I find that Rhoicissus tomentosa can be a bit finicky this way. If you do try it, here’s how:
- Take Cuttings: Follow steps 1 and 2 from the stem cutting method.
- Place in Water: Put the cuttings in a clean jar or vase filled with fresh, room-temperature water. Make sure the leaf nodes you removed the leaves from are submerged.
- Monitor and Change Water: Change the water every 2-3 days to keep it fresh and prevent bacterial growth.
The “Secret Sauce” (Pro Tips)
Here are a couple of things I’ve learned over the years that make a real difference:
- Don’t Let Leaves Touch the Water (in Stem Cuttings): This is crucial for cuttings planted in soil. If the leaves you left on the upper part of the cutting dip below the soil line or touch the sides of the pot where moisture can collect, they are much more prone to rot. Keep those leaves elevated and airy!
- Bottom Heat is Your Friend: If you have a seedling mat or can place your pots in a warm spot (like on top of a refrigerator), this can significantly speed up the rooting process. Warmth encourages root development. Just make sure the soil doesn’t dry out too quickly with the extra heat.
Aftercare & Troubleshooting
Once your cuttings are planted, it’s time for a little TLC.
- Create Humidity: Cover your pots with a clear plastic bag or a clear dome. This traps moisture and creates a humid environment, which is vital for preventing the cuttings from drying out before they can root. Poke a few holes in the bag for a bit of air circulation.
- Provide Bright, Indirect Light: Place your cuttings in a location that gets bright light but no direct sun. Too much sun can scorch those delicate, new cuttings.
- Watering: Keep the soil consistently moist but not waterlogged. Check the moisture level by gently poking your finger into the soil. If it feels dry about an inch down, it’s time to water.
- Rooting: Be patient! It can take anywhere from 4 to 8 weeks, sometimes longer, for roots to develop. You’ll know they’ve rooted when you see new leaf growth appearing. You can also give a gentle tug on the cutting; if there’s resistance, it’s likely rooted.
- Troubleshooting:
- Wilting/Yellowing Leaves: This often means the cutting is drying out or has gone too long without water. Increase humidity or check watering.
- Blackening/Mushy Stems: This is a sign of rot, usually caused by overwatering or poor drainage. If you see this, it’s best to discard the cutting and try again with fresh material and cleaner tools.
- No Growth After a Long Time: Sometimes cuttings simply don’t take. Don’t get discouraged! It’s part of the process.
A Little Patience Goes a Long Way
Growing new plants is a journey, and there’s always a learning curve. Don’t be disheartened if every single cutting doesn’t make it. The most important thing is to relax, enjoy the process of nurturing these little bits of life, and celebrate your successes. Soon enough, you’ll have a whole collection of Rhoicissus tomentosa to enjoy and share. Happy propagating!
Resource: