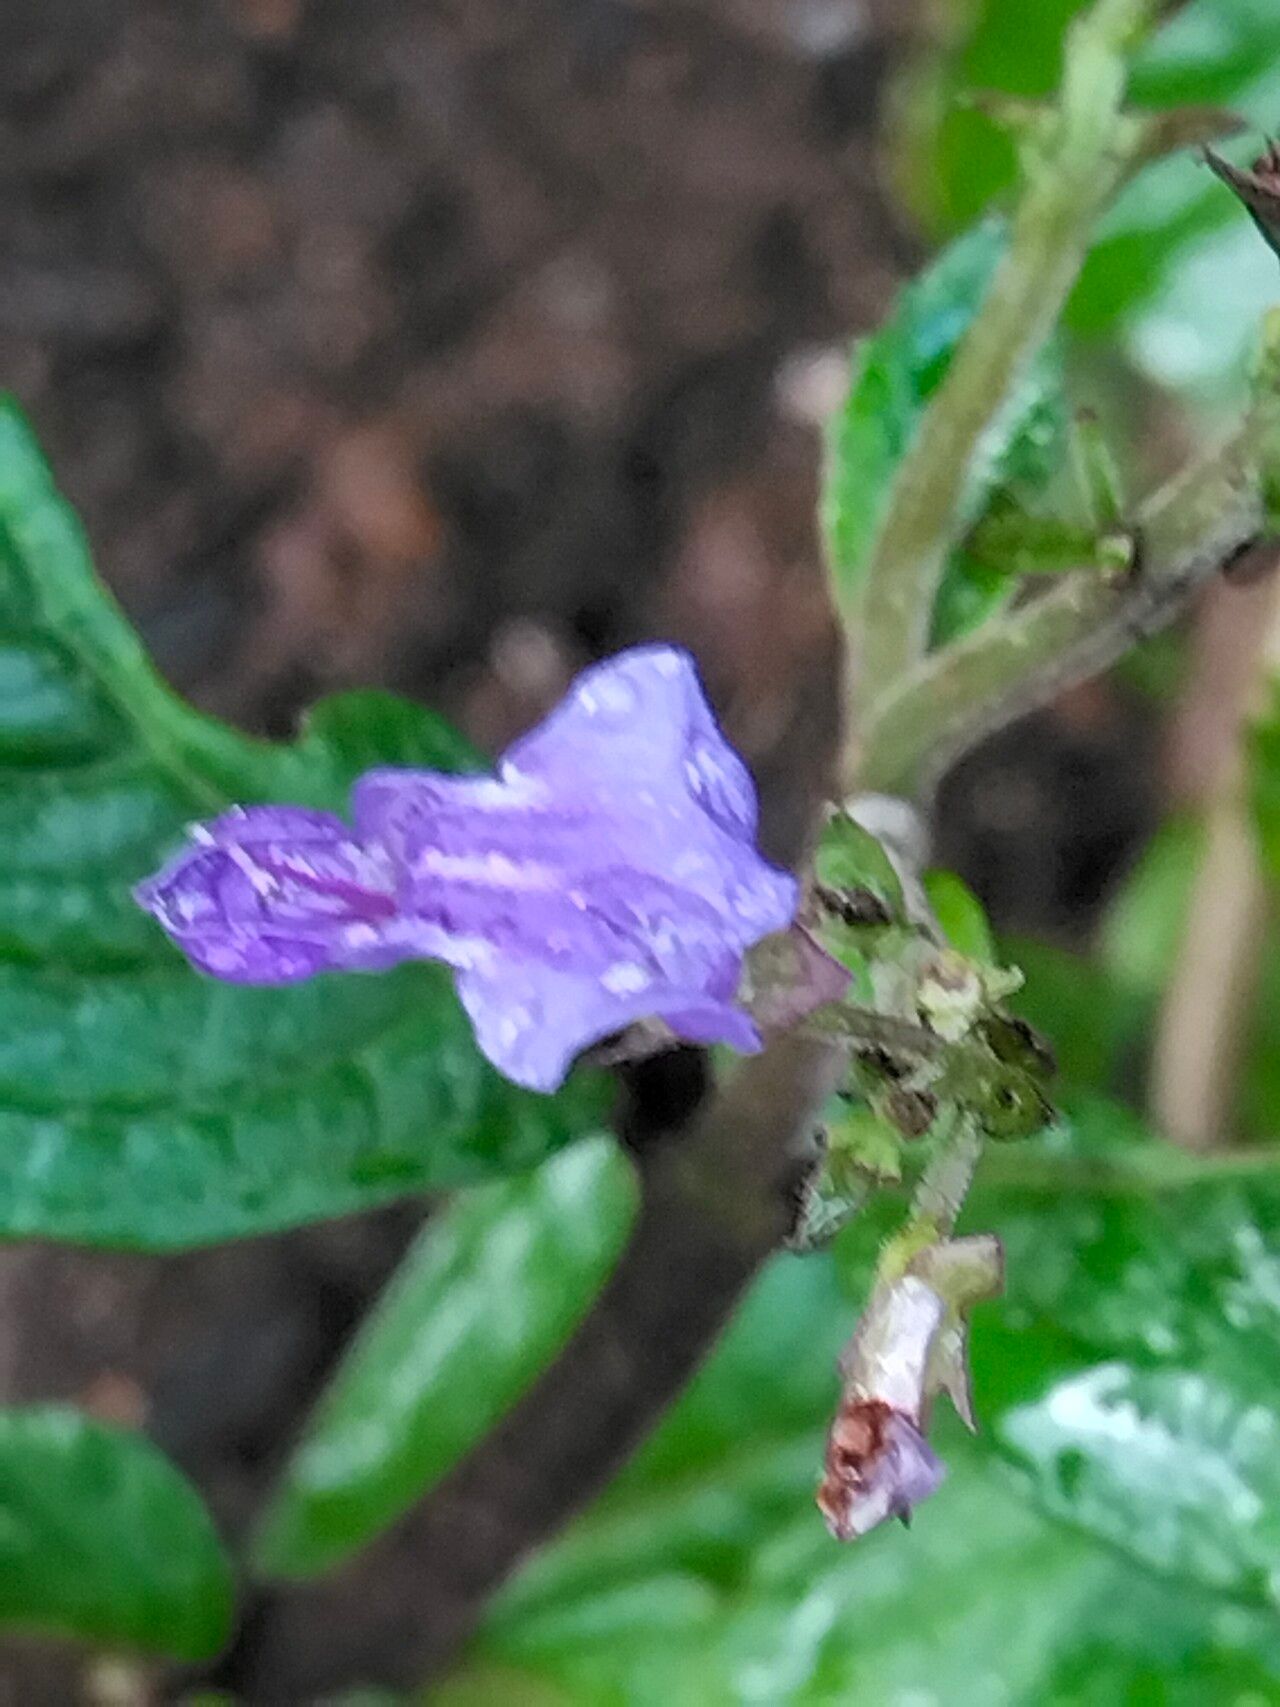
Hey there, fellow plant lovers! I’m so excited to chat with you today about one of my personal favorites: Plectranthus brevimentum. You might know it by its common names, like Zulu Warrior or African Mint. This plant is a gem, isn’t it? Its velvety, dark purple leaves are just stunning, and it has this lovely, subtle fragrance that makes any space feel more inviting.
The best part? It’s surprisingly rewarding to multiply. Watching a tiny cutting grow into a thriving new plant is such a thrill. And the good news for beginners is that Plectranthus brevimentum is generally quite forgiving. You’ll find this guide to be your cozy companion as you embark on this propagation journey.
The Best Time to Start
For the highest success rates, I always recommend starting your Plectranthus brevimentum propagation in the late spring or early summer. This is when the plant is in its active growth phase. The stems are usually plump and full of energy, making them eager to root. You can also have success in early autumn, as long as you give them enough time to establish before cooler weather sets in. Avoid trying to propagate during the depths of winter when growth naturally slows down.
Supplies You’ll Need
Here’s what you’ll want to have on hand before you get started:
- Sharp Pruning Shears or a Clean Knife: For making clean cuts.
- Potting Mix: A good quality, well-draining potting mix is essential. I like to mix in some perlite or coarse sand to improve aeration.
- Small Pots or Seedling Trays: Whatever you prefer for your new cuttings. Make sure they have drainage holes!
- Rooting Hormone (Optional but Recommended): A small amount can really speed up root development.
- Watering Can or Spray Bottle: For gentle watering.
- Clear Plastic Bags or a Propagator: To create a humid environment for your cuttings.
Propagation Methods
Honestly, the easiest and most reliable way to propagate Plectranthus brevimentum is through stem cuttings. It’s practically foolproof!
- Take Your Cuttings: Find healthy, non-flowering stems on your mature plant. Using your sharp shears or knife, take cuttings that are about 4-6 inches long. Make your cut just below a leaf node – that’s the point where a leaf grows from the stem. These nodes are where roots will emerge.
- Prepare the Cuttings: Gently remove the lower leaves from the bottom half of each cutting. This prevents them from rotting once they’re in the soil and exposes the nodes where roots will form.
- Apply Rooting Hormone (Optional): If you’re using rooting hormone, dip the cut end of each stem into the powder, tapping off any excess.
- Plant Your Cuttings: Fill your pots or trays with your prepared potting mix. Make a small hole in the center of each pot with your finger or a pencil. Carefully insert the cut end of the stem into the hole, ensuring that at least one or two leaf nodes are below the surface of the soil. Gently firm the soil around the stem to keep it upright.
- Water Gently: Give your cuttings a light watering to settle the soil.
- Create Humidity: Cover the pots with a clear plastic bag or place them in a propagator. This traps moisture and creates a mini greenhouse effect, which is vital for cuttings to root. You can use stakes to keep the bag from touching the leaves.
- Water Propagation (Alternative): If you prefer, you can also root Plectranthus brevimentum in water. Take your cuttings as described above, remove the lower leaves, and place them in a clean jar or glass filled with water. Make sure that no leaves are submerged in the water. Change the water every few days to keep it fresh.
The “Secret Sauce” (Pro Tips)
Here are a few things I’ve learned over the years that can make a big difference:
- Don’t Let Those Leaves Touch the Water: Whether you’re propagating in soil or water, keeping the leaves above the moisture is crucial for preventing rot. Bottom leaves are especially prone to decay and can signal the start of problems for your whole cutting.
- Bottom Heat is Your Friend: While not strictly necessary, placing your pots on a heated propagator mat can significantly speed up root formation. It mimics the warmth of spring soil and gives those roots a real boost.
- Patience is Key with Water Propagation: When rooting in water, you might not see root development for a week or two. Don’t get discouraged! Keep the water clean and the jar in a bright, indirect light spot. You’ll be amazed when those little white roots start to appear.
Aftercare & Troubleshooting
Once you see new leaf growth emerging at the top of your cutting, this is a good sign that roots have formed. You can also carefully give the cutting a gentle tug – if there’s resistance, you’ve got roots!
- Acclimatization: Gradually remove the plastic bag or ventilation from your propagator over a few days. This helps the new plant adjust to the drier air of your home.
- Potting Up: Once your cutting has a decent root system and seems established, you can pot it up into a slightly larger pot with fresh potting mix.
- Common Issues: The most common problem you might encounter is rot. This usually happens if the soil stays too wet or if leaves are in contact with stagnant water. If you see stems turning mushy and brown, it’s often a sign of rot. Sadly, this cutting may not be salvageable. The best approach is to prevent it by ensuring good drainage and air circulation. If you’re using the plastic bag method, ensure there’s some airflow and don’t let water condense too much.
A Little Encouragement to Finish
Propagating Plectranthus brevimentum is a truly satisfying experience. It’s a wonderful way to expand your plant collection or share these beautiful plants with friends. Be patient, celebrate the small wins, and don’t be afraid to experiment. Happy propagating, and enjoy the journey of nurturing your own green wonders!
Resource:
https://identify.plantnet.org/k-world-flora/species/Plectranthus%20brevimentum%20T.J.Edwards/data