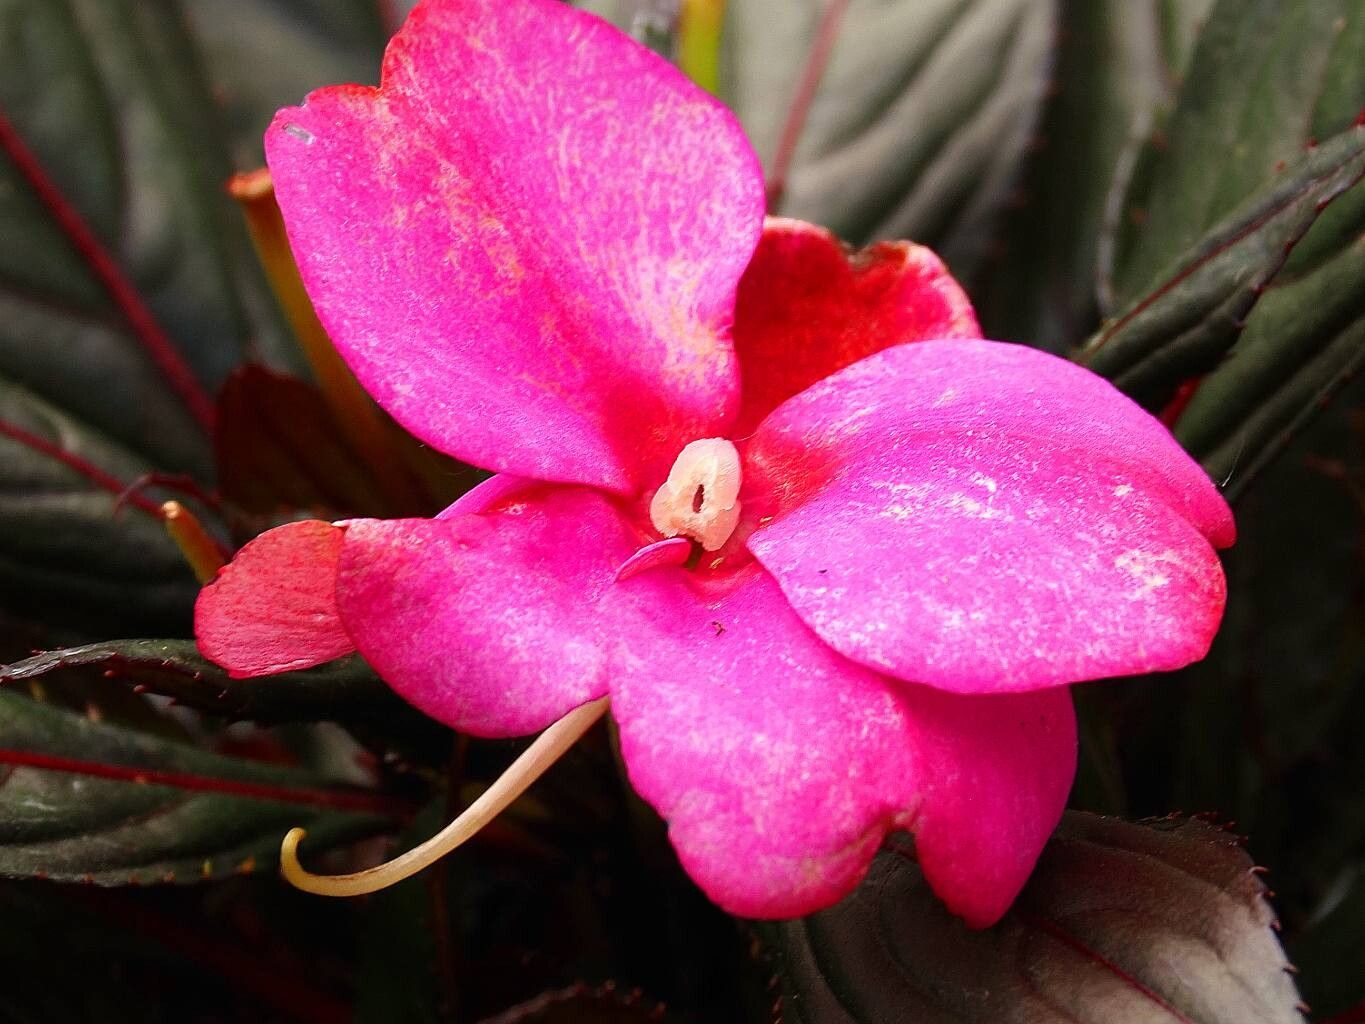
Oh, hello there! So you’ve fallen in love with those glorious New Guinea Impatiens, haven’t you? I don’t blame you one bit. Their vibrant blooms and lush foliage can bring such cheer to shady spots. What’s even more rewarding is knowing you can create more of these beauties yourself. Propagating Impatiens hawkeri can be a really satisfying journey, and I’m here to guide you every step of the way. If you’re a beginner, don’t fret! This is a wonderfully accessible plant to start your propagation adventures with.
The Best Time to Start
For the absolute best chance of success, I like to get my cuttings going in late spring or early summer. The days are getting longer, and the plant is in a strong growth phase. This means it’s full of energy and ready to put out those new roots. You can certainly try it at other times, but this window tends to be the sweet spot.
Supplies You’ll Need
Before we get our hands dirty, let’s gather our tools and ingredients:
- Healthy Impatiens hawkeri plant: Your “mother” plant, full of vigor.
- Sharp pruning shears or clean craft knife: For making clean cuts.
- Seed starting mix or a well-draining potting mix: About 50/50 peat moss and perlite works wonders.
- Small pots or propagation trays: Clean, with drainage holes!
- Rooting hormone (optional but recommended): Powder or gel form.
- Clear plastic bags or a propagation lid: To create a mini greenhouse.
- Watering can with a fine rose: For gentle watering.
- Spray bottle: For keeping humidity up.
- Small stakes or labels: To keep track of your precious new plants.
Propagation Methods
There are a couple of ways we can go about this, but my go-to method for New Guinea Impatiens is stem cuttings. It’s straightforward and yields fantastic results.
Stem Cuttings:
- Select Your Cuttings: Look for healthy, non-flowering stems on your mature plant. You want stems that are about 4-6 inches long. Avoid anything woody or too soft.
- Make the Cut: Using your clean shears or knife, make a clean cut just below a leaf node. A leaf node is where a leaf attaches to the stem – this is where the magic happens and roots will emerge.
- Prepare the Cuttings: Gently remove the lower leaves from the stem, leaving just a few at the very top. This prevents them from rotting when buried in the soil. If your cutting is particularly long, you can even cut the top leaves in half to reduce water loss.
- Apply Rooting Hormone (Optional): Dip the cut end of the stem into your rooting hormone, tapping off any excess. This isn’t strictly necessary, as Impatiens are pretty good at rooting without it, but it can give them a helpful boost.
- Plant Your Cuttings: Fill your small pots or trays with your prepared soil mix. Moisten it thoroughly but make sure it’s not waterlogged. Create a small hole in the soil with your finger or a pencil.
- Insert the Cuttings: Gently place the cut end of each Impatiens cutting into the hole. Firm the soil gently around the stem to ensure good contact.
- Create a Humid Environment: Water your cuttings lightly. Then, cover the pots with a clear plastic bag, securing it around the rim with a rubber band, or place them under a propagation lid. This traps moisture and creates that humid environment cuttings love.
- Place in Bright, Indirect Light: Find a warm spot that receives plenty of bright, indirect light. Direct sun will scorch those delicate leaves.
Water Propagation (A Quick Alternative):
If you’re feeling impatient or just want to see those roots grow, you can try water propagation.
- Prepare Cuttings: Follow steps 1-3 for stem cuttings.
- Place in Water: Put your prepared cuttings in a jar or glass of clean water. Make sure no leaves are submerged – just the bare stem. Any leaves in the water will rot, which you definitely don’t want.
- Change Water Regularly: Change the water every few days to keep it fresh.
- Wait for Roots: You should see tiny roots developing within a couple of weeks. Once they are about an inch long, you can carefully transplant them into soil.
The “Secret Sauce”
Here are a couple of little tricks that have served me well over the years:
- Bottom Heat is Your Friend: Impatiens roots absolutely adore a bit of warmth from below. If you have a heat mat designed for seedlings, place your pots on it. It significantly speeds up root development. If you don’t have a heat mat, a warm spot near a router or on top of a gently running refrigerator can often provide enough residual warmth.
- Don’t Over-Water Misted Leaves: While humidity is crucial, don’t let water sit in the crotches of the leaves for extended periods. It can encourage fungal issues. A gentle misting is usually sufficient. If you see water pooling, gently dab it away with a tissue.
Aftercare & Troubleshooting
Once you start seeing tiny white roots peeking out from the drainage holes, or give the cutting a gentle tug and feel some resistance, congratulations! Your Impatiens are ready for a little more independence.
- Gradual Acclimation: Slowly start to remove the plastic bag or lid for increasing periods each day. This helps them adjust to the drier air and prevents shock.
- Gentle Watering: Continue to keep the soil consistently moist but not soggy. Water from the bottom if you can, allowing the soil to wick up moisture.
- First Feeding: Once you see new leaf growth, you can give them a very diluted liquid fertilizer (about half strength).
Now, what if things go wrong? The most common culprit is rot. If your cutting turns mushy, black, or just wilts dramatically without any sign of roots, it’s likely due to too much moisture and not enough airflow. Make sure your pots are draining well and that the “greenhouse” environment isn’t too stagnant. If you see fuzzy mold on the soil, you might need to replace the soil and start again. Don’t be discouraged! Every gardener has had failures; it’s all part of the learning process.
A Little Patience Goes a Long Way
Propagating plants is a beautiful act of patience and observation. You’re nurturing tiny new lives, and it’s a truly rewarding experience. Enjoy watching those roots develop and new leaves unfurl. Happy propagating, and may your garden be ever fuller!
Resource:
https://identify.plantnet.org/k-world-flora/species/Impatiens%20hawkeri%20W.Bull/data