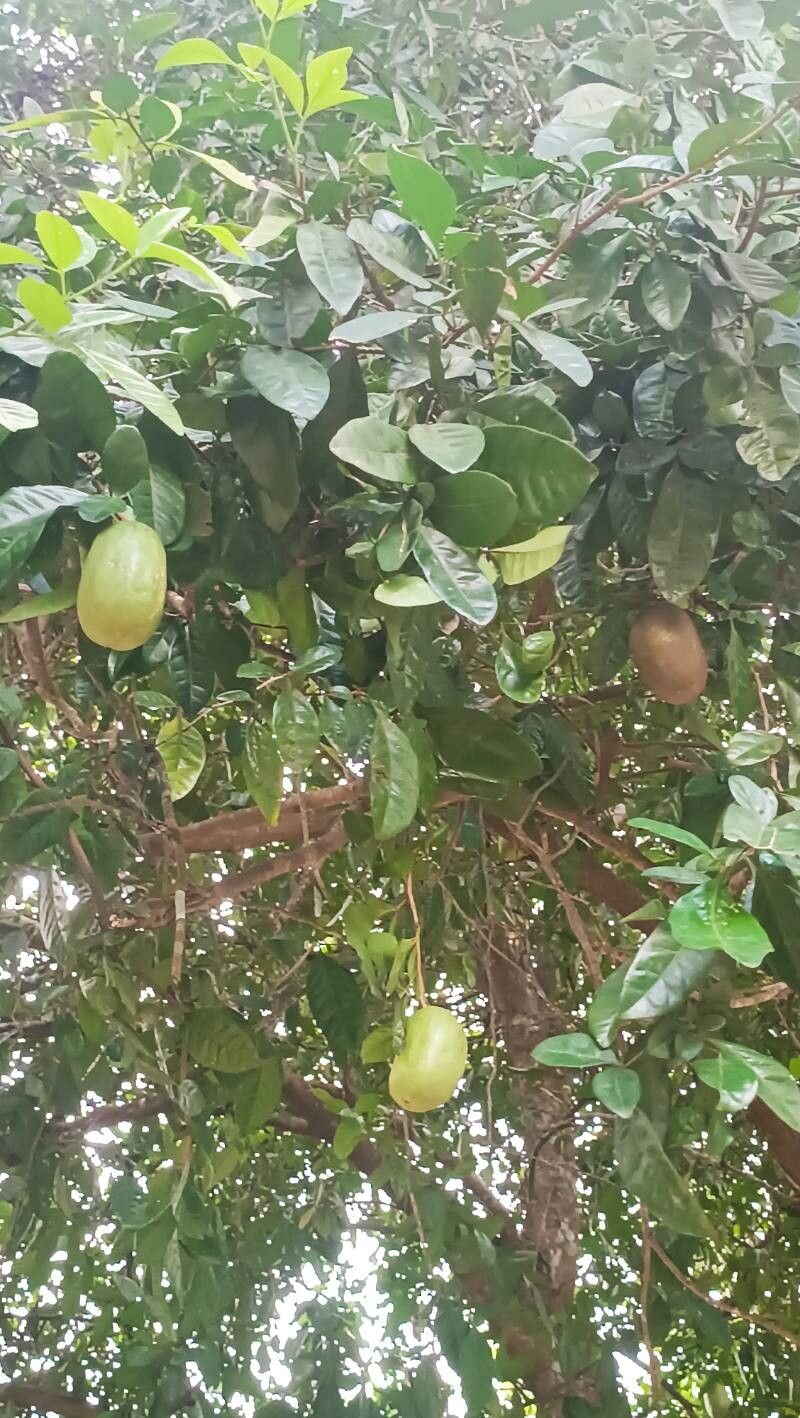
Hello fellow plant lovers! Today, we’re diving into the wonderful world of propagating Dipteryx punctata. If you’re captivated by its unique foliage and the promise of a lush, green addition to your collection, you’re in for a treat. Earning a new plant from a piece of an existing one is one of the most satisfying feelings in gardening, and Dipteryx punctata is a particularly rewarding one to try. While it might present a little more of a challenge than, say, a pothos, it’s absolutely achievable for the determined home gardener. Don’t let that deter you – a bit of patience and the right approach makes all the difference.
The Best Time to Start
For the highest chance of success with Dipteryx punctata, I’ve found late spring through early summer to be the sweet spot. This is when the plant is actively growing and has a good amount of energy reserves. You’re looking for healthy, firm stems – avoid anything that feels too soft or woody. If you can, propogate from a stem that has recently finished flowering or is showing new leaf development. This vigorous growth period gives your cuttings the best shot at rooting.
Supplies You’ll Need
Gathering your tools before you start always makes the process smoother. Here’s what I recommend having on hand:
- Sharp Pruning Shears or a Clean Knife: For making clean cuts.
- Rooting Hormone: A powder or gel will help encourage root development.
- Well-Draining Potting Mix: A blend of peat moss, perlite, and a little bit of compost works wonders. I often use a pre-made succulent or cactus mix and add a bit more perlite for extra aeration.
- Small Pots or Propagation Trays: With drainage holes, of course!
- Clear Plastic Bag or Propagator Lid: To create a humid environment.
- Watering Can or Spray Bottle: For gentle watering.
- Optional: Heat Mat: For consistent bottom warmth, which can significantly speed up rooting.
Propagation Methods
While Dipteryx punctata can be a bit particular, stem cuttings are usually the most reliable method we have at home. Let’s get to it!
Stem Cuttings
- Select Your Cuttings: Choose a healthy, non-flowering stem that is at least 4-6 inches long. Look for a stem with a few sets of leaves.
- Make the Cut: Using your sharp pruning shears or knife, make a clean cut just below a leaf node (where a leaf attaches to the stem). This is crucial as this is where the magic of root formation often begins.
- Prepare the Cutting: Gently remove the lower leaves from the cutting, leaving just 2-3 sets of leaves at the top. If any of the remaining leaves are very large, you can cut them in half to reduce water loss.
- Apply Rooting Hormone: Dip the cut end of the stem into your rooting hormone, tapping off any excess.
- Plant the Cutting: Fill your small pot or propagation tray with your well-draining potting mix. Make a hole in the center with your finger or a pencil, large enough to accommodate the cut end. Carefully insert the cutting into the hole and gently firm the soil around it.
- Water Gently: Water the soil thoroughly but avoid waterlogging.
- Create Humidity: Cover the pot with a clear plastic bag or propagation lid. Make sure the plastic doesn’t touch the leaves if possible. You can use skewers or stakes to keep the bag elevated.
- Placement: Place the pot in a bright spot with indirect light. Avoid direct sun, which can scorch the delicate cuttings.
The “Secret Sauce” (Pro Tips)
Now for a couple of little tricks I’ve picked up over the years that can really boost your success rate:
- Bottom Heat is Your Friend: Dipteryx punctata absolutely loves warmth to initiate root growth. Placing your pots on a gentle seedling heat mat can make a world of difference. It mimics the warmth of spring soil and encourages those roots to sprout much faster.
- Don’t Overwater, But Keep it Consistently Moist: This is a tricky balance, I know! The key is to let the surface of the soil dry out slightly between waterings, but never let it become bone dry. Stick your finger in about an inch – if it feels dry, it’s time for a light watering. The humidity from the plastic cover will help keep the leaves happy, so focus on the soil moisture.
- Air it Out: Even with a humid environment, it’s good to remove the plastic bag for an hour or so each day to allow for air circulation. This helps prevent fungal issues.
Aftercare & Troubleshooting
Once you start to see signs of roots – a gentle tug on the cutting will meet resistance, or you might even see new growth emerging – it’s time to adjust your care. Gradually increase the light exposure and remove the humidity cover over a few days to acclimate your new plant to drier conditions. Continue to water when the top inch of soil feels dry.
The most common pitfall you’ll encounter is rot. If your cutting turns mushy and black, it’s likely succumbed to overwatering or a lack of air circulation. If you see this, unfortunately, it’s usually best to discard it and start again. Another sign of struggle is yellowing leaves that then drop off – this can be due to too little light or inconsistent watering. Don’t despair if your first attempt isn’t a roaring success. Every gardener has had their share of propagation failures!
A Encouraging Closing
Propagating Dipteryx punctata is a journey, and like any good journey, it’s about enjoying the process and learning along the way. Be patient with your cuttings; it can take several weeks, sometimes even a couple of months, for them to establish roots. Celebrate the small victories, and don’t be afraid to try again if needed. With a little care and these tips, you’ll soon be enjoying the satisfaction of nurturing your very own new Dipteryx punctata! Happy growing!
Resource:
https://identify.plantnet.org/k-world-flora/species/Dipteryx%20punctata%20(S.F.Blake)%20Amshoff/data