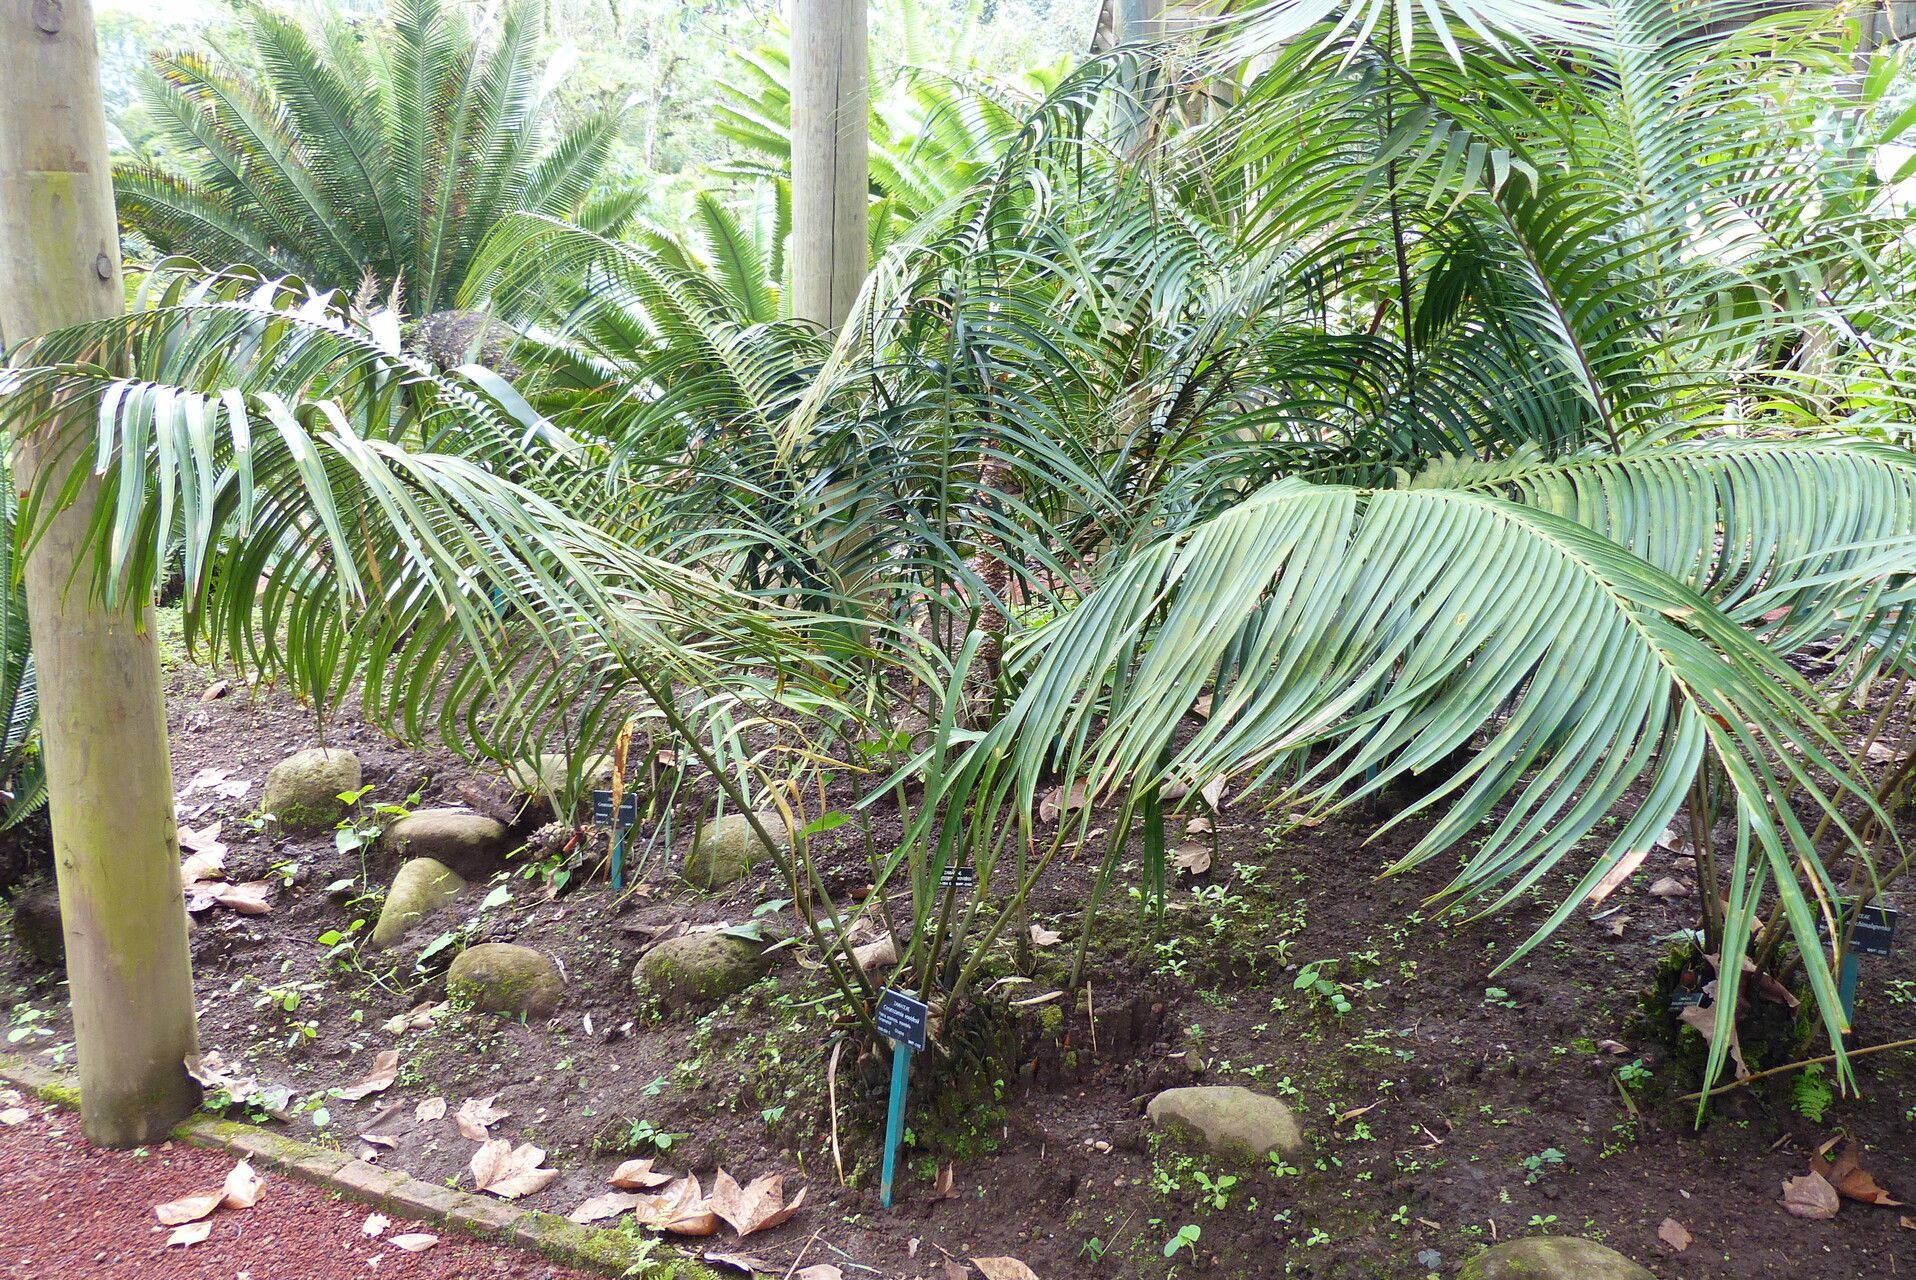
Oh, hello there! Come on in, grab a mug of something warm. Today, we’re going to talk about a truly spectacular plant: Ceratozamia vovidesii. If you haven’t encountered this cycad before, imagine something ancient and elegant, with a graceful rosette of deep green, frond-like leaves that just exude a timeless beauty. They bring a touch of the prehistoric to any garden or conservatory.
Now, propagating these beauties can feel a little bit like stepping back in time yourself, in the best possible way. For those of you just starting out with cycads, I’ll be honest, Ceratozamia vovidesii isn’t typically the easiest plant to propagate. It requires a bit of patience and understanding, but I promise you, the reward of nurturing a new life from a parent plant is absolutely worth the effort. Think of it as a special project for the more dedicated enthusiast.
The Best Time to Start
For Ceratozamia vovidesii, the absolute sweet spot for propagation is during its active growing season. This usually means late spring through early summer. You’re looking for when the plant is actively putting out new growth. Starting at this time ensures the plant has the energy reserves needed to establish roots and flourish. Avoid trying to propagate when the plant is dormant; it just won’t be as receptive.
Supplies You’ll Need
Before we get our hands dirty, let’s gather our tools. Having everything ready will make the process much smoother!
- Sharp, sterile pruning shears or a clean, sharp knife: For making clean cuts. Sterilize with rubbing alcohol.
- Well-draining potting mix: I like a blend that’s roughly 50% perlite or pumice and 50% coarse sand or a good quality cactus/succulent mix. Cycads hate sitting in soggy soil.
- Small to medium pots with drainage holes: Terracotta pots are excellent for allowing the soil to breathe.
- Rooting hormone powder (optional but recommended): Look for one with a good concentration of IBA (indole-3-butyric acid).
- A small watering can or mister: For gentle watering.
- A spray bottle: For maintaining humidity.
- Clear plastic bags or a propagation dome: To create a humid environment.
- Labels: To keep track of what you’ve propagated and when.
Propagation Methods
Ceratozamia vovidesii typically propagates through division. These plants often produce offsets, also known as pups, at their base. This is the most reliable and straightforward method for this particular cycad.
Method: Division of Offsets
- Prepare the Parent Plant: Make sure the parent plant is well-watered a day or two before you plan to divide it. This will help it recover from the stress.
- Carefully Excavate: Gently tip the parent plant out of its pot. If it’s in the ground, carefully dig around the base, exposing the offsets. You want to create some space to work.
- Identify the Offset: Look for a smaller plantlet growing from the base of the main stem. It should have its own root system.
- Make the Cut: Using your sterile pruning shears or knife, make a clean cut to separate the offset from the parent plant. Try to get as many of the offset’s roots as possible, and ensure the cut is made as close to the parent plant’s base as you can. If the offset has its own significant root ball, that’s fantastic!
- Allow to Callus: This is crucial! Place the separated offset in a warm, dry, and shaded spot for 2-3 days. This allows the cut surface to dry and form a callus, which helps prevent rot. I usually lay them on a piece of newspaper in a bright room, out of direct sun.
- Potting Up: Prepare your small pots with your specialized, well-draining mix. Lightly moisten the mix.
- Apply Rooting Hormone (Optional): If you’re using rooting hormone, dip the callused end of the offset into the powder, tapping off any excess.
- Plant the Offset: Make a hole in the potting mix and position the offset, ensuring the roots are spread out. Firm the soil gently around its base, making sure it stands upright. It should be planted at the same depth it was growing previously.
- Initial Watering: Water very sparingly. You want the soil to be lightly moist, not wet.
The “Secret Sauce” (Pro Tips)
Now for a couple of things I’ve learned over the years that can make a real difference:
- Don’t Rush the Callusing: Seriously, this is where many people go wrong with cycad propagation. Giving that cut surface time to dry out completely is the best defense against rot. Be patient! I’ve heard folks say they don’t even bother if they can’t callus it for at least 48 hours.
- Good Air Circulation is Key: Once potted, don’t suffocate your new offset! While we often use plastic bags or domes to increase humidity, it’s important to “burp” them daily. Open the bag or lid for an hour to allow fresh air in and prevent fungal issues. Good airflow around the pot itself is also beneficial.
Aftercare & Troubleshooting
Once your offset is potted, place it in a bright location with indirect sunlight. Avoid direct sun, as it can scorch the new plant. Keep the soil mixture consistently lightly moist – never wet. Think of it as a gentle encouragement to grow roots, not a drowning.
The biggest challenge you’ll face will likely be rot. If you see the base of your offset turning black and mushy, or if it just wilts without any sign of new growth after a significant period, it’s likely rot. This usually comes down to overwatering or insufficient drainage. If you catch it early, you might be able to trim away the rotted material, allow it to callus again, and try potting it in fresh, dry mix. But sadly, once rot sets in deeply, it’s often too late.
Be patient when waiting for roots. It can take several weeks, or even months, for a cycad offset to establish a good root system. You won’t see dramatic changes overnight. Look for subtle signs of life, like a slight firmness to the leaves or the absence of wilting.
A Encouraging Closing
So there you have it! Propagating Ceratozamia vovidesii is a journey that truly tests your patience and rewards your dedication. Don’t be discouraged if your first attempt isn’t a roaring success. Every gardener learns through a bit of trial and error. Celebrate each small victory, enjoy the process of nurturing these ancient wonders, and before you know it, you’ll have a beautiful new Ceratozamia to call your own. Happy propagating!
Resource: