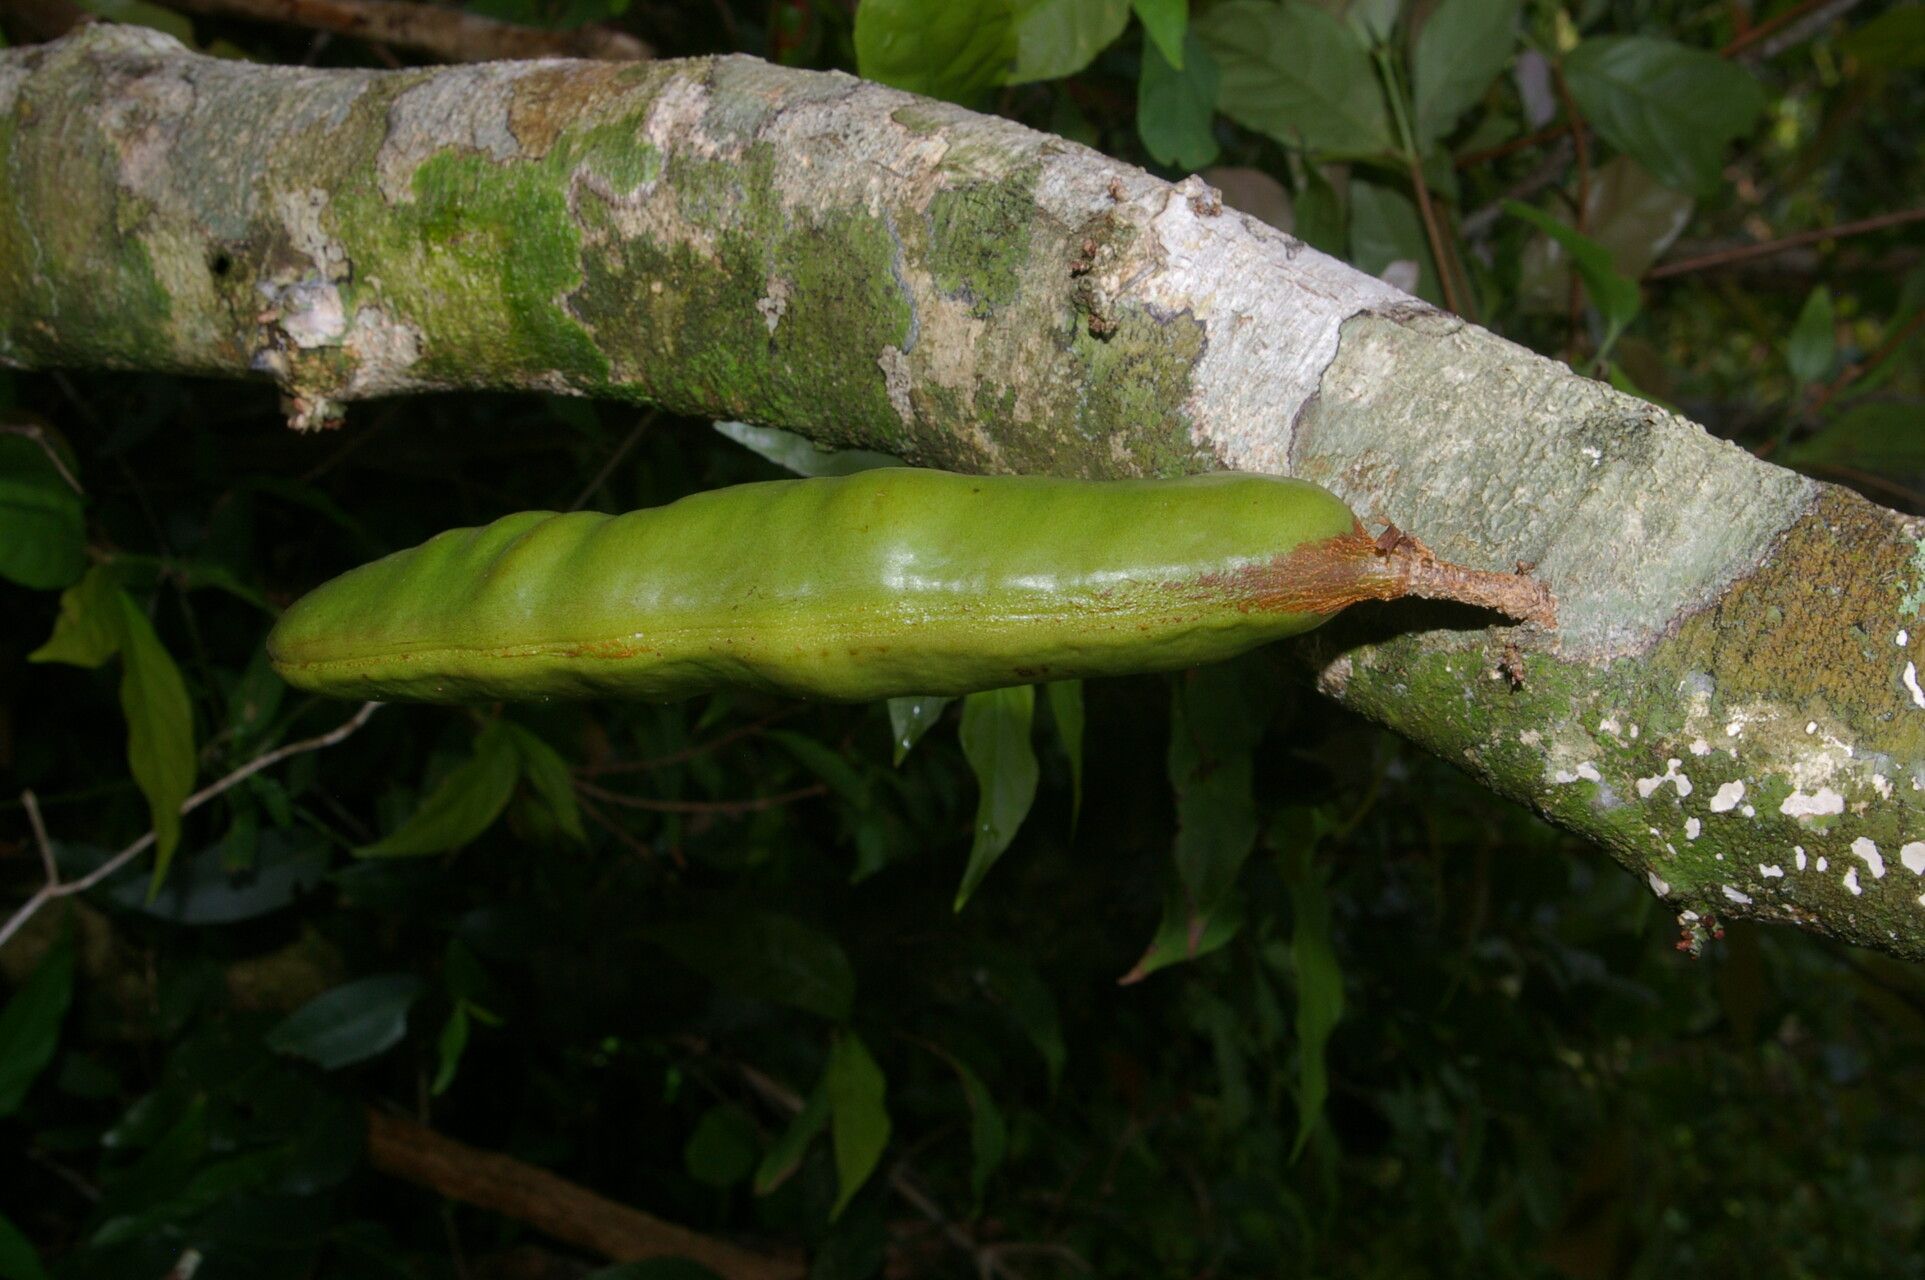
Oh, hello there! So glad you’ve stopped by. Today, we’re diving into the wonderful world of propagating Zygia palmana. If you’ve ever seen this beauty – with its delicate, fern-like foliage and the thrill of those emerging seed pods that look a bit like tiny, fluffy caterpillars – you know why it’s so captivating. And the best part? It’s incredibly rewarding to nurture a new plant from a small piece of an existing one. Let’s just say, if you’ve got that gardening itch, Zygia palmana propagation is a fantastic way to scratch it. For a beginner? It’s certainly doable, but a little patience goes a long way! Think of it as a gentle introduction to the magic of plant multiplication.
The Best Time to Start
Generally, my favorite time to get started with propagating Zygia palmana is during its active growing season. For most of us, that means late spring or early summer. You’ll want to pick stems that are healthy, vigorous, and ideally, not flowering or producing fruit just yet. These are the parts of the plant with the most energy to put into creating new roots.
Supplies You’ll Need
Gathering your tools beforehand makes the whole process so much smoother. Here’s what I always have on hand:
- Sharp Pruning Shears or a Clean Knife: For making clean cuts. Sanitize them with rubbing alcohol beforehand!
- Rooting Hormone: A good quality powder or gel can really boost your success rate.
- Potting Mix: A well-draining mix is crucial. I like a blend of equal parts perlite, peat moss (or coco coir), and a bit of compost.
- Small Pots or Propagation Trays: Clean pots are a must to prevent disease.
- Plastic Bag or Propagation Dome: To create a humid environment for your cuttings.
- Watering Can or Spray Bottle: For gentle watering.
- Labeling Stakes: To keep track of what you’ve planted and when!
Propagation Methods
While Zygia palmana can be grown from seed, for most home gardeners, propagating from stem cuttings is the most reliable and quickest way to get a new plant.
- Select Your Cuttings: Look for healthy, semi-hardwood stems. These are stems that are neither brand new and floppy nor old and woody. You’re aiming for a piece that feels firm but has a bit of give. Aim for cuttings about 4-6 inches long.
- Make the Cut: Using your sterilized pruning shears or knife, make a clean cut just below a leaf node (where a leaf attaches to the stem). This is where roots are most likely to form.
- Prepare the Cutting: Gently remove the leaves from the lower half of the cutting. If the remaining leaves are very large, you can cut them in half to reduce water loss.
- Apply Rooting Hormone: Dip the cut end of the stem into your rooting hormone, ensuring a good coating. Tap off any excess.
- Plant Your Cuttings: Fill your clean pots or trays with your prepared potting mix. Make a small hole in the center of the soil with your finger or a pencil. Insert the cutting into the hole, making sure the rooting hormone-coated part is covered. Gently firm the soil around the base of the cutting.
- Create Humidity: Water the soil gently. Then, cover the pot with a plastic bag or place it inside a propagation dome. Poke a few holes in the bag for ventilation. This creates a mini-greenhouse effect.
- Find a Warm Spot: Place your propagation setup in a bright location but out of direct sunlight. Consistent warmth is key.
The “Secret Sauce” (Pro Tips)
Over the years, I’ve learned a few tricks that seem to make all the difference:
- My absolute favorite tip is to use bottom heat. A propagation mat placed under your pots can significantly speed up root formation. It mimics the warmth of the soil in nature and really encourages those roots to take off.
- Don’t be tempted to waterlog your cuttings. They need moisture, but soggy soil is a recipe for rot. Let the top inch of soil dry out slightly between waterings. A gentle misting can also help keep the leaves turgid.
- If you’re using a plastic bag, make sure no leaves are touching the sides of the bag. This can lead to fungal issues because the leaves stay too wet. If they are, prune them back slightly.
Aftercare & Troubleshooting
Once your cuttings have been in their humid little homes for a few weeks, you might start to see some signs of life!
- Checking for Roots: You can gently tug on a cutting. If you feel resistance, it’s a good sign roots have started to form. You can also look for new leaf growth.
- Acclimating: Once you see good root development, it’s time to start acclimating your new plant to the real world. Gradually open the plastic bag or dome a little more each day over the course of a week to reduce humidity slowly.
- Watering: Continue to water regularly, keeping the soil consistently moist but not waterlogged.
- Troubleshooting: The most common issue you’ll encounter is rot. If your cutting turns black and mushy, it’s likely succumbed to rot. This is usually due to too much moisture and not enough air circulation. If you see this, discard the affected cutting. Sometimes, a cutting might just fail to root. Don’t be discouraged; it happens to all of us!
A Encouraging Closing
Propagating plants is a beautiful dance with nature, and Zygia palmana is a willing partner. Be patient with your little cuttings. Some will be quicker than others, and some might just need a second try. Enjoy the process of nurturing these new lives, and soon enough, you’ll have your very own Zygia palmana to admire and perhaps even share with fellow plant lovers. Happy propagating!
Resource:
https://identify.plantnet.org/k-world-flora/species/Zygia%20palmana%20(Standl.)%20L.Rico/data