Hello, fellow garden enthusiasts!
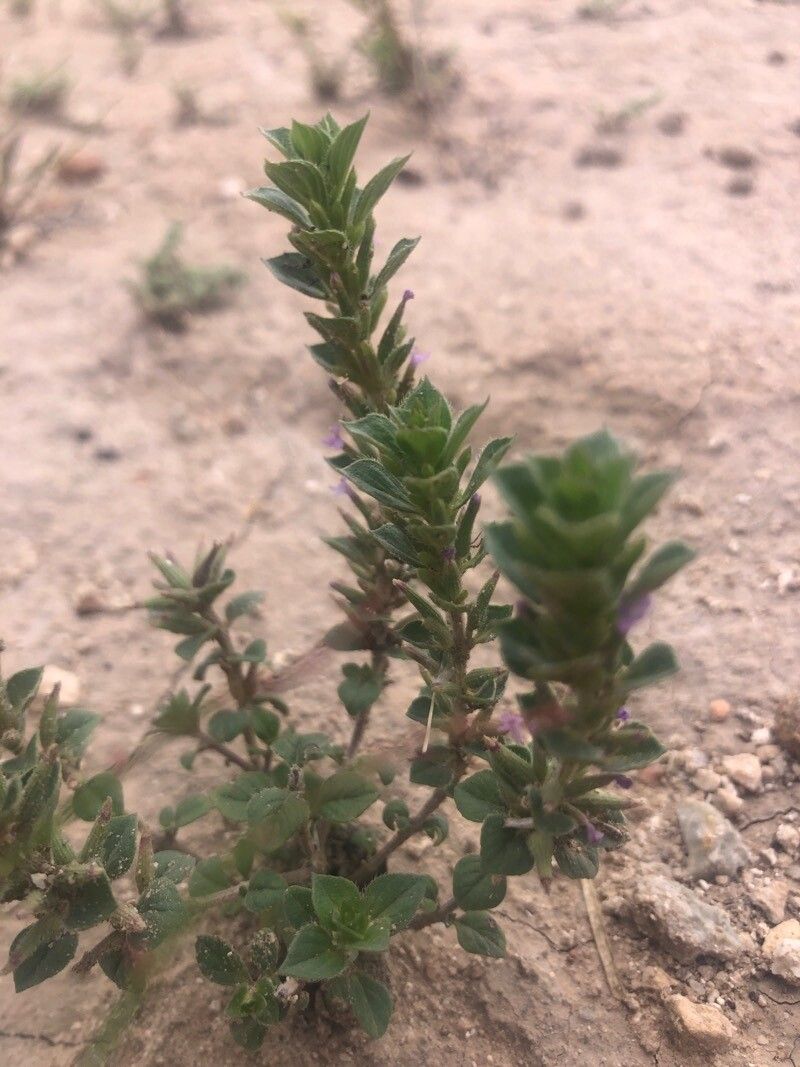
Today, I want to talk about a little gem that’s been brightening my garden for years: Ziziphora hispanica. This fragrant herb, sometimes called Spanish mint or Mediterranean mint, is just delightful. Its tiny, whorled leaves release a wonderfully sweet, minty scent when brushed, and the delicate purple-blue flowers are a magnet for happy pollinators. Plus, it’s an absolute trooper in hot, dry conditions. If you’ve ever admired this plant, you’ll be pleased to hear that propagating it is surprisingly straightforward. Even if you’re new to the gardening game, you can absolutely have success with this one. It’s truly rewarding to see a tiny cutting transform into a thriving plant.
The Best Time to Start
Generally, early to mid-spring is your best bet for propagating Ziziphora hispanica. This is when the plant is actively putting on new growth, and its stems have that perfect balance of being tender yet strong enough to root. You can also take cuttings later in the season, perhaps in early summer, but they might take a little longer to establish. Avoid trying to propagate from very old, woody stems.
Supplies You’ll Need
Gathering your tools makes the process so much smoother. Here’s what I usually have on hand:
- Sharp pruning shears or clean scissors: Essential for making clean cuts without crushing the stems.
- Small pots or seed trays: Nothing too big; the new roots won’t need much space initially.
- Well-draining potting mix: I often use a blend of potting soil, perlite, and a bit of coarse sand. A standard seed-starting mix also works well.
- Rooting hormone (optional but recommended): A powder or gel can give your cuttings a helpful boost.
- Watering can with a fine rose or a spray bottle: For gentle watering.
- Plastic bag or propagator lid: To create a humid environment for your cuttings.
Propagation Methods
Ziziphora hispanica is happiest when propagated from stem cuttings. It’s my go-to method, and I find it incredibly reliable.
Stem Cuttings:
- Select your cuttings: Look for healthy, non-flowering stems that are about 3-4 inches long. Gently bend a stem; if it snaps cleanly, it’s ready.
- Make the cut: Using your clean shears, take cuttings from just below a leaf node (where a leaf attaches to the stem). This is where roots are most likely to form.
- Prepare the cutting: Gently remove the lower leaves from the bottom inch or so of the stem. This prevents them from rotting in the soil or water. You can leave just a couple of pairs of leaves at the top.
- Apply rooting hormone (optional): Dip the cut end of the stem into your rooting hormone, tapping off any excess. This isn’t strictly necessary for Ziziphora, but it can speed things up and increase your success rate.
- Insert into soil: Fill your small pots with your prepared, moistened potting mix. Make a small hole in the center of the soil with your finger or a pencil. Gently insert the cutting into the hole, ensuring the leaf node is below the soil surface. Firm the soil gently around the base.
- Water gently: Water the soil carefully to settle it around the cutting.
Water Propagation (An alternative for some):
You can also try rooting cuttings in water. Follow steps 1-3 above. Then, place the cuttings in a small jar or glass of fresh water. Make sure that no leaves are submerged below the waterline; these will rot quickly. Place the container in a bright spot, but out of direct, harsh sunlight. Check the water every few days and change it if it becomes cloudy.
The “Secret Sauce” (Pro Tips)
Here are a few little tricks I’ve picked up over the years that can make a big difference:
- Humidity is key: Once your cuttings are planted in soil, immediately cover the pot with a clear plastic bag or a propagator lid. This creates a mini greenhouse, keeping the humidity high, which is crucial for preventing the cuttings from drying out before they can root. Make sure the bag doesn’t touch the leaves. You can use skewers to prop it up if needed.
- Location, Location, Location: Place your pots in a warm, bright spot, but out of direct midday sun. A windowsill that gets bright, indirect light is perfect. The warmth helps encourage root development.
- Don’t rush the roots: Resist the urge to tug on your cuttings too often to check for roots. This can damage delicate new growth. Wait at least 2-3 weeks, and then give a very gentle tug. If you feel resistance, roots have formed!
Aftercare & Troubleshooting
Once you see signs of new growth, or feel that resistance when giving a gentle tug, you know your cuttings have rooted!
- Acclimatize them: Gradually remove the plastic bag or lid over a few days. This helps the new plants adjust to the drier air.
- Water wisely: Water your new plants when the top inch of soil feels dry. They still have small root systems, so avoid overwatering, which can lead to root rot. You’ll notice wilting or yellowing leaves if they’re too dry, while mushy stems or blackening at the base are signs of rot.
- Transplant carefully: When your young plants have developed a good set of roots and are showing sturdy growth, you can pot them up into slightly larger containers. Handle the young root balls with care.
The journey of propagation is a beautiful thing. Be patient with your Ziziphora hispanica cuttings. Sometimes they take their time, and that’s perfectly okay. The joy is in the process itself, and soon you’ll have a whole new patch of these fragrant beauties to enjoy. Happy gardening!
Resource:
https://identify.plantnet.org/k-world-flora/species/Ziziphora%20hispanica%20L./data