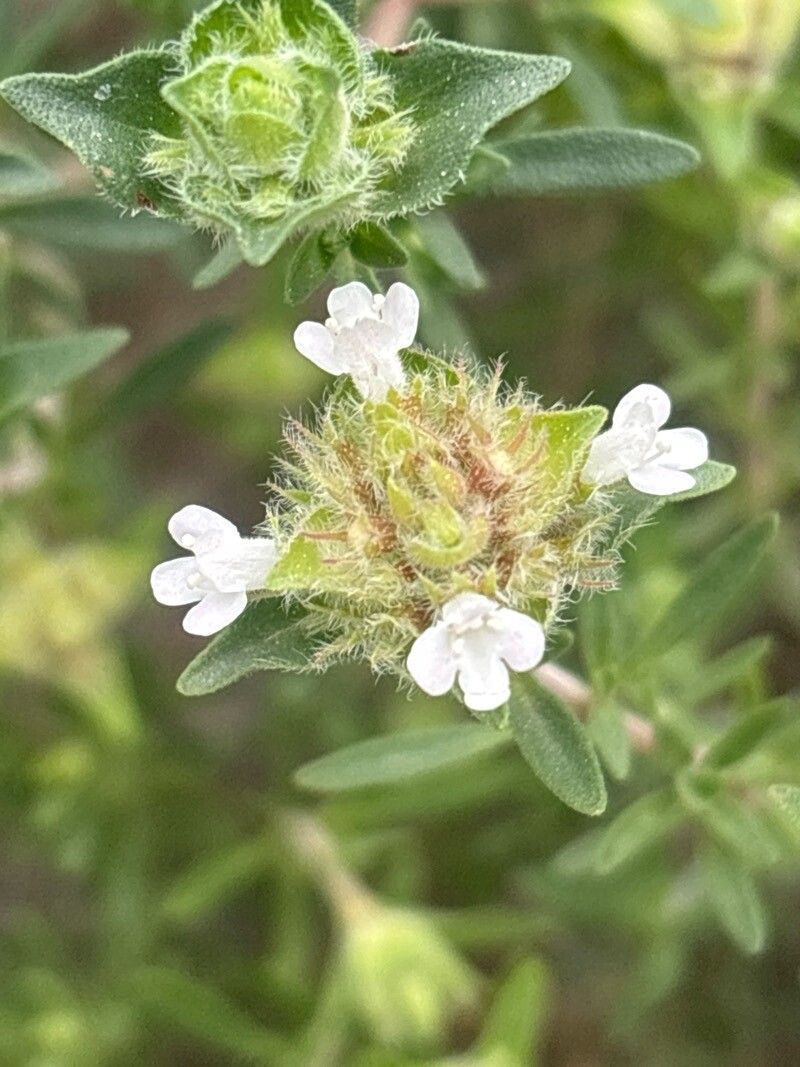
Hello there, fellow plant lovers! Today, we’re diving into the wonderfully aromatic world of Thymus granatensis, also known as Grenada Thyme. This isn’t your everyday thyme. Its delicate, almost fuchsia-colored flowers and sweet, lemony scent make it a real gem in any garden or herb collection. If you’ve ever admired its beauty, you’ll be thrilled to know that propagating it is truly a rewarding endeavor. And the good news? It’s relatively straightforward, even for those just starting out on their green-thumb journey.
The Best Time to Start
For the highest success rate with Thymus granatensis, I always recommend starting in the late spring or early summer. This is when the plant is actively growing, meaning it has plenty of energy to put into developing new roots. You’re looking for stems that are somewhat woody at the base but still have tender, flexible tips. Avoid taking cuttings from flowering stems, as the plant will be too busy producing flowers and seeds to focus on root development.
Supplies You’ll Need
Before we get our hands dirty, let’s gather our tools:
- Sharp pruning shears or a clean craft knife: For making clean cuts.
- Well-draining potting mix: I prefer a blend of coco coir, perlite, and a touch of compost. You can also buy a good quality seed-starting mix.
- Small pots or seed trays: Clean ones are key to preventing disease.
- Rooting hormone powder or gel (optional but helpful): This gives your cuttings a little extra boost.
- A spray bottle: For misting your cuttings.
- Clear plastic bags or a propagator lid: To create a humid environment.
- Labels: Don’t forget to label your precious new plants!
Propagation Methods
Thymus granatensis is wonderfully amenable to propagation by stem cuttings, which is my go-to method.
Stem Cuttings
- Take the Cuttings: Gently select non-flowering stems that are about 4-6 inches long. Using your sharp pruning shears or knife, make a clean cut just below a leaf node (where the leaves join the stem). Remove the lower leaves, leaving just a few at the top.
- Prepare the Cuttings: If you’re using rooting hormone, dip the cut end into the powder or gel, tapping off any excess.
- Plant the Cuttings: Fill your pots or trays with your well-draining potting mix. Make small holes in the soil with a pencil or your finger. Insert the cut end of each thyme cutting into a hole, ensuring the leaf nodes are below the soil line. Gently firm the soil around the cuttings.
- Water and Cover: Water the soil thoroughly but avoid waterlogging. Then, cover the pots loosely with a clear plastic bag or place them in a propagator. This creates a humid microclimate that encourages root formation.
Water Propagation (A Little Less Conventional, But It Works!)
While I generally prefer soil propagation for thyme, you can try water if you’re curious. Break off smaller stem pieces and place them in a small jar or glass of clean water. The key here is that none of the leaves should be submerged in the water. Change the water every few days to keep it fresh. Once you see tiny roots emerging (usually after a few weeks), you can carefully transplant them into pots with potting mix.
The “Secret Sauce” (Pro Tips)
Here are a couple of tricks I’ve learned over the years that can really make a difference:
- Bottom Heat is Your Friend: If you have a heated propagator or a heat mat, using it will significantly speed up root development. Thyme cuttings absolutely love a little warmth from below.
- Don’t Overwater!: This is probably the most common mistake. Overwatering leads to rot, and no one wants that. Your cuttings should be kept evenly moist, not soggy. The plastic cover or propagator lid helps maintain humidity, so you won’t need to water them as frequently as you might think.
Aftercare & Troubleshooting
Once your cuttings have started to develop roots – you’ll know when you can give them a gentle tug and feel resistance, or if you’re nervous, you might see roots peeking out the drainage holes – it’s time for a little more attention.
Gradually acclimatize them to open air by removing the plastic bag or propagator lid for increasing periods each day. Once they are well-rooted and look like mini thyme plants, you can transplant them into larger individual pots filled with your standard potting mix. Continue to water them regularly but ensure good drainage.
The most common sign of failure is wilting and then rotting at the soil line. This is almost always a sign of too much moisture and not enough air circulation. If you see this, try to adjust your watering schedule and ensure good ventilation. Yellowing leaves can sometimes indicate they need a bit more light, but usually, it’s a sign of just settling in. Be patient!
A Encouraging Closing
Propagating Thymus granatensis is a wonderful way to multiply your favorite herb and share its charm with friends. Don’t be discouraged if your first attempt isn’t perfect; gardening is a journey of learning and often, a little trial and error. Enjoy the process, celebrate each tiny root that appears, and soon you’ll have a whole patch of this delightful thyme to enjoy! Happy gardening!
Resource:
https://identify.plantnet.org/k-world-flora/species/Thymus%20granatensis%20Boiss./data