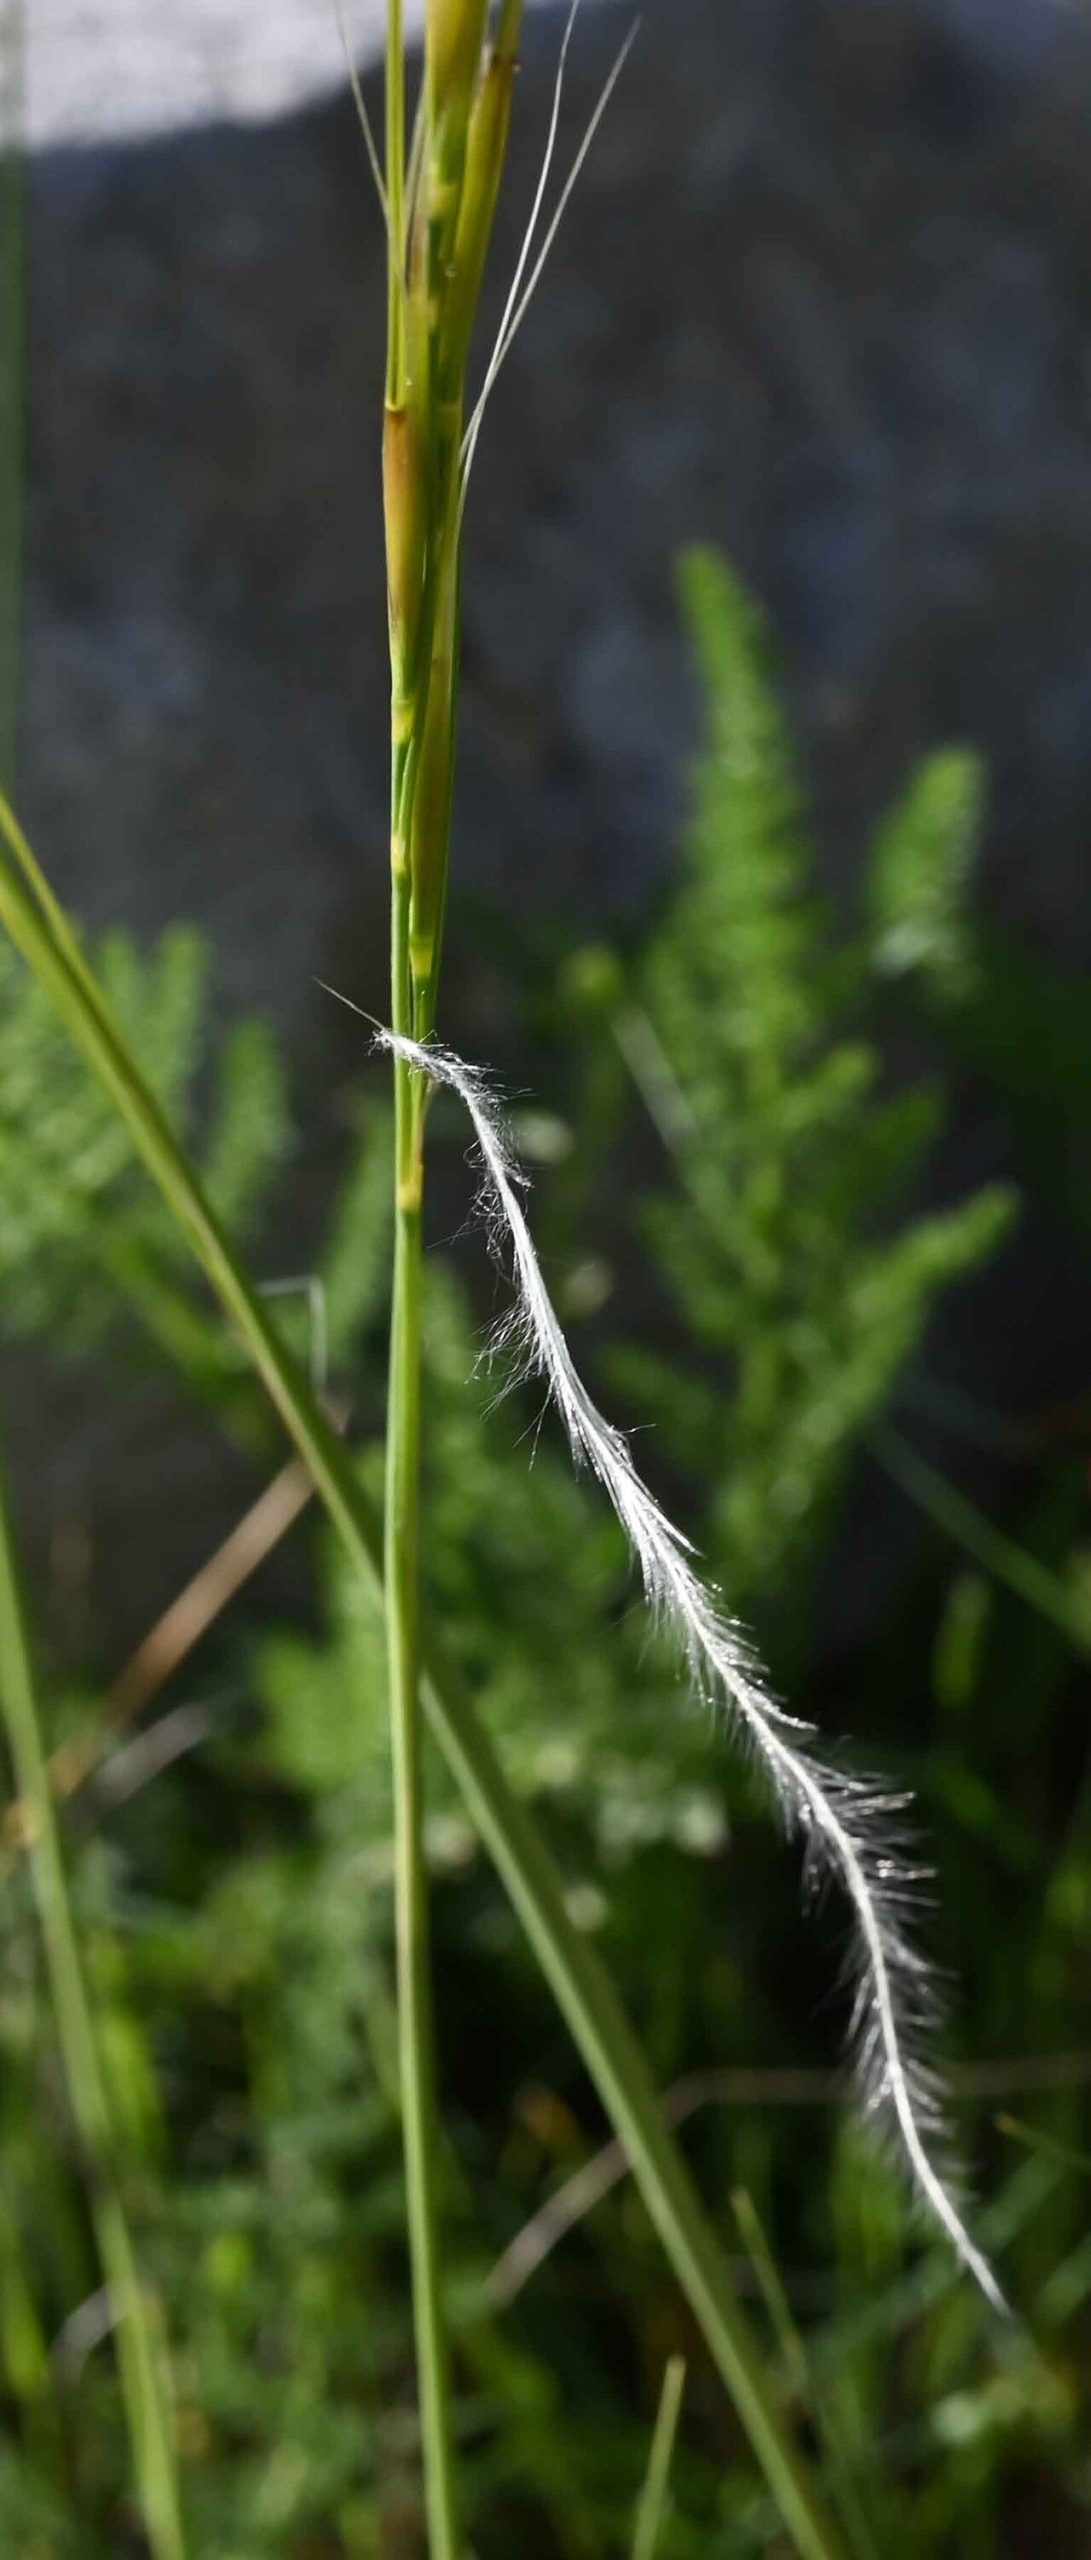
Hello fellow garden enthusiasts! I’m so excited to talk to you today about a grass that truly captures my heart: Stipa austroitalica. This beauty, often called the Italian Feather Grass, is a vision of elegance. Its wispy, arching foliage and delicate seed heads bring a touch of airy grace to any garden. Trust me, watching these graceful plumes sway in the breeze is pure magic.
And the best part? It’s surprisingly rewarding to multiply this star performer yourself! If you’re new to the gardening world, I’d say propagating Stipa austroitalica is moderately easy. It offers a wonderful learning curve without being overly frustrating. You’ll quickly feel a sense of accomplishment as you nurture these new plants into being.
The Best Time to Start
When it comes to getting the highest success rate with Stipa austroitalica, I’ve found the sweet spot is late spring or early summer. This is when the plant is actively growing and has plenty of energy reserves to put into rooting. You’re looking for healthy, non-flowering shoots that are still somewhat flexible. Harvesting these just as they develop will give you the best chance of a strong start.
Supplies You’ll Need
Before we get our hands dirty, let’s gather our toolkit:
- Sharp, clean pruning shears or a sharp knife: Essential for making clean cuts.
- A well-draining potting mix: I often use a blend of equal parts perlite, peat moss (or coco coir), and coarse sand. You can also find excellent commercial cactus and succulent mixes that work well.
- Small pots or seed trays: Make sure they have drainage holes!
- Rooting hormone (optional but recommended): Liquid or powder versions work. It gives your cuttings a helpful boost.
- A plastic bag or propagation propagator: This creates a humid microclimate.
- A spray bottle: For gentle misting.
- A dibber or pencil: For making planting holes.
- Labels and a permanent marker: To keep track of what’s what!
Propagation Methods
For Stipa austroitalica, dividing the parent plant is by far the most straightforward and successful method for most home gardeners. While stem cuttings are possible, they can be a bit trickier to get established.
Division: The Tried-and-True Method
- Gently excavate the parent plant: In late spring or early summer, carefully dig up your Stipa austroitalica. Try to disturb the root ball as little as possible.
- Clean the roots: Gently shake off excess soil so you can clearly see the root structure and identify natural divisions.
- Separate the clumps: Using your hands or a clean trowel, carefully tease apart sections of the plant. You’re looking for clumps that have their own healthy roots and shoots. Don’t be afraid to be firm but gentle. If a clump is stubbornly attached, a clean knife can help. Aim for divisions that are roughly golf-ball sized or larger, with a good portion of roots.
- Prepare the new plants: Trim any damaged roots.
- Pot them up: Fill your clean pots with your well-draining potting mix. Make a hole in the center with your dibber or pencil.
- Plant the divisions: Place each division into the hole, ensuring the roots are spread out. The crown of the plant (where roots meet shoots) should be at soil level. Firm the soil gently around the base.
- Water them in: Water thoroughly but gently to settle the soil.
The “Secret Sauce” (Pro Tips)
Here are a few tricks I’ve picked up over the years that can really make a difference:
- Don’t oversaturate: While they need moisture, stagnant wetness is the enemy of grasses. Ensure excellent drainage and let the soil surface dry out a little between waterings, especially for your new divisions.
- Consider airflow: For divisions, after the initial watering, I like to let them sit in a slightly shaded spot and allow for good air circulation for a day or two before covering them. This helps prevent fungal issues.
- Patience is key with roots: You won’t see dramatic growth from divisions overnight. Resist the urge to constantly check the roots. Focus on keeping the soil lightly moist and the plant happy. New growth emerging from the top is your best indicator of successful rooting.
Aftercare & Troubleshooting
Once your divisions are potted, keep them in a bright, indirect light location. Avoid direct, harsh sunlight for the first few weeks, as this can scorch delicate new foliage. Water when the top inch of soil feels dry to the touch. You can start fertilizing lightly with a diluted liquid fertilizer once you see consistent new growth, usually after about a month.
The most common problem you might encounter is rot. This usually happens from overwatering or poor drainage. If you notice your divisions looking mushy, yellowing, or smelling unpleasant, it’s a sign of rot. Unfortunately, at this stage, it can be hard to save them. Prevention is truly the best cure here – focus on that speedy drainage! Another sign of trouble is if the foliage turns brown and crispy – this could mean they’re drying out too much or getting too much direct sun.
So there you have it! Propagating Stipa austroitalica is a joy. It’s a chance to share a little bit of that garden magic with yourself, or even with friends. Be patient, observe your new plants, and most importantly, enjoy the process! Happy gardening!
Resource:
https://identify.plantnet.org/k-world-flora/species/Stipa%20austroitalica%20Martinovský/data