Hey there, fellow plant lovers! I’m so glad you’ve stopped by. Today, we’re diving into the wonderful world of propagating Pteris repens, or as some of us affectionately call it, the creeping brake fern.
Pteris Repens: A Little Fern for Big Garden Joy
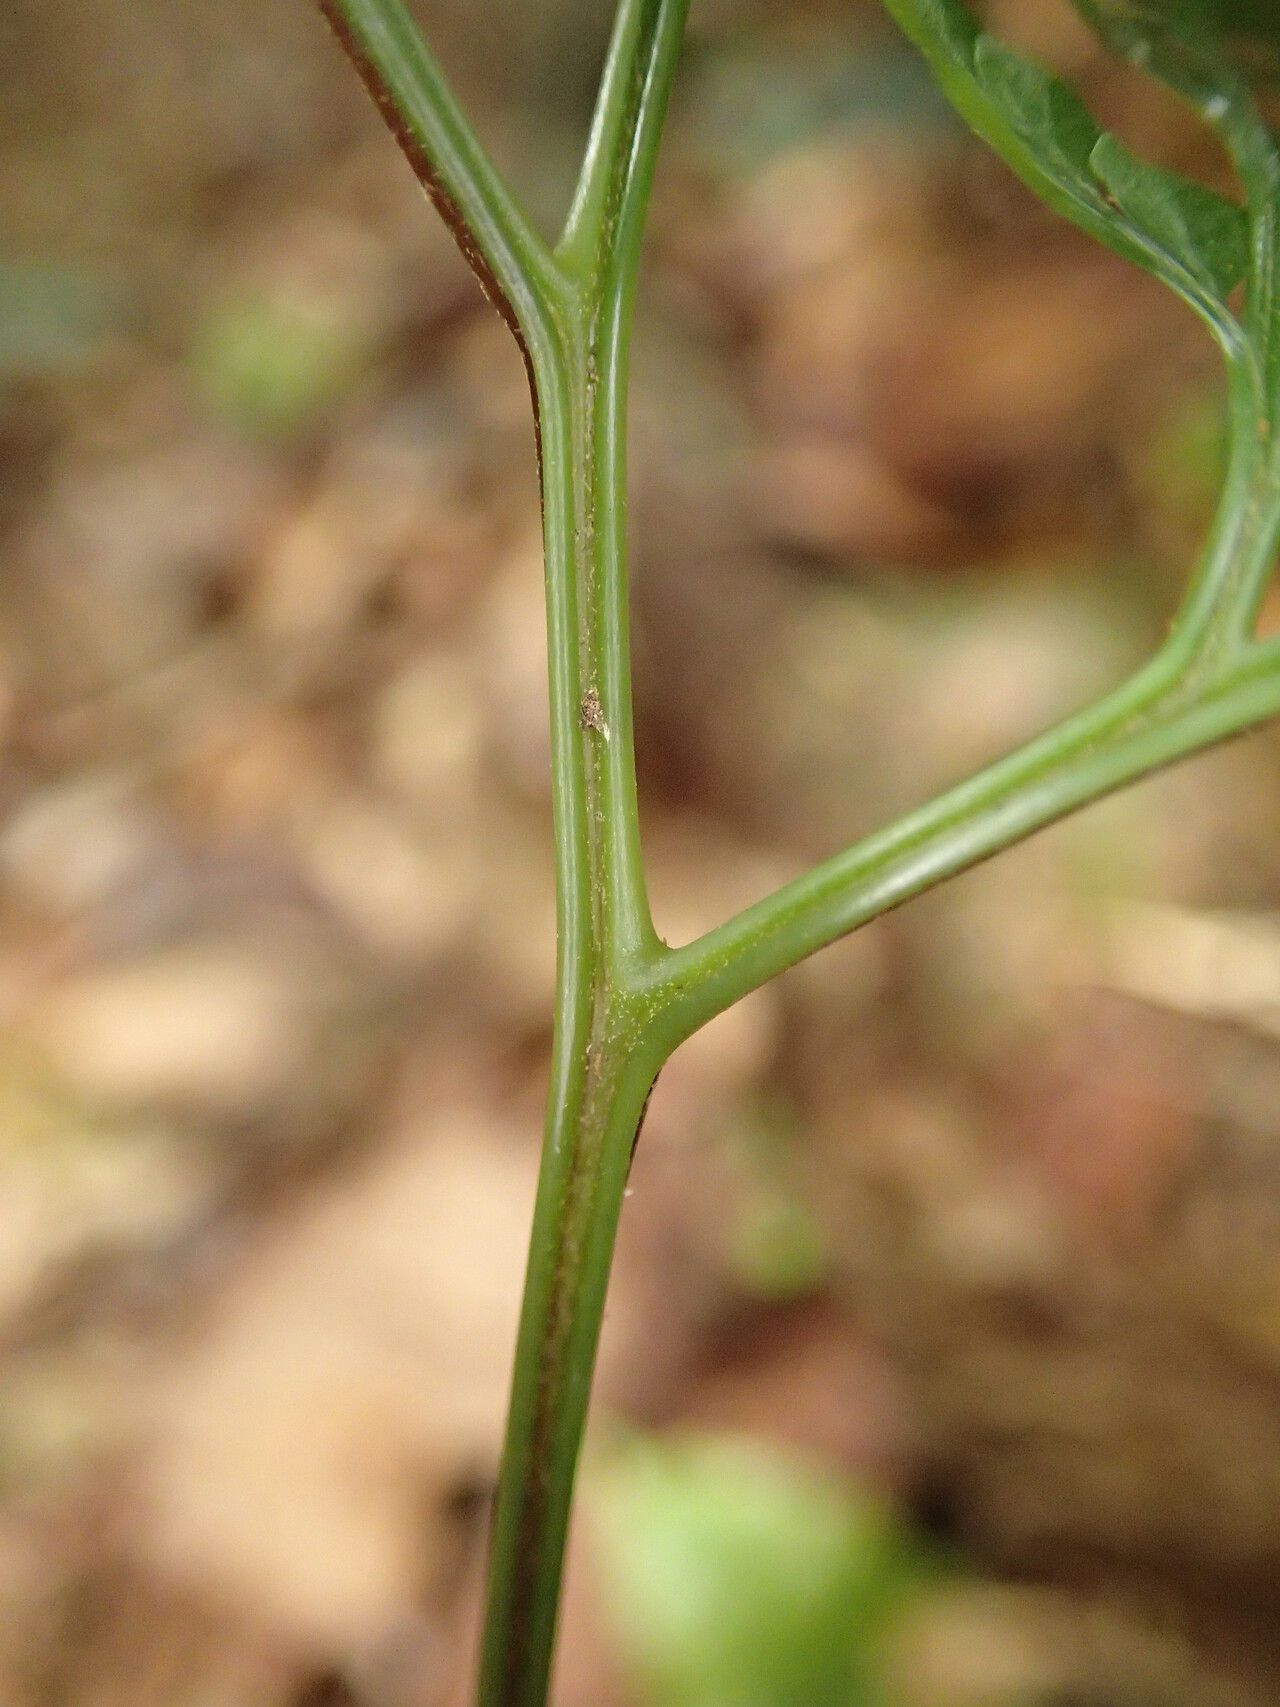
There’s something truly special about Pteris repens. Its delicate, lacy fronds unfurling in a graceful cascade can bring a touch of lushness to any shady corner. It’s a fern that doesn’t demand constant attention but rewards you with beautiful, spreading growth. And the best part? Bringing a new Pteris repens to life from an existing plant is incredibly satisfying. It’s a project that fills my heart with a quiet kind of joy, seeing a tiny cutting transform into a vibrant new specimen. If you’re looking for a relatively straightforward plant to get started with propagation, this is a fantastic choice!
The Best Time to Start
For Pteris repens, I find the spring and early summer are absolutely prime time. This is when the plant is actively growing and has the most energy to put into developing new roots. You’ll notice new fronds emerging vigorously – that’s your cue! Trying to propagate when the plant is dormant in winter is just setting yourself up for disappointment. Patience, my friends. Let your fern wake up first.
Supplies You’ll Need
You don’t need a fancy setup for this. Just a few things will do:
- Sharp pruning shears or a clean knife: For making clean cuts.
- Small pots or propagation trays: With drainage holes, of course!
- A good quality potting mix: I like to use a light, airy mix, often a blend of peat moss, perlite, and a bit of orchid bark. It needs to drain well so those delicate roots don’t get waterlogged.
- Rooting hormone (optional but helpful): A powder or gel can give your cuttings a little boost.
- A clear plastic bag or humidity dome: To create a mini-greenhouse effect.
- A spray bottle: For gentle misting.
Propagation Methods: Bringing New Ferns to Life
There are a couple of ways to go about this, and I usually find division and stem cuttings to be the most successful for Pteris repens.
Method 1: Division (My Favorite for This Fern!)
This is often the easiest and quickest way to multiply your ferns.
- Gently unpot your Pteris repens. Be careful not to damage the roots too much.
- Inspect the root ball. You’re looking for distinct clumps or sections that seem to have their own root systems and developing fronds.
- Using your hands or a clean trowel, carefully pull apart the plant. If it’s a bit stubborn, you can use your pruning shears to make a clean cut through the root ball if needed, ensuring each section has roots and at least one or two fronds.
- Pot each division into its own small pot filled with your prepared potting mix.
- Water gently to settle the soil around the roots.
- Place in a position with bright, indirect light and keep the soil consistently moist but not soggy.
Method 2: Stem Cuttings
This method takes a bit more time but is very rewarding when it works!
- Select a healthy, mature frond that has a bit of length to its stem, or a “stolon” if you can see one. You want to snip off a piece that includes a few inches of the stem below the leafy part.
- Make a clean cut with your sharp shears or knife, right at the base of the frond or stolon.
- Remove the lower leaves from the stem, leaving just a couple of the top ones. This helps the plant focus its energy on root formation.
- Dip the cut end into rooting hormone if you’re using it, tapping off any excess.
- Gently insert the stem into your prepared potting mix. Make a little hole first with a pencil or your finger to avoid rubbing off the rooting hormone.
- Nestle the stem in so it’s upright and stable.
- Water lightly.
- Cover the pot with a clear plastic bag or humidity dome. This is crucial for maintaining the high humidity that cuttings need to develop roots.
- Place in a warm spot with bright, indirect light.
The “Secret Sauce” (Pro Tips)
Here are a couple of little tricks I’ve learned over the years that can really make a difference:
- Keep it humid, but not soggy: When using the plastic bag or dome method for cuttings, it’s essential to keep the humidity high. However, this also means you need to ventilate periodically – lift the bag for a few minutes each day to allow for air circulation. This prevents fungal diseases from taking hold and rotting your precious cuttings before they have a chance to root.
- Don’t be afraid of patience: Sometimes, you might not see roots forming for several weeks. Resist the urge to keep digging them up to check! Trust the process. I often place my propagation pots on a gentle warming mat, especially in cooler months. This bit of bottom heat encourages root development significantly.
Aftercare & Troubleshooting
Once you start seeing signs of new growth – tiny new fronds emerging from your cutting or divisions – you’re on the right track!
- Gradually acclimate your new plants to normal room humidity by slowly opening the plastic bag or dome over a week or two.
- Continue to keep the soil consistently moist, but again, avoid waterlogging. Good drainage is paramount.
- Keep them in bright, indirect light. Direct sun will scorch young leaves.
The most common issue you might encounter is rot. If a cutting turns mushy, black, or develops a foul smell, it’s usually a sign of too much moisture and not enough air circulation. Unfortunately, in these cases, it’s often best to trim away the affected parts and try again, perhaps with a different cutting and ensuring better ventilation next time.
Happy Fern Growing!
Propagating Pteris repens is a wonderfully rewarding journey. It’s about observation, a little bit of patience, and the pure joy of creating new life. Don’t get discouraged if your first attempt isn’t perfect. Every gardener, myself included, has had their share of cuttings that didn’t quite make it. The important thing is to keep learning and enjoying the green magic that gardening brings. Happy propagating!
Resource:
https://identify.plantnet.org/k-world-flora/species/Pteris%20repens%20C.Chr./data