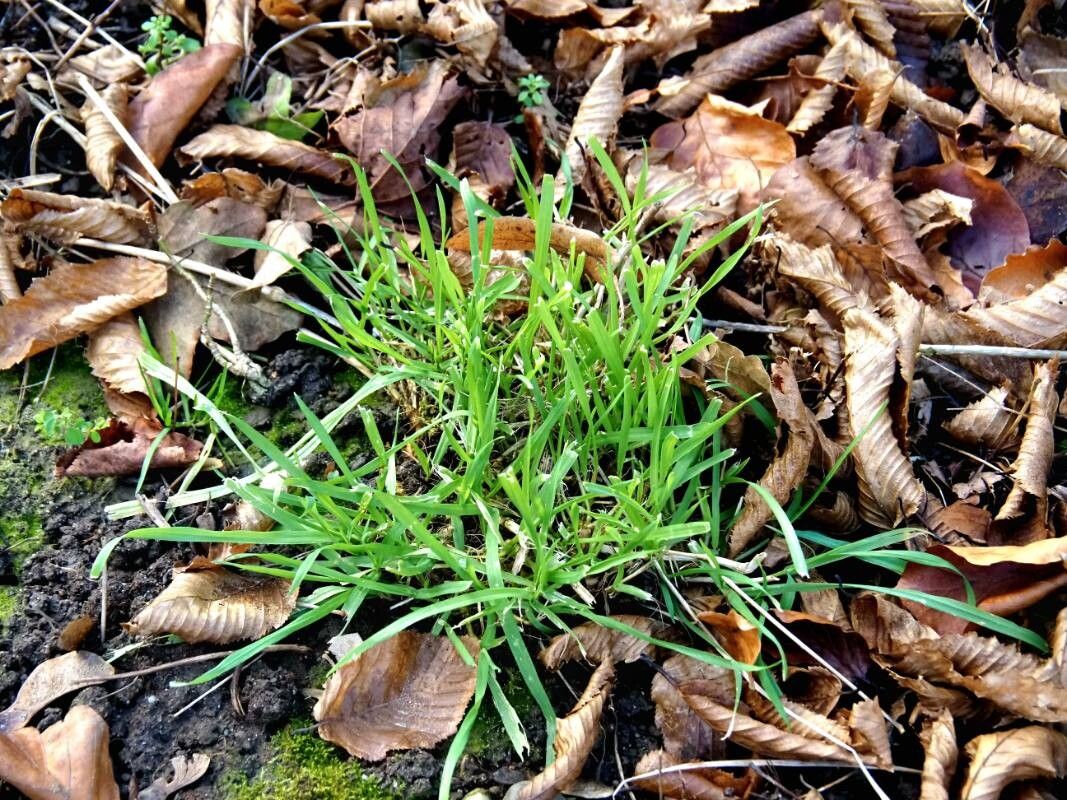
Hey there, fellow plant lovers! Today, we’re going to dive into the wonderfully rewarding world of propagating Poa annua. You know, that lovely, easy-going grass that brings a touch of emerald charm to so many gardens? Its delicate seeding heads and soft texture are just delightful. And the best part? Learning to multiply these beauties yourself is a fantastic way to fill your garden beds, create new borders, or even share with friends.
Now, I know some propagation projects can feel a bit daunting, especially for those just starting out. But I’m here to tell you that Poa annua is wonderfully forgiving. It’s a truly excellent plant for beginners to get their propagation confidence soaring. You’ll be amazed at how readily it takes.
The Best Time to Start
For the absolute highest success rate with Poa annua, you’ll want to focus on propagation during its active growing season. This generally means late spring through early summer. Once the weather warms up consistently and the plant is putting on a good flush of growth, it’s got the energy reserves it needs to establish new roots quickly. Avoid trying to propagate from plants that are stressed by extreme heat or drought; they’ll be too busy trying to survive.
Supplies You’ll Need
To get our Poa annua propagation off to a great start, gather these handy items:
- Sharp pruning shears or scissors: Clean cuts are essential.
- A well-draining potting mix: I like to use a blend of peat moss, perlite, and a bit of compost.
- Small pots or seed trays: Whatever suits your space.
- Rooting hormone (optional but helpful): A good quality powder or gel will give your cuttings an extra boost.
- A mister or spray bottle: For keeping things humid.
- A clear plastic bag or dome: To create a mini-greenhouse effect.
Propagation Methods
Poa annua is incredibly adaptable, and happily, it’s quite easy to propagate using a few different methods. Here are my go-to’s:
1. Division (My Favorite for Established Plants)
This is probably the easiest and most successful method, especially if you have a mature Poa annua clump.
- Dig Carefully: Gently dig up the entire clump of your Poa annua. Be mindful of the root system.
- Tease Apart: Using your hands or a trowel, carefully separate the clump into smaller sections. You’re looking for pieces that have roots attached to them. Don’t be afraid to be a little firm; the goal is to get a decent root ball on each new division.
- Replant Immediately: Plant these divisions into your prepared pots or directly into your garden beds. Water them in well to help settle the soil around the roots.
2. Stem Cuttings (A Little More Patience Required)
This method leverages the plant’s natural tendency to spread.
- Take Your Cuttings: Look for healthy, non-flowering stems. Using your sharp shears, snip off pieces that are about 3-5 inches long. Try to include a node (where leaves attach to the stem).
- Prepare the Cutting: Pinch off any lower leaves so that only a couple of leaves remain at the top.
- Dip in Rooting Hormone (Optional): If you’re using rooting hormone, dip the cut end of the stem into it.
- Plant the Cuttings: Make small holes in your potting mix and insert the cuttings. Ensure the leaves aren’t touching the soil surface, as this can encourage rot.
- Provide Humidity: Mist the cuttings thoroughly and cover the pot with a clear plastic bag or dome to create a humid environment. Prop it up with a few stakes so the bag doesn’t touch the leaves.
The “Secret Sauce” (Pro Tips)
Here are a couple of things I’ve learned over the years that really make a difference:
- Bottom Heat is Your Friend: If you’re using the stem cutting method and live in a cooler climate, placing your pots on a heating mat can significantly speed up root development. It mimics the warmth of spring soil.
- Don’t Let Those Leaves Drip Dry: When you’re misting your cuttings, aim for the leaves to be moist, but not soggy. Excess water on the foliage can lead to fungal issues. A light, frequent misting is better than a heavy deluge.
Aftercare & Troubleshooting
Once your Poa annua has started to root – and you’ll often see new growth or a gentle tug on the cutting will reveal resistance – it’s time to adjust its environment.
- Gradual Acclimation: If you’ve used a plastic bag or dome, gradually introduce your new plants to drier air over a few days. Open the bag for a few hours each day, then increase the time.
- Light and Water: Keep the new plants in bright, indirect light. Water them when the top inch of soil feels dry to the touch.
- Watch for Rot: The most common sign of failure is rot, which usually appears as a mushy, dark stem base. This is often due to overwatering or poor air circulation. If you see this, unfortunately, the cutting likely won’t recover. Make sure your potting mix is airy and don’t waterlog your new plants.
A Encouraging Closing
Propagating Poa annua is a wonderful way to connect with your plants and expand your garden’s beauty. Be patient with the process, especially with cuttings. Some will take off immediately, while others might take a little longer to show their roots. Enjoy the journey, learn from each step, and before you know it, you’ll have a garden full of this cheerful grass! Happy propagating!
Resource:
https://identify.plantnet.org/k-world-flora/species/Poa%20annua%20L./data