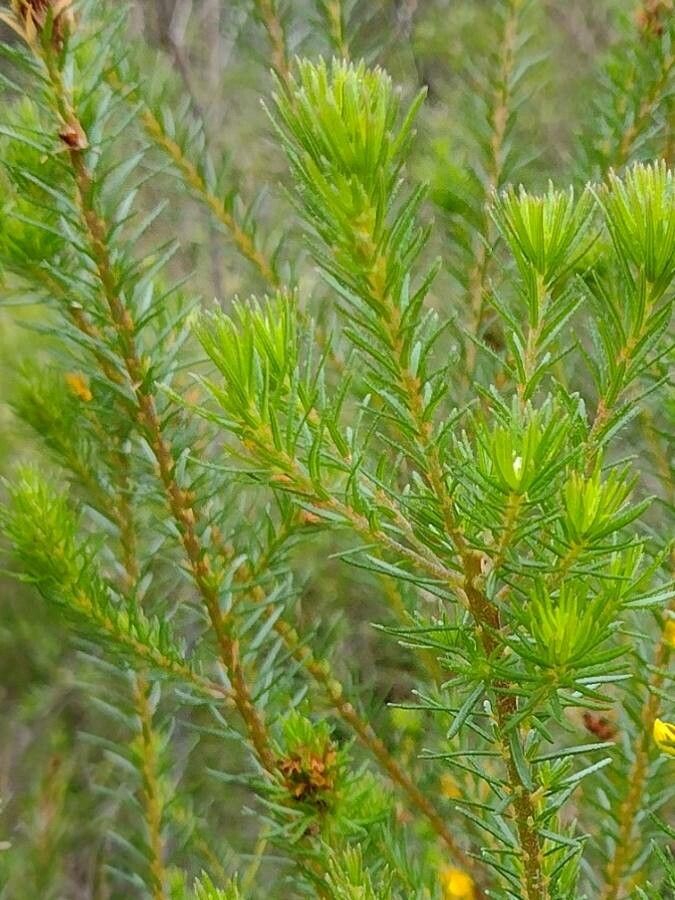
Hello, fellow plant enthusiasts! Today, we’re diving into the wonderful world of propagating Phyllota phylicoides, often charmingly called the “Dolly Bush.” If you’ve ever admired its delicate, daisy-like yellow flowers that seem to glow against its fine, green foliage, you’re in for a treat. Sharing this beauty by growing new plants from your existing one is incredibly rewarding. Don’t worry if you’re just starting; I’d say propagating the Dolly Bush is moderately easy, certainly achievable with a little care and attention.
The Best Time to Start
For the highest success rate, spring is your golden ticket. Specifically, look for actively growing stems after the plant has finished its main flowering push. These young, flexible stems are full of life and ready to root. You can also have success with softwood cuttings in early summer, but spring generally offers the best of both worlds: warmth and vigorous growth.
Supplies You’ll Need
- Sharp pruning shears or a clean knife: Essential for making clean cuts.
- Rooting hormone (optional but recommended): This helps encourage root development. Look for one that’s suitable for softwood cuttings.
- Sterile propagating mix or a 50/50 blend of perlite and peat moss: Well-draining is key!
- Small pots or trays: Clean ones are a must to prevent disease.
- Plastic bags or a propagation dome: To create a humid environment.
- Watering can with a fine rose: For gentle watering.
- Labels or plant tags: To keep track of your new babies!
Propagation Methods
We’ll focus on the most reliable method for Phyllota phylicoides: stem cuttings.
-
Take Your Cuttings: Select a healthy, non-flowering tip from your Dolly Bush. You’re looking for stems that are flexible but not woody – think pencil-lead thickness. Make a clean cut just below a leaf node (where a leaf joins the stem). Aim for cuttings that are about 4-6 inches long. Remove any lower leaves that might sit below the soil line once planted. You can leave a couple of pairs of leaves at the top.
-
Prepare the Cuttings: If you’re using rooting hormone, dip the cut end of each cutting into it. Gently tap off any excess. This step isn’t strictly mandatory, but I find it gives cuttings a real boost.
-
Plant Your Cuttings: Fill your pots or trays with your sterile propagating mix. Moisten the mix gently. Make a small hole in the soil with a pencil or your finger. Insert the cutting into the hole, ensuring the leaf nodes are buried. Firm the soil gently around the stem.
-
Create a Humid Environment: This is crucial! Lightly water the soil again. Then, cover the pots with a plastic bag, prop it up with a few stakes so it doesn’t touch the leaves, or use a propagation dome. This traps humidity, which is vital for cuttings while they develop roots.
The “Secret Sauce” (Pro Tips)
- Bottom Heat is Your Friend: If you have a heat mat designed for propagation, placing your pots on it can significantly speed up root formation. The warmth encourages root cells to develop.
- Don’t Drench, but Keep it Moist: The propagating mix should feel like a wrung-out sponge – moist but not waterlogged. Overwatering is the quickest way to invite rot, which is the bane of every propagator’s existence.
- Cleanliness is Next to Godliness: I cannot stress this enough. Always use clean tools and clean pots. Any lingering pathogens can quickly take down your precious cuttings. Wash your pots with hot, soapy water and rinse thoroughly.
Aftercare & Troubleshooting
Once your cuttings are planted, place them in a bright, indirect light location. Avoid direct sun, which can scorch the delicate leaves and dry out the cuttings. Be patient! Rooting can take anywhere from 3 to 6 weeks, sometimes longer.
You’ll know your cuttings have rooted when you see new leaf growth or gently tug on a cutting and feel resistance. At this point, begin to gradually acclimate them to less humid conditions by opening the plastic bag a little each day. Once they are well-rooted, you can transplant them into their own small pots with regular potting soil.
The most common sign of failure is wilting and browning, or the cutting becoming mushy and black at the base. This usually points to rot from too much moisture or a lack of air circulation. If you see this happening, unfortunately, it’s often best to discard it and start fresh, remembering those tips about drainage and humidity control!
A Warm Encouragement
Propagating plants is a journey of observation and a little bit of faith. Don’t get discouraged if some cuttings don’t make it. Each attempt is a learning experience. Celebrate the successes, and with a bit of practice, you’ll be sharing your beautiful Dolly Bushes with friends and family in no time. Happy propagating!
Resource: