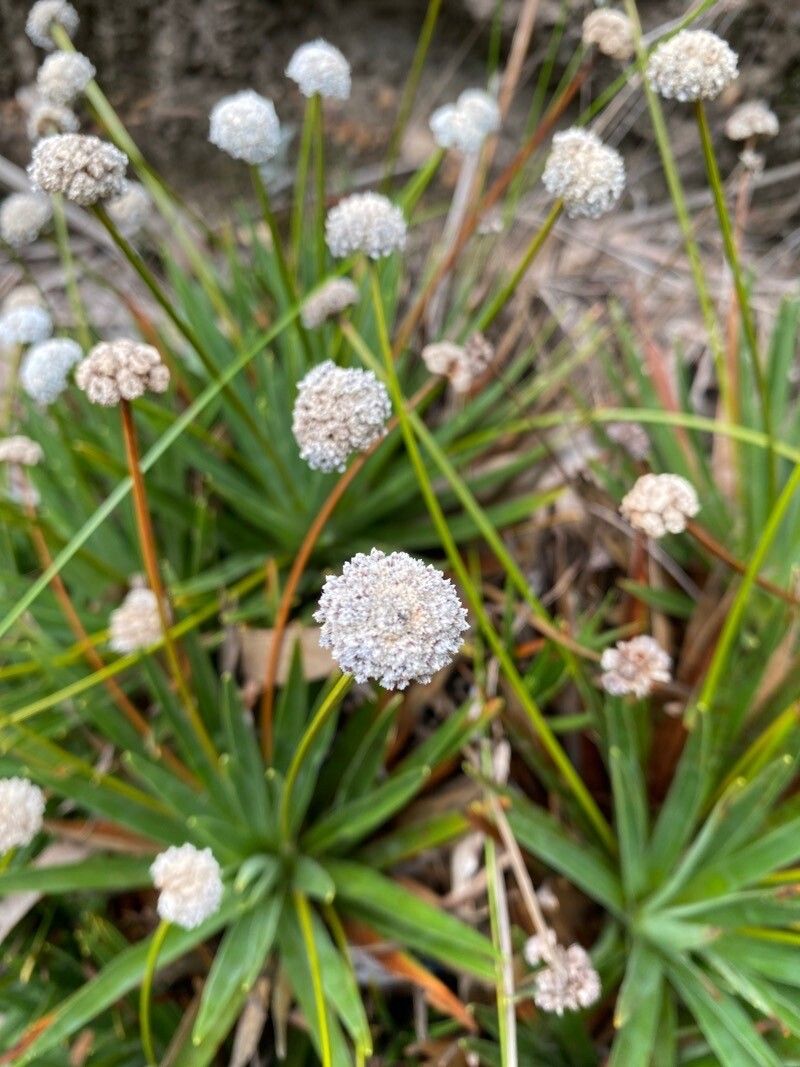
Hello, fellow plant lovers! Today, we’re diving into the wonderful world of Paepalanthus alpinus. If you’ve ever admired these charming, almost otherworldly plants, with their fuzzy, star-like blooms perched atop slender stems, you’re not alone. They have a truly unique appeal that brings a touch of magic to any collection. And guess what? Propagating them is incredibly rewarding, allowing you to multiply that magic without breaking the bank. Now, I won’t lie; Paepalanthus alpinus can be a bit finicky, so it might not be the very first plant I’d recommend for a total beginner. But with a little patience and the right approach, you can absolutely master it!
The Best Time to Start
For the highest success rate with propagating Paepalanthus alpinus, aim for spring or early summer. This is when the plant is actively growing and has plenty of energy to put into forming new roots. Look for healthy, vigorous stems that are not flowering. You want your new cuttings to be full of life!
Supplies You’ll Need
Gathering your supplies beforehand makes the whole process much smoother. Here’s what I recommend:
- Sharp, clean pruning shears or a sharp knife: For taking precise cuts without damaging the parent plant.
- Rooting hormone (optional but recommended): A powder or gel that encourages faster and stronger root development.
- A well-draining potting mix: I like a blend of coarse perlite, vermiculite, and a bit of coco coir. Avoid heavy, moisture-retentive soils.
- Small pots or seedling trays: Clean and with drainage holes, of course.
- A clear plastic bag or humidity dome: To create a mini-greenhouse environment.
- Watering can with a fine rose attachment: For gentle watering.
- A warm, bright location: But avoid direct sunlight for the cuttings.
Propagation Methods
While Paepalanthus alpinus can be a tad sensitive, stem cuttings are generally the most successful and straightforward method. Here’s how I do it:
- Take Your Cuttings: Using your sharp pruning shears or knife, select healthy stems from your mature plant. Aim for cuttings that are about 3-4 inches long and have at least two sets of leaves. Make a clean cut just below a leaf node (where a leaf attaches to the stem).
- Prepare the Cuttings: Gently remove the lower leaves from your cuttings, leaving just one or two sets at the top. This helps prevent them from rotting in the soil. If you’re using rooting hormone, dip the cut end of the stem into the powder or gel, tapping off any excess.
- Pot Them Up: Fill your small pots or trays with your well-draining potting mix. Moisten the mix slightly so it’s damp, not soggy. Gently insert the prepared cuttings into the soil, ensuring the leaf nodes are buried. I usually stick 2-3 cuttings per small pot for a fuller look if they all take.
- Create Humidity: Water gently to settle the soil around the cuttings. Then, cover the pots with a clear plastic bag or a humidity dome. This is crucial for keeping the humidity high, which young cuttings need to prevent wilting before they can root.
- Provide the Right Environment: Place the covered pots in a bright spot that receives indirect sunlight. Avoid direct sun, which can scorch the delicate cuttings. Keep the temperature consistently warm, ideally around 70-75°F (21-24°C).
The “Secret Sauce” (Pro Tips)
Having gardened for a while, I’ve learned a few little tricks that give my propagation efforts a boost. Consider these my “secret sauce” for Paepalanthus alpinus:
- Bottom Heat is Your Friend: If you have a seedling heat mat, placing your pots on it will make a world of difference. It warms the soil and encourages root development from below, which is super beneficial for these plants.
- Don’t Overwater, Even with Humidity: While you want high humidity, be mindful of the soil. Allow the top layer of soil to dry slightly between waterings. Soggy soil is the quickest way to invite rot. I often give mine a gentle misting if the humidity seems to be dropping drastically within the dome, but I avoid drenching the soil.
- Air Circulation (When Roots Appear): Once you start seeing tiny roots forming (you might see them peeking out the drainage holes or notice new leaf growth), gradually increase air circulation. This means propping open your humidity dome or poking a few small holes in the plastic bag for a few hours a day. This helps the new roots adapt to drier air and prevents fungal issues.
Aftercare & Troubleshooting
Once your cuttings have started to grow new leaves, you know they’ve successfully rooted! Congratulations!
- Transitioning: Slowly acclimate your new plants to less humid conditions. Gradually lift the humidity dome or open the plastic bag for longer periods over a week or two.
- Watering: Continue to water when the top inch of soil feels dry. Paepalanthus alpinus appreciates consistent moisture, but never soggy feet.
- Feeding: Once they’re settled, you can start feeding with a diluted, balanced liquid fertilizer during the growing season, about half strength.
Now, what if things don’t go as planned? The most common sign of failure is rot. If your cuttings turn mushy and dark, or if you notice mold growing on the soil surface, it’s usually a sign of overwatering and poor air circulation. Don’t be disheartened! Just discard the rotted cuttings, sterilize your pots, and try again, remembering those key tips about watering and air.
A Little Patience Goes a Long Way
Propagating plants is a journey, and sometimes it takes a few tries to get it just right. Don’t get discouraged if your first attempt isn’t perfect. Observe your cuttings, learn from what you see, and enjoy the process of nurturing new life. With a little care and these tips, you’ll soon have a beautiful collection of Paepalanthus alpinus to enjoy! Happy gardening!
Resource:
https://identify.plantnet.org/k-world-flora/species/Paepalanthus%20alpinus%20Körn./data