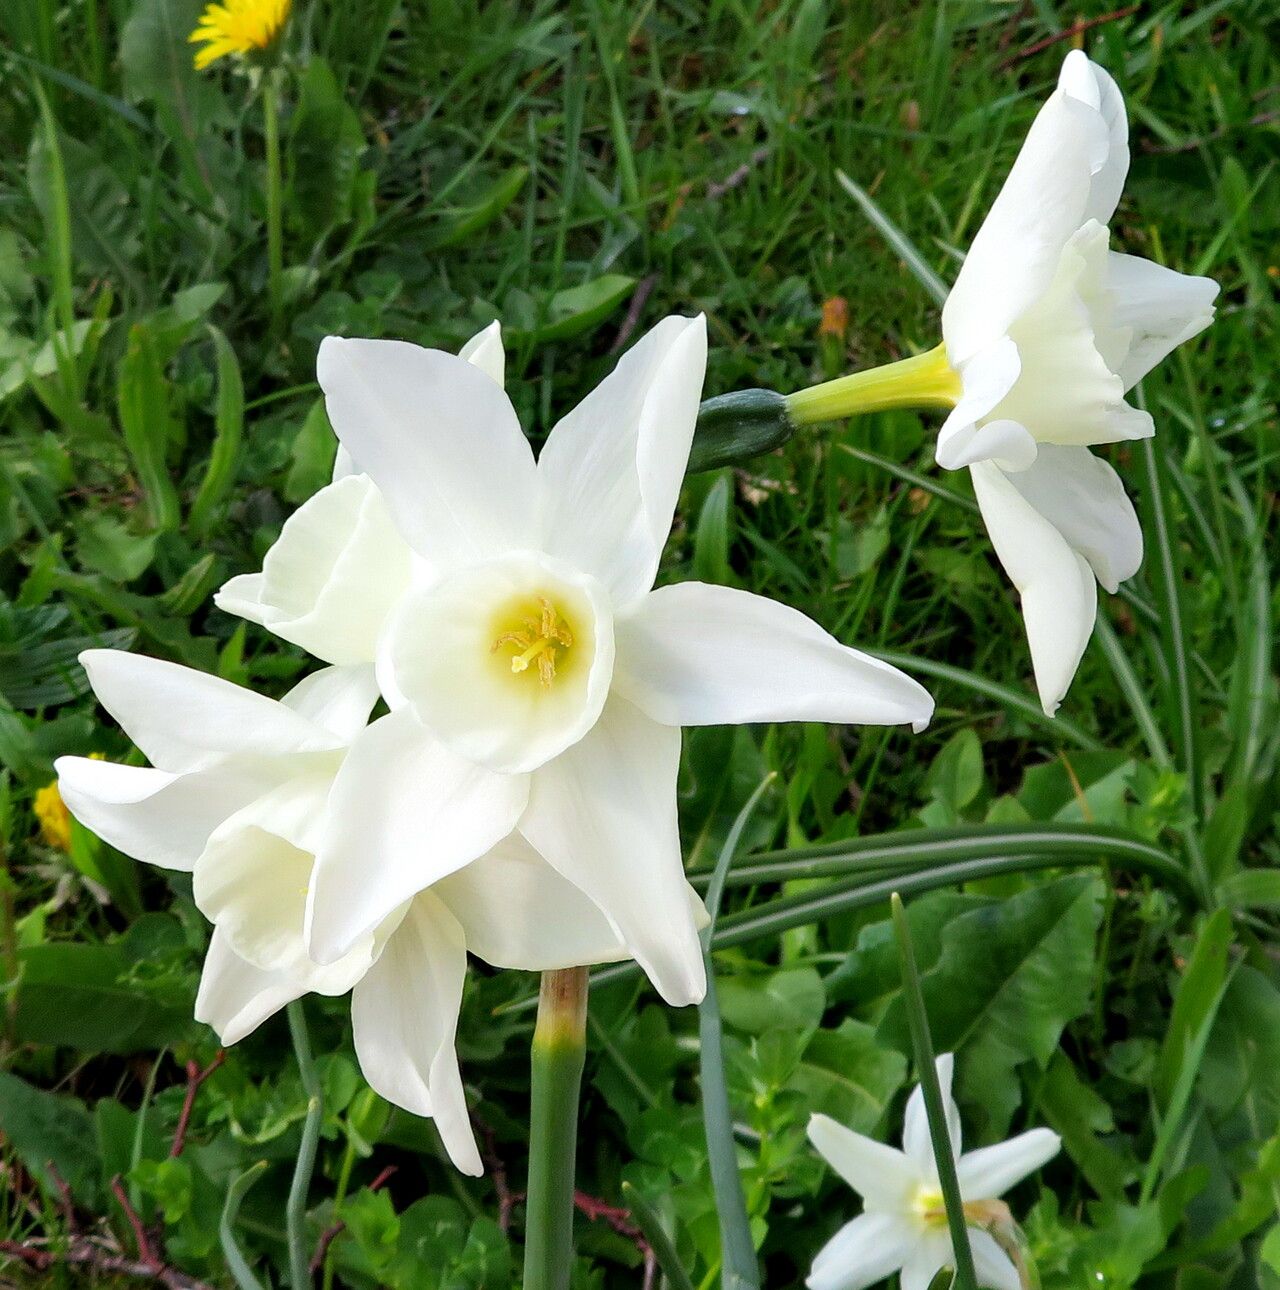
Oh, hello there! Come on in, pull up a chair. Let’s chat about something truly special from my garden: Narcissus triandrus. If you’ve ever spotted these delicate beauties gracing a garden bed or a florist’s stall, you know exactly what I mean. They have this ethereal charm, with their elegant, nodding flowers, often in creamy whites or soft yellows. They’re a bit more whimsical than their showier cousins, and honestly, that’s part of their magic.
Propagating them feels like unlocking a little secret. It’s incredibly rewarding to see these shy plants multiply under your care. Now, I won’t sugarcoat it – Narcissus triandrus can be a touch more particular than, say, a common daffodil. But don’t let that deter you! With a little understanding and a gentle hand, it’s a wonderfully achievable project, even for those newer to the world of plant propagation.
The Best Time to Start
Timing is everything, isn’t it? For Narcissus triandrus, the absolute sweet spot for propagation is right after it has finished blooming, typically in late spring or early summer. This is when the bulb has stored up all its energy from the growing season and is ready to focus on reproduction. If you wait too long, the energy will have shifted elsewhere.
Supplies You’ll Need
Gathering your tools beforehand makes the whole process smoother. Here’s what I usually have on hand:
- A sharp, clean knife or trowel for division.
- Well-draining potting mix. I like a blend specifically for bulbs or an equal mix of perlite, peat moss, and compost. You want it to breathe!
- Small pots or trays with drainage holes.
- Labels and a pen to keep track of what you’ve planted and when.
- Rooting hormone powder (optional, but can give a nice boost for cuttings).
- Sip your coffee slowly! Sometimes, the best tool is a moment of calm.
Propagation Methods
There are a couple of ways we can go about this, but for Narcissus triandrus, the most successful and common method is division. Think of it as helping a happy family grow!
Division:
- Dig Gently: Once the foliage has died back naturally (this is crucial – it’s feeding the bulb!), carefully dig around the mother bulb. I like to use my trowel to loosen the soil and then gently lift the entire clump. If the soil is dry and crumbly, you might even be able to loosen them by hand.
- Separate the Offsets: You’ll often find small bulbs, called offsets or bulblets, clustered around the main bulb. These are baby bulbs! Gently tease them apart. Sometimes they come away easily, and other times you might need your clean knife to carefully cut them from the parent bulb. Make sure each offset has at least a small piece of basal plate (the bottom bit where roots grow) attached.
- Inspect and Replant: Look over your newly separated bulbs. Discard any that seem soft, damaged, or diseased. Then, replant them in your well-draining potting mix. I plant them at about the same depth they were growing before, usually about 2-3 times the bulb’s height. Give them a little space – about 4-6 inches apart is good.
While others might discuss stem cuttings or water propagation for other plants, for Narcissus triandrus, focusing on division of the bulb is where you’ll see the best results and the least heartbreak. They aren’t typically grown from seeds by home gardeners, and stem cuttings are a whole different ballgame with different plant types.
The “Secret Sauce” (Pro Tips)
Now, for a few little nudges from someone who’s learned a thing or two over the years:
- The Foliage is Your Friend: Seriously, resist the urge to cut those browning leaves! They are still photosynthesizing and sending energy down to the bulb, making it stronger for the next year and for producing offsets. Only dig when the leaves have completely withered.
- Don’t Over-Crowd: When replanting, remember that these little guys will grow. Give them ample room to develop. A crowded bulb has to fight for resources and might not produce as many flowers or offsets.
- A Touch of Compost: If your potting mix feels a bit lean, mixing in a small amount of well-rotted compost can give those new bulbs a little extra food to get them established. Just a whisper, though! Too much can be too rich.
Aftercare & Troubleshooting
Once your offsets are planted, the crucial part is patience. Water them in well, and then let them be. Keep the soil lightly moist but never waterlogged. During the summer, when they’re essentially dormant, you just want to prevent the soil from drying out completely into a hard brick.
What if things go wrong? The most common culprit is rot. If you notice bulbs (or offsets) becoming mushy, dark, and developing an unpleasant odor, rot has likely set in. This is almost always due to overwatering or poor drainage. If you catch it early, you might be able to salvage a healthy portion if it hasn’t spread too far. However, it’s often best to discard affected bulbs to prevent it from spreading to others. Sometimes, a bulb just fails to thrive; it happens to the best of us! Don’t take it personally; the plant itself might not have been strong enough or the conditions weren’t quite right.
A Encouraging Closing
So there you have it! A little dive into the rewarding world of propagating Narcissus triandrus. Remember, gardening is a journey, and propagation is one of its most beautiful detours. Be patient with your new plants, observe them, and most importantly, enjoy the process. Watching a tiny offset transform into a blooming beauty is a joy that never fades. Happy planting!
Resource:
https://identify.plantnet.org/k-world-flora/species/Narcissus%20triandrus%20L./data