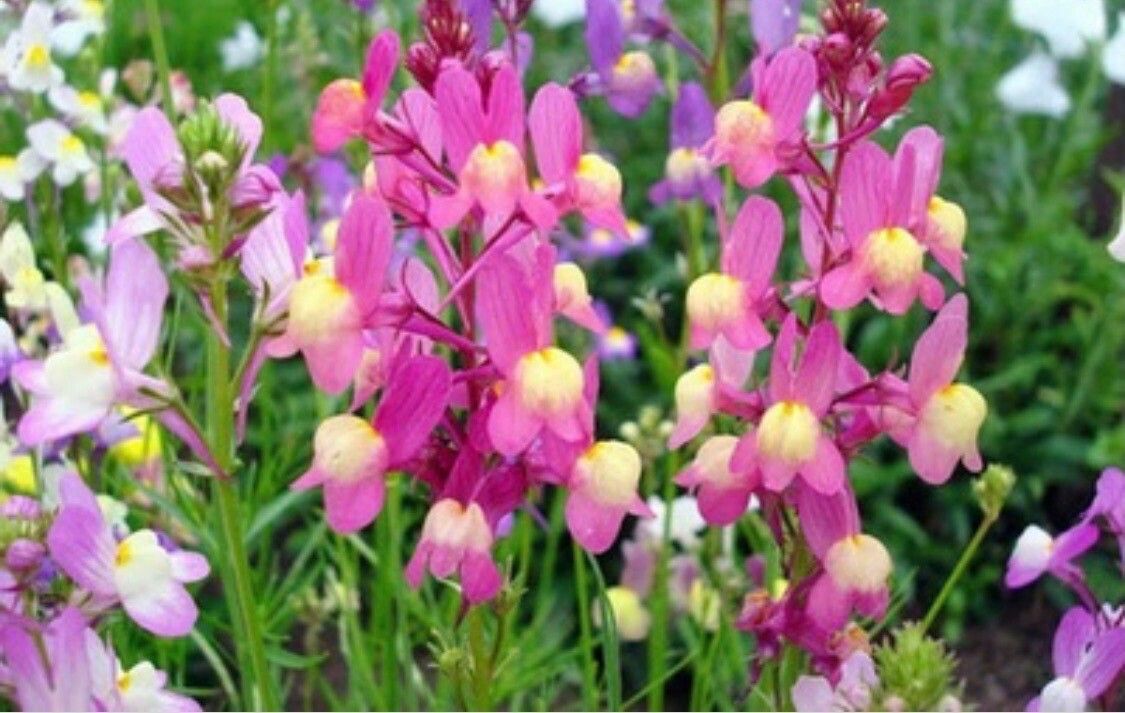
Hello, fellow garden lovers! I’m so thrilled to chat with you today about a truly delightful plant: Linaria ricardoi. If you haven’t encountered this little gem yet, imagine delicate, snapdragon-like flowers in a soft spectrum of pinks and purples, often with a sweet, subtle fragrance. They cascade beautifully, making them perfect for hanging baskets, rock gardens, or edging a border. Propagating them is an incredibly rewarding experience. Trust me, watching a tiny cutting unfurl its first true leaves is a joy that never gets old. Now, as for beginners – I’d say Linaria ricardoi is moderately easy. It’s not quite a ‘stick it in the ground and walk away’ kind of plant, but with a little attention, you’ll be well on your way to success.
The Best Time to Start
For the highest success rates with Linaria ricardoi, I always reach for my propagation tools in late spring or early summer. This is when the plant is actively growing and has plenty of healthy, vigorous stems to work with. You’re essentially taking advantage of its natural energy surge.
Supplies You’ll Need
Here’s what I usually have on hand when I’m propagating these beauties:
- Sharp pruning shears or a clean craft knife: For making clean cuts.
- Small pots or seed trays: Anything clean and with drainage holes will do.
- Well-draining potting mix: I like a mix of regular potting soil with perlite or horticultural sand added for extra aeration. A specialized seedling or cutting mix also works wonders.
- Rooting hormone powder or gel (optional but recommended): This gives your cuttings a little boost.
- A spray bottle: For gentle misting.
- Plastic bags or propagation domes: To create a humid environment.
Propagation Methods
There are a couple of ways to get more Linaria ricardoi from your existing plants. I find stem cuttings the most reliable.
Stem Cuttings:
- Select your stems: Look for healthy, non-flowering shoots that are about 3-4 inches long. You want stems that are firm but not woody.
- Make the cut: Using your clean shears or knife, make a clean cut just below a leaf node. This is a point where leaves emerge from the stem.
- Prepare the cutting: Gently remove the lower leaves from the cutting, leaving just a couple at the top. This prevents them from rotting in the soil.
- Apply rooting hormone (optional): Dip the cut end of the stem into rooting hormone powder or gel, tapping off any excess.
- Plant your cuttings: Fill your small pots or trays with your prepared potting mix. Make a small hole with your finger or a pencil and gently insert the cutting, pressing the soil around it to secure it.
- Water gently: Water the soil thoroughly but gently, making sure not to dislodge the cuttings.
- Create humidity: Place a clear plastic bag over the pot or cover the tray with a propagation dome. This traps moisture around the cuttings, which is essential for root development.
Water Propagation (A bit more finicky for Linaria, but possible!):
- Follow steps 1-3 above.
- Instead of potting mix, place the prepared cuttings in a clean glass or jar filled with fresh, room-temperature water.
- Crucially, ensure no leaves are submerged in the water. Any leaves touching the water will rot and likely kill the cutting.
- Place the jar in a bright spot with indirect light. Change the water every few days to keep it fresh. You’re looking for tiny white roots to appear from the nodes. Once they are about an inch long, you can attempt to pot them into soil.
The “Secret Sauce” (Pro Tips)
- My absolute favorite trick for Linaria cuttings is to use bottom heat. If you have a heat mat designed for seedlings, place your pots on it. It significantly speeds up root formation by keeping the soil at a consistently warm temperature, which these little guys love.
- Don’t be tempted to overwater! While humidity is crucial, soggy soil is the enemy of young cuttings. Allow the surface of the soil to dry out slightly between waterings. A good indicator is when the pot feels significantly lighter.
- If you’re doing water propagation, remember that smaller is often better for the vessel. A slender jar or narrow glass can help keep the stem more upright and the leaves from drooping into the water.
Aftercare & Troubleshooting
Once you see new growth emerging from your cuttings – little leaves unfurling – that’s a great sign! You can begin to gradually acclimate them to drier air by lifting the plastic bag or dome for increasing periods each day. Once they seem robust and have clearly established themselves, you can remove the cover entirely.
The biggest issue you might encounter is rot. If your cuttings turn mushy or black, it’s usually a sign of too much moisture or not enough air circulation. Sadly, these are usually a loss, but don’t despair! Just start again with fresh cuttings and adjust your watering and humidity levels.
A Encouraging Closing
Propagating plants is a journey, and sometimes it feels like a bit of a gamble. But with Linaria ricardoi, the rewards are so worth it. Be patient with your little green babies, give them a good start, and remember that nature has a wonderful way of surprising us. Happy propagating!
Resource:
https://identify.plantnet.org/k-world-flora/species/Linaria%20ricardoi%20Cout./data