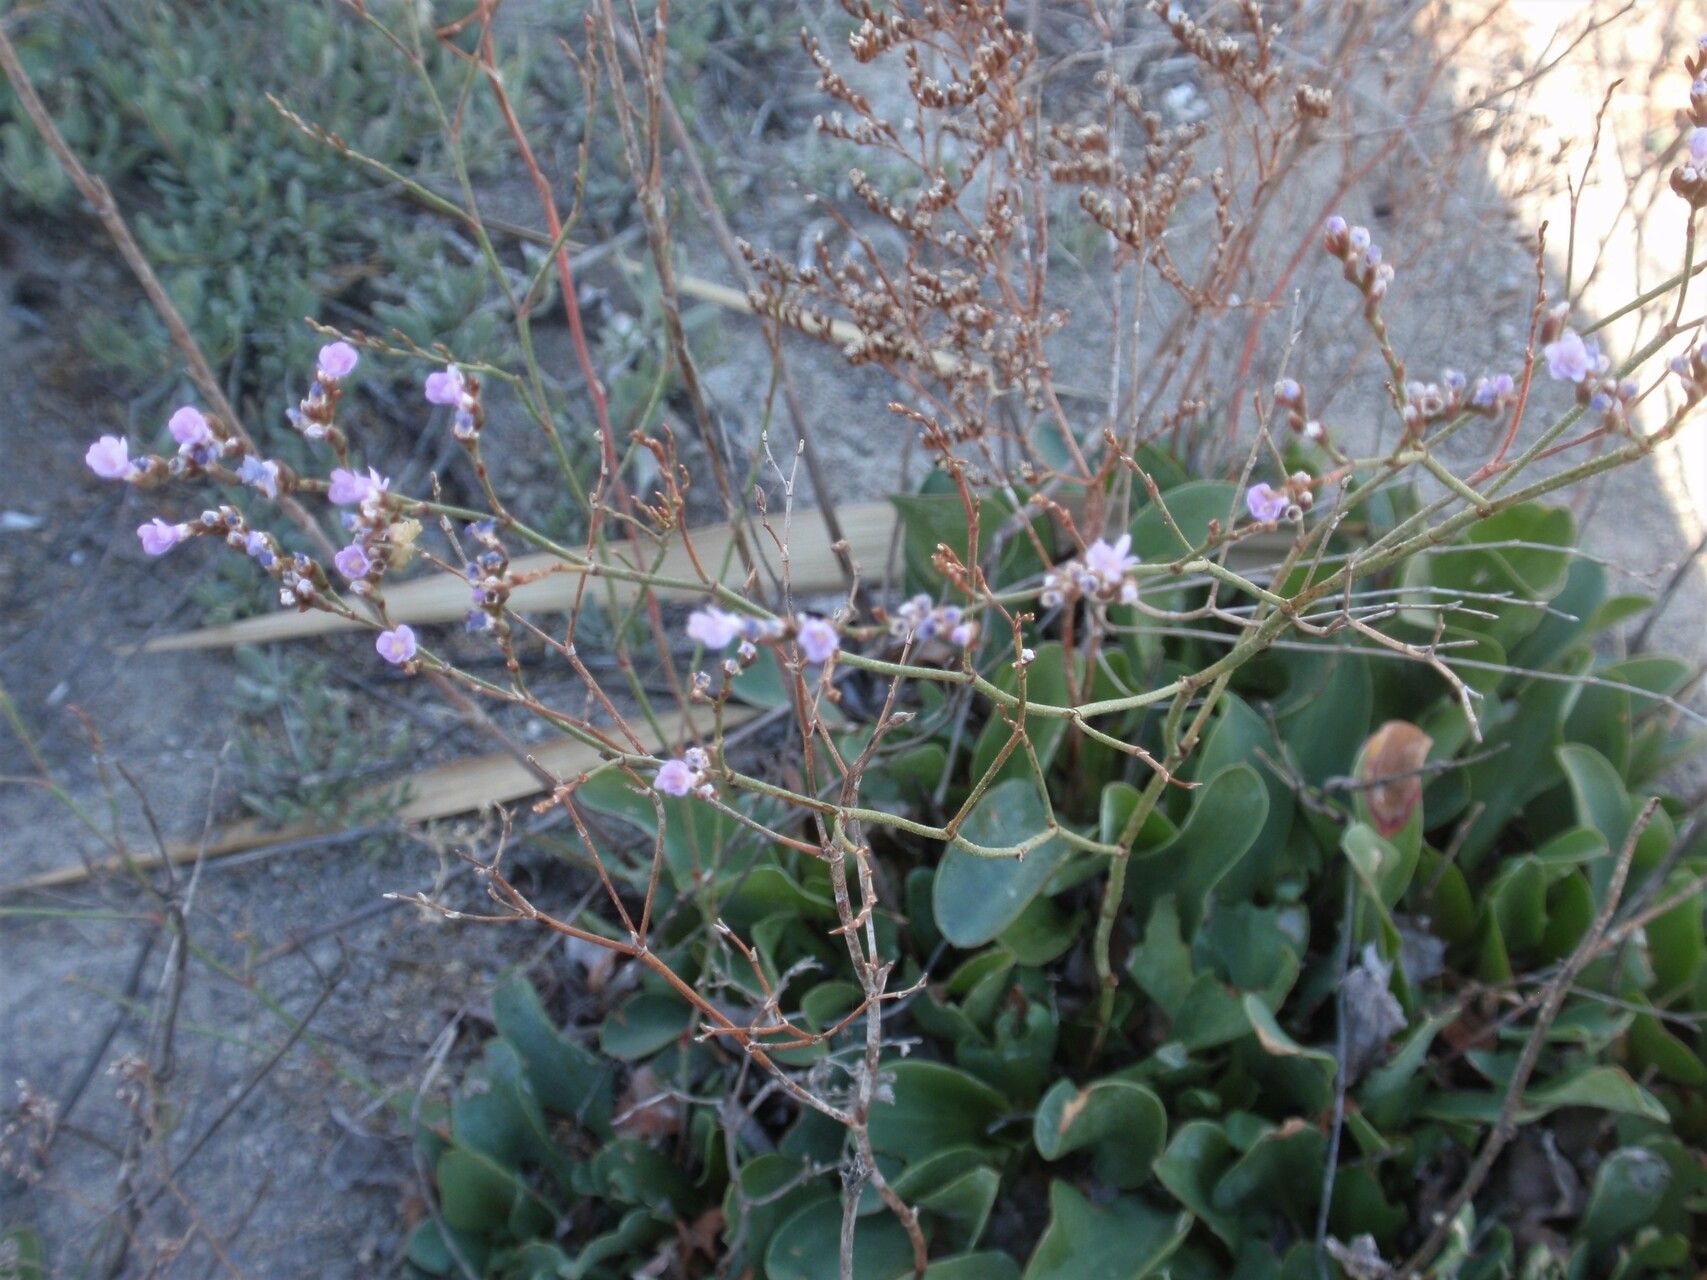
Hello there, fellow plant lovers! Today, we’re diving into the wonderful world of propagating Limonium angustebracteatum, that absolutely stunning sea lavender with its delicate, papery blooms. If you’ve ever admired these beauties, perhaps in a garden border or a dried flower arrangement, you might be wondering how to get more for yourself. I’m here to tell you, it’s a deeply satisfying endeavor, and while it asks for a little attention, I think even beginners can find success with it. The sheer joy of watching a tiny cutting transform into a thriving plant is something truly special.
The Best Time to Start
For Limonium angustebracteatum, the sweet spot for propagation is typically in late spring to early summer. This is when the plant is actively growing after its winter rest and has plenty of fresh energy to put into developing new roots. You’ll want to choose pieces that are not too tender and sappy, but also not woody and old. Think of it like this: you’re looking for growth that feels robust but also pliable.
Supplies You’ll Need
Gathering your tools before you begin will make the whole process smoother. Here’s what I always have on hand:
- Sharp, clean pruning shears or a sharp knife: For making precise cuts.
- Rooting hormone (optional but recommended): This gives your cuttings a little boost.
- Well-draining potting mix: A good blend of peat moss, perlite, and a bit of coarse sand works wonders. You can also find specialized seed starting mixes that are excellent.
- Small pots or trays: Clean ones are a must to prevent disease.
- Plastic bags or a clear propagator: To create a humid microclimate.
- Watering can with a fine rose: For gentle watering.
- Labeling stakes: So you don’t forget what you’ve planted!
Propagation Methods
I’ve found that stem cuttings are the most reliable way to go for Limonium angustebracteatum. It’s a straightforward technique that gives you a good chance of success.
- Select Your Cuttings: Head out to your plant during the ideal season. Look for new growth shoots that are about 3-4 inches long. They should be flexible but firm.
- Make the Cut: Using your sharp tool, make a clean cut just below a leaf node. A leaf node is where a leaf meets the stem – this is where the magic of root development often happens.
- Prepare the Cuttings: Gently remove the lower leaves from the cutting, leaving only the top few leaves. This prevents them from rotting when you insert the cutting into the soil. If the leaves are quite large, you can snip off about half of each remaining leaf to reduce water loss.
- Apply Rooting Hormone (Optional): Dip the cut end of each stem into your rooting hormone powder, tapping off any excess. This step isn’t absolutely essential, but it really does encourage faster and stronger root formation.
- Plant Your Cuttings: Fill your small pots or trays with your well-draining potting mix. Make a small hole in the center of each pot with a pencil or your finger. Carefully insert one cutting into each hole, ensuring the node where you removed the leaves is below the soil surface. Gently firm the soil around the base of the cutting.
- Provide Humidity: Water the soil gently. Then, cover the pots with a clear plastic bag or place them in a propagator. This creates a humid environment, which is crucial for preventing the cuttings from drying out before they can grow roots. Ensure the plastic bag doesn’t touch the leaves if possible.
The “Secret Sauce” (Pro Tips)
Over the years, I’ve learned a few tricks that can really boost your success rate.
- Bottom Heat is Your Friend: If you have them, placing your propagator or pots on a heated propagator mat can make a world of difference. This gently warms the soil, encouraging root development from below without drying out the top. It’s like a cozy little spa for your cuttings!
- Don’t Drench, Mist! When watering after planting, and for the first few weeks, a light misting is often better than a heavy drenching. You want the soil to be consistently moist, but not waterlogged. Soggy conditions are a fast track to rot.
- Patience with Light: Place your cuttings in a bright location, but avoid direct, harsh sunlight. Dappled shade or indirect light is perfect. Too much sun can scorch those delicate new leaves before roots even form.
Aftercare & Troubleshooting
Once your cuttings have been in their humid environment for a few weeks, you can start to check for roots. Gently tug on a cutting – if you feel resistance, you likely have roots!
- Gradual Acclimatization: As roots develop, you’ll want to gradually introduce your new plants to less humid conditions. Start by opening the plastic bag or propagator for a few hours each day, slowly increasing the time until they’re fully exposed.
- Potting Up: Once your cuttings have a good root system and you can see new growth, it’s time to pot them into slightly larger individual pots with your regular potting mix.
- Signs of Trouble: The most common issue you’ll face is rot. If your cuttings turn black and mushy, or if the leaves start to yellow and wilt despite consistent moisture, it’s usually a sign of overwatering or poor drainage. If you spot this early, you might be able to save a cutting by cutting away the rotted part and replanting the healthy section, but often it’s a sign to start again with fresh cuttings and better environmental control.
A Little Bit of Patience Goes a Long Way
Propagating Limonium angustebracteatum is a journey, and like all good journeys, it requires a bit of patience. Don’t get discouraged if your first few attempts aren’t perfect. Each time you try, you learn something new. So, gather your supplies, enjoy the process, and soon you’ll be rewarded with more of those beautiful, airy blooms to brighten your home and garden. Happy propagating!
Resource:
https://identify.plantnet.org/k-world-flora/species/Limonium%20angustebracteatum%20Erben/data