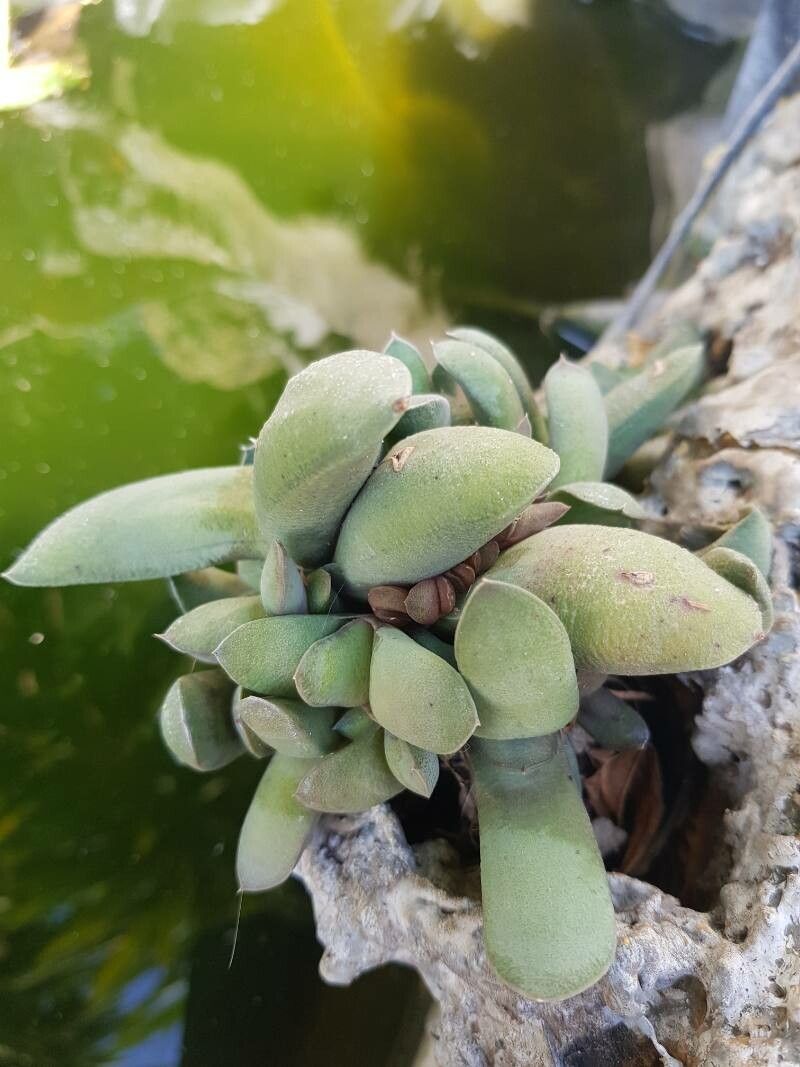
Hey there, fellow plant lovers! Today, we’re diving into the wonderful world of Gasteria glomerata. I’ve had these quirky little succulents in my garden and home for years, and I can tell you, they’re a real treat. Their unique, tongue-shaped leaves and compact growth make them perfect for small spaces or anyone who appreciates a bit of architectural flair. And the best part? Propagating them is surprisingly rewarding, and I’d say they’re quite beginner-friendly once you get the hang of a few simple tricks.
The Best Time to Start
My golden rule for most succulent propagation? Spring and early summer are your absolute best bets. This is when the plant is actively growing, meaning it has more energy to put into developing roots and new shoots. You can propagate year-round, of course, but waiting for these warmer months will give you the most bang for your buck, so to speak.
Supplies You’ll Need
To get your Gasteria glomerata propagation journey started, gather these essentials:
- Sharp, clean pruning shears or a sharp knife: For making clean cuts.
- Well-draining potting mix: A cactus or succulent mix is ideal. You can also make your own with compost, perlite, and a bit of coarse sand.
- Small pots or trays: These should have drainage holes!
- Rooting hormone (optional but recommended): This little boost can speed things up.
- Watering can with a fine rose or a spray bottle: For gentle watering.
- Labels and a marker: To keep track of your new plant babies.
- A sunny spot with bright, indirect light: The perfect nurturing environment.
Propagation Methods
Gasteria glomerata is a trooper when it comes to propagation. Here are my go-to methods:
Leaf Cuttings: A Little Patience Goes a Long Way
This is a classic for succulents, and Gasteria glomerata usually responds well.
- Select a healthy leaf: Choose a mature, plump leaf from your mother plant.
- Make the cut: Using your clean shears or knife, gently twist and pull the leaf from the stem, ensuring you get a clean break right where it attaches. You want to leave a tiny bit of the stem intact on the leaf. If you cut it, try to make an angled cut.
- Callus over: This is crucial! Let the leaf sit in a dry, airy spot for 2-5 days, until the cut end has formed a dry, leathery scab. This prevents rot.
- Place on soil: Lay the callused leaves on top of your prepared, slightly moist potting mix. You can also gently press the cut end into the soil if you prefer, but laying them flat works just as well for Gasterias.
- Mist gently: Give the soil a light misting every few days. It’s important not to overwater. You want the soil to be barely moist.
- Wait for roots: This can take several weeks, sometimes up to a couple of months. You’ll see tiny roots emerge first, followed by a miniature plantlet at the base of the leaf.
Division: The Fastest Route
If your Gasteria glomerata is mature and has started to produce offsets (baby plants growing from the base), division is your quickest path to new plants.
- Gently remove from pot: Carefully take the entire plant out of its pot.
- Examine the roots: Loosen the soil around the base to see where the offsets are attached.
- Separate the pups: Using your fingers or a clean knife, gently separate a pup, making sure it has some roots attached. If an offset has no roots, don’t worry, it will grow them!
- Pot them up: Plant each division in its own small pot with well-draining soil.
- Water sparingly: Wait a few days before giving it its first light watering.
The “Secret Sauce” (Pro Tips from My Garden)
Here are a few little tricks I’ve picked up over the years that really make a difference:
- Don’t touch the water! When propagating by placing leaves on soil, resist the urge to submerge the cut end in water. Gasterias, like most succulents, are prone to rot from too much moisture at the point of contact. Keep the cut end high and dry, just resting on or barely in the soil. A gentle misting of the soil is all they need.
- Bottom heat is your friend. If you’re propagating in a cooler environment or during a less ideal season, placing your pots on a gentle heating mat designed for seedlings can significantly speed up root formation. Think of it as giving your little Gasterias a warm hug to encourage them to grow.
- Be patient with the mother leaf. The original leaf you used for propagation will eventually shrivel and dry up. This is perfectly normal! it’s transferring all its stored energy to the new plantlet. Don’t remove it until it’s completely dry and detached.
Aftercare & Troubleshooting
Once you see roots on your leaf cuttings or have potted up your divisions, the real fun begins!
- Watering: For new cuttings and divisions, water sparingly. Let the soil dry out almost completely between waterings. Overwatering is the quickest way to kill a new succulent. You’ll know it’s time to water when the leaves feel a little less plump or the soil is bone dry.
- Light: Keep them in bright, indirect light. Direct sun can scorch delicate new growth. As they mature, you can gradually introduce them to more light, but always watch for signs of stress.
- Troubleshooting: The most common issue is rot. If you see a leaf cutting turning mushy and brown at the cut end, it’s likely rotted. This means it’s time to discard it and try again, ensuring your callusing step was thorough and your watering is even more restrained. If a division looks unhealthy, check the roots for rot (dark, mushy, and smelly). You may need to trim away rotted roots and let it callus for a day or two before repotting in fresh, dry soil.
Happy Propagating!
Watching a new Gasteria glomerata emerge from a tiny leaf or a separated pup is one of the most satisfying parts of gardening. It’s a little miracle happening right before your eyes! Be patient with the process; plants have their own timeline. Enjoy the journey, learn from each attempt, and soon you’ll have a little army of these charming succulents. Happy growing!
Resource:
https://identify.plantnet.org/k-world-flora/species/Gasteria%20glomerata%20van%20Jaarsv./data