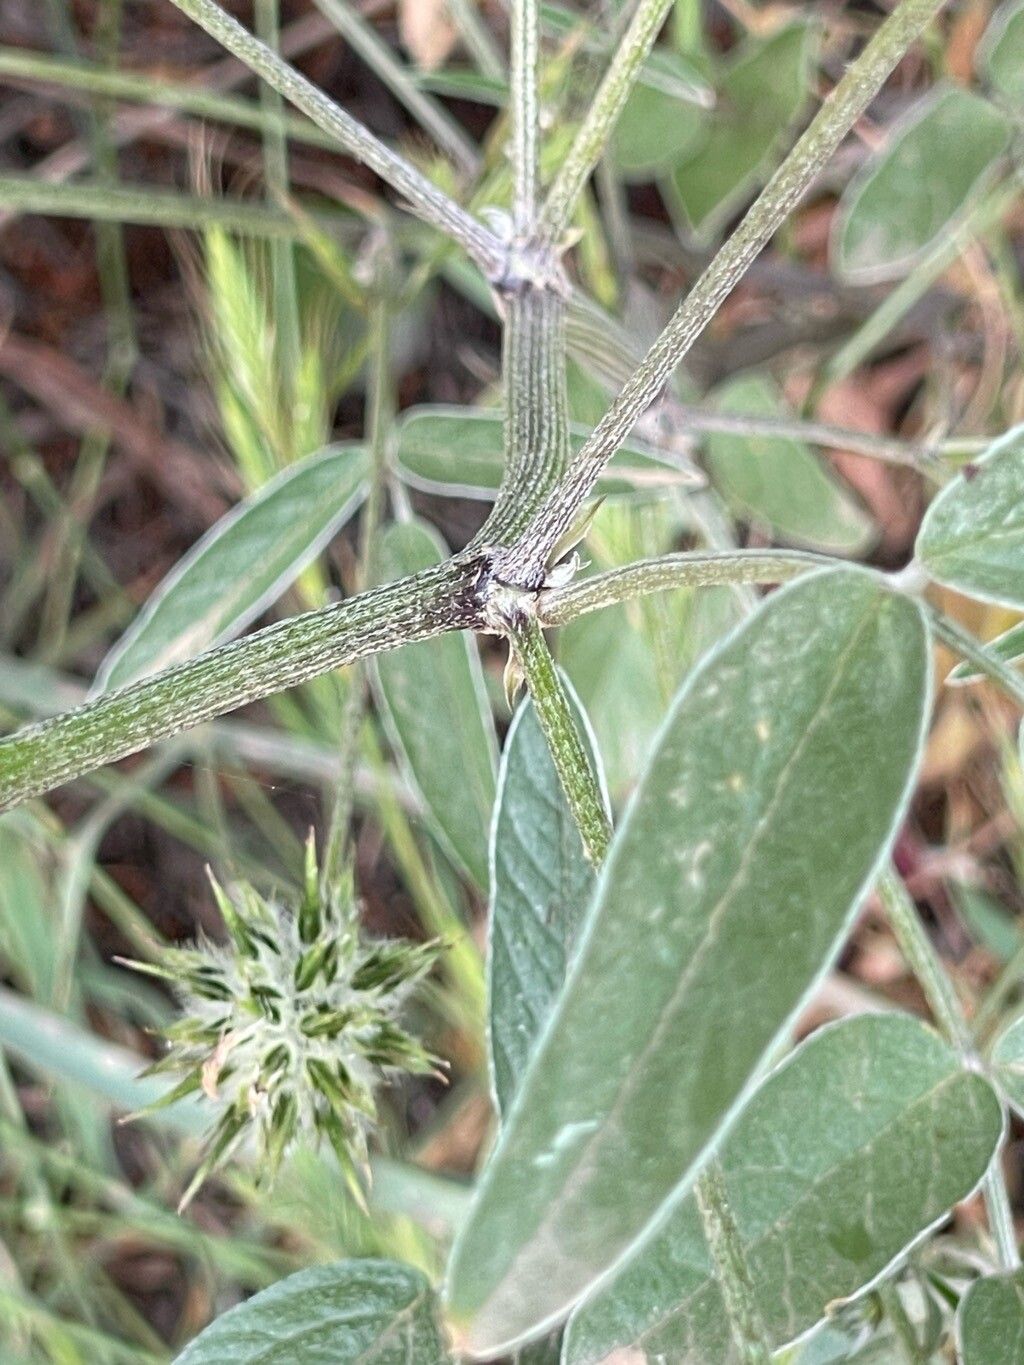
Hello fellow plant lovers! I’m so excited to chat with you today about a truly fascinating plant: Bituminaria bituminosa. You might know it by its common name, Psoralea or Pitch Weed, and if you haven’t grown it yet, you’re in for a treat. Its unique, aromatic foliage and lovely flowers make it a wonderful addition to any garden. And the best part? Multiplying this beauty is incredibly satisfying! For beginners, I’d say Bituminaria bituminosa is moderately easy to propagate. It’s not as foolproof as some succulents, but with a little care and attention, you’ll be celebrating success.
The Best Time to Start
When it comes to Bituminaria bituminosa, late spring to early summer is your golden window. This is when the plant is actively growing and has plenty of energy to put into developing new roots. You’ll want to look for new, healthy growth – not the woody old stems. Softwood or semi-hardwood cuttings taken during this period tend to root most readily.
Supplies You’ll Need
Here’s what you’ll want to have on hand before we get started:
- Sharp pruning shears or a clean knife: For taking precise cuttings.
- Rooting hormone (optional but recommended): This can give your cuttings a helpful boost.
- Well-draining potting mix: A good blend of perlite and peat moss, or a commercial seed-starting mix, works wonderfully.
- Small pots or trays: With drainage holes, of course!
- Plastic bags or a propagation dome: To create a humid microclimate.
- Watering can or spray bottle: For gentle watering.
- Labels: To keep track of your projects!
Propagation Methods
Let’s get our hands dirty! The most successful route for Bituminaria bituminosa is typically through stem cuttings.
Stem Cuttings
- Select your stem: Look for a healthy, non-flowering stem that’s about 4-6 inches long. It should be flexible but not floppy.
- Make the cut: Using your clean shears, make a clean cut just below a leaf node. A leaf node is where a leaf attaches to the stem. This is where roots are most likely to form.
- Prepare the cutting: Gently remove the lower leaves, leaving just a couple at the top. This prevents them from rotting in the soil. If your cutting is a bit long, you can trim it down.
- Dip in rooting hormone (optional): If you’re using rooting hormone, dip the cut end into it, tapping off any excess.
- Plant it: Fill your pot with your well-draining mix. Make a small hole in the center with your finger or a pencil.
- Insert the cutting: Place the cut end of your stem into the hole, making sure at least one leaf node is buried underground. Gently firm the soil around it.
- Water gently: Water the soil thoroughly but gently, ensuring the mix is evenly moist.
- Create humidity: Cover the pot with a clear plastic bag or place it under a propagation dome. Ensure the leaves aren’t touching the plastic. If you’re not using a dome, you can prop up the bag with a few stakes.
- Place in bright, indirect light: Find a warm spot that receives plenty of light but no direct sun, which can scorch the delicate cuttings.
Water Propagation (Less Common, but Possible)
While stem cuttings in soil are usually more reliable for Bituminaria bituminosa, you can try water propagation for a few cuttings.
- Prepare the cutting: Follow steps 1-3 from the stem cutting method.
- Place in water: Put the cuttings in a clean jar or vase filled with room-temperature water.
- Ensure leaves stay dry: This is crucial! Never let the leaves touch the water. Use stakes or a way to support the stem so only the cut end is submerged.
- Change water regularly: Change the water every few days to keep it fresh and prevent rot.
- Location: Place the jar in bright, indirect light.
- Watch for roots: Once you see small white roots forming, typically after a few weeks, you can then carefully transplant them into your well-draining potting mix. Be extra gentle with these water-rooted cuttings.
The “Secret Sauce” (Pro Tips)
Here are a couple of things I’ve learned over the years that make a real difference:
- Bottom Heat is Your Friend: Bituminaria bituminosa really appreciates a little warmth from below. Placing your pots on a gentle heat mat (designed for propagation) can significantly speed up root development and increase your success rate, especially if your home is on the cooler side.
- Don’t Disturb Too Soon: Resist the urge to tug on your cuttings to check for roots. Wait at least 3-4 weeks before giving them a gentle tug. If you feel resistance, that’s a great sign! If they come out easily, they haven’t rooted yet.
Aftercare & Troubleshooting
Once your cuttings have developed a good root system (you’ll see new growth emerging from the top, and they’ll resist that gentle tug), it’s time for them to become independent plants!
- Gradual Acclimation: If you used a plastic bag or dome, gradually introduce them to less humid conditions over a few days to avoid shock. Start by opening the bag a little, then remove it for an hour, and so on.
- Transplanting: Once they’re used to normal humidity, you can transplant them into their own small pots filled with your standard potting mix.
- Watering: Water them thoroughly and then allow the top inch of soil to dry out between waterings.
- Light: Continue to provide bright, indirect light.
Now, what if things don’t go as planned?
- Rotting Cuttings: This is the most common problem, usually caused by overwatering or poor drainage. The stem will turn mushy and black. If you see this, dispose of the affected cutting immediately to prevent it from spreading. Ensure your soil mix is airy and that your pots have drainage holes.
- Wilting: A little wilting is normal as the cutting adjusts. But if it persists and the stem looks limp and sad even after watering, it might not have rooted. If it’s consistently dry and wilting, it’s likely not getting enough water.
A Encouraging Closing
Propagating Bituminaria bituminosa is a rewarding journey. It takes a bit of patience, but seeing those tiny roots emerge and a new plant unfurl is a joy you can’t quite replicate. Don’t be discouraged if your first attempt isn’t perfect – gardening is all about learning and adapting. So go ahead, grab your shears, prepare your mix, and enjoy the magic of bringing new life into your garden. Happy propagating!
Resource: