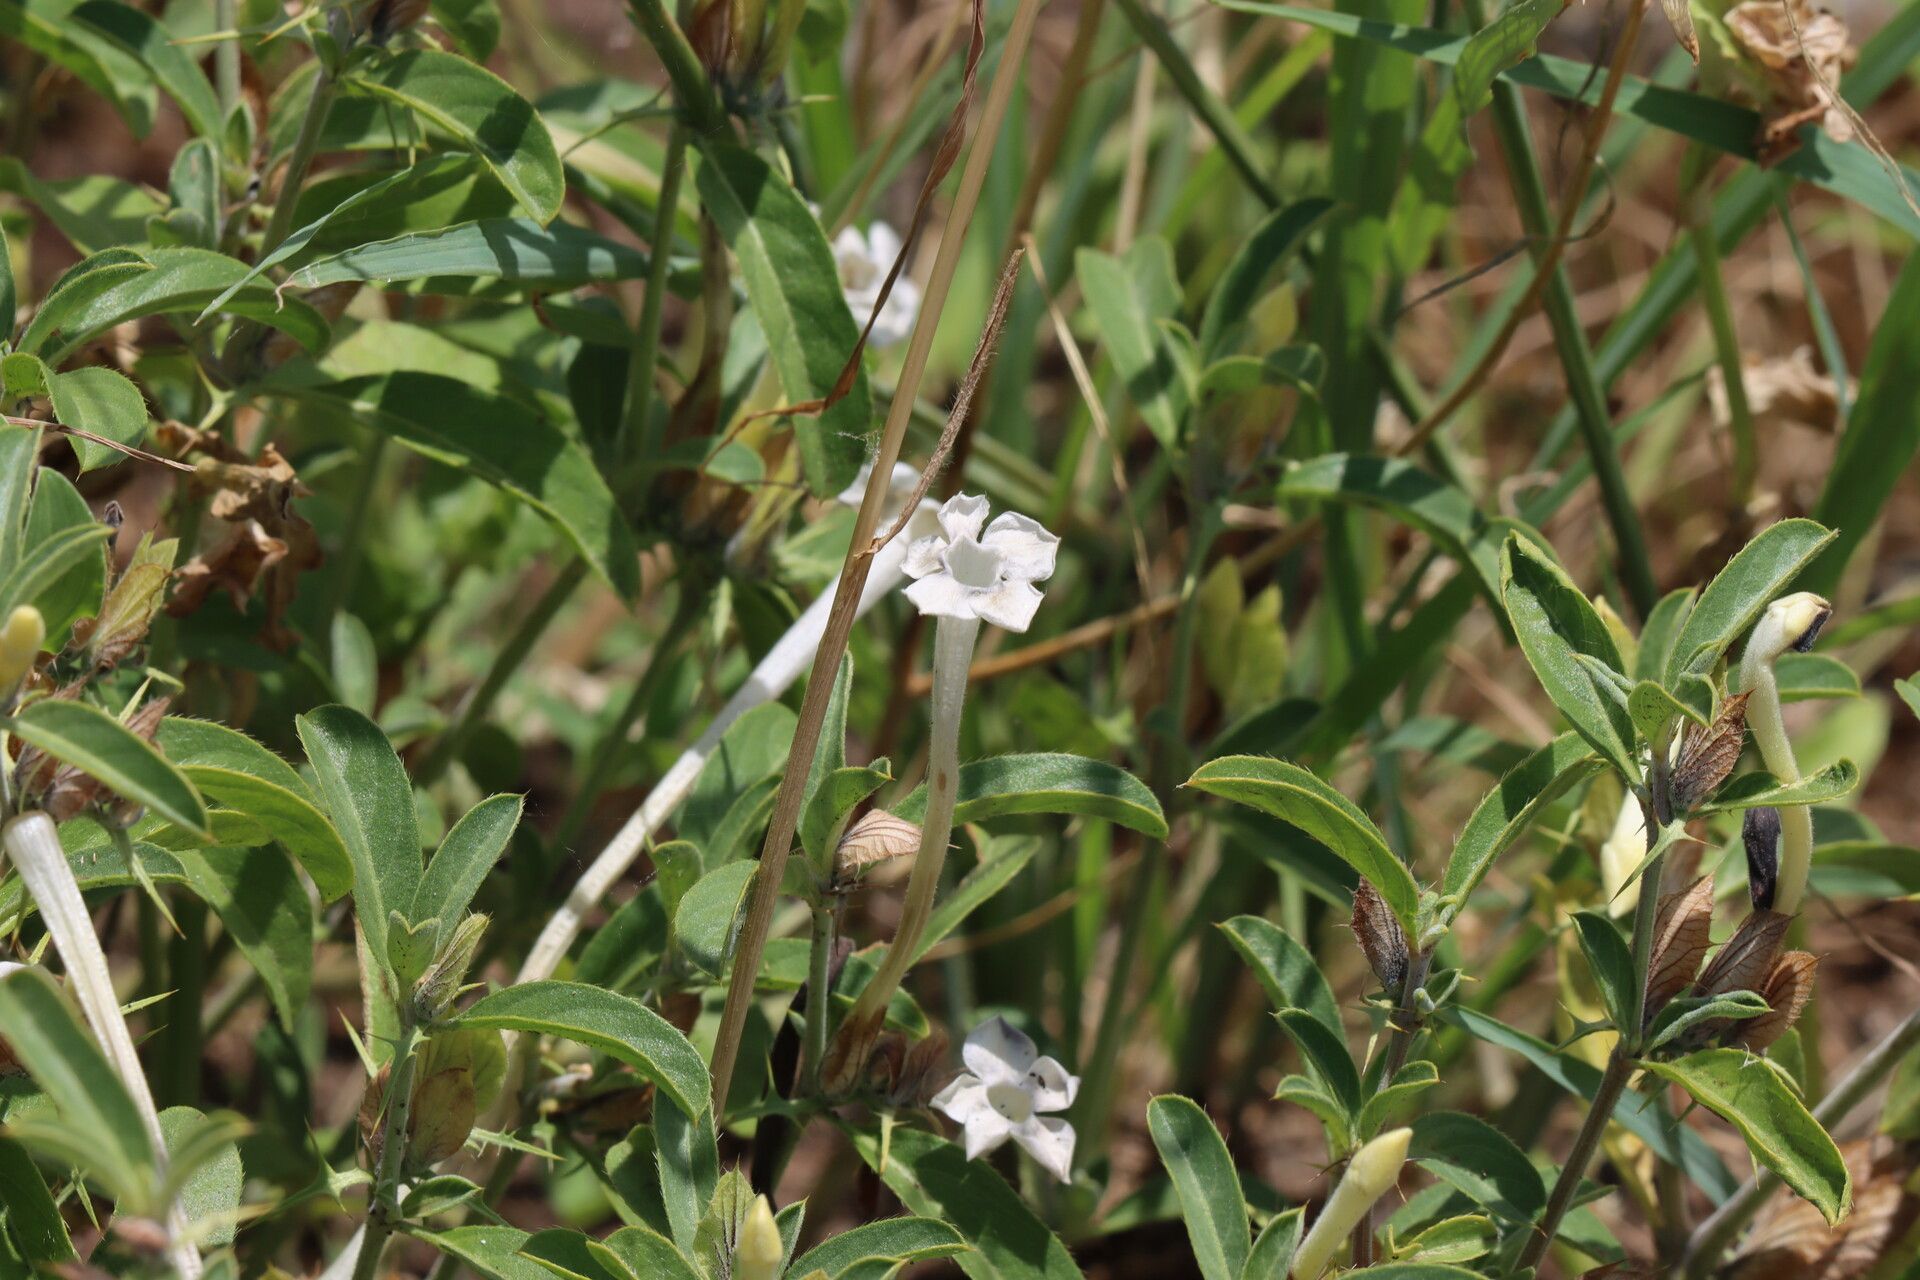
Oh, hello there, fellow plant enthusiast! I’m so glad you’ve stopped by. Today, we’re diving into the wonderful world of Barleria acanthoides, often called the “Blue Bell Bush” or “Yellow Barleria.” This stunner is just bursting with cheerful blooms, typically in vibrant shades of blue or yellow, depending on the variety. Getting more of these beauties for your garden or to share with friends is incredibly rewarding, and I’m happy to say, it’s not an overly tricky plant to propagate. You’ll find yourself with a little army of new plants before you know it!
The Best Time to Start
For Barleria acanthoides, the sweet spot for propagation is definitely late spring through early summer. This is when the plant is in its most vigorous growth phase. You’ll want to take cuttings from stems that are firm and semi-hardwood. Think of it like this: not so soft and floppy that they’ll easily rot, but not so woody that they’ll struggle to root. This active growth period means they have plenty of energy to put into developing new roots.
Supplies You’ll Need
Gathering your tools beforehand makes the whole process so much smoother. Here’s what I usually have on hand:
- Sharp Pruning Shears or a Craft Knife: Clean cuts are key!
- Well-Draining Potting Mix: A good blend of peat moss or coir, perlite, and vermiculite is ideal. You want it to hold moisture but not become waterlogged.
- Small Pots or Seed Trays: Make sure they have drainage holes.
- Rooting Hormone (Optional but Recommended): A powder or gel containing auxins will give your cuttings a great head start.
- Clear Plastic Bags or a Propagation Dome: To create a humid environment.
- Watering Can with a Fine Rose: For gentle watering.
- Labels & a Pen: To keep track of what you’ve planted!
Propagation Methods
I find that stem cuttings are by far the most reliable and effective way to multiply Barleria acanthoides. Here’s how I do it:
- Select Your Cuttings: Head out to your healthy plant and look for those lovely semi-hardwood stems. You’re aiming for cuttings about 4-6 inches long.
- Make the Cut: Using your clean shears or knife, make a clean cut just below a leaf node. A leaf node is where a leaf joins the stem, and it’s where roots are most likely to form.
- Prepare the Cuttings: Gently remove any leaves from the bottom half of the cutting. If you have very large leaves, you can even snip off about half of the remaining leaves to reduce water loss through transpiration.
- Apply Rooting Hormone (if using): Dip the cut end into your rooting hormone powder or gel. Tap off any excess.
- Plant Your Cuttings: Fill your pots with your prepared potting mix, lightly moisten it, and then make a small hole with a pencil or your finger. Gently insert the cut end of the stem into the hole, ensuring at least one leaf node is buried. Firm the soil gently around the cutting. You can usually fit 2-3 cuttings into one pot, spaced a few inches apart.
- Create a Humid Environment: Water gently again, then cover the pot with a clear plastic bag or a propagation dome. If using a bag, you might want to stick a couple of small stakes in the soil to keep the plastic from touching the leaves. Place the pots in a bright spot out of direct, harsh sunlight.
The “Secret Sauce”
Now, here are a few little tricks I’ve picked up over the years, the kinds of things you learn through trial and error:
- Don’t Let Leaves Touch the Water: Whether you’re doing stem cuttings or even if you decided to try water propagation (which is less common for this woody shrub), ensure that no leaves are submerged in water or sitting on damp soil for too long. They’ll just rot, and that’s the beginning of the end for your cutting.
- Bottom Heat is Your Friend: If you have a heated propagator mat, using it will make a huge difference. Warm soil encourages root development much faster than cool soil. It’s like giving your cuttings a cozy little spa treatment.
- Patience with the First Flush: Sometimes, cuttings will look a bit sad and droopy for a week or two. Don’t give up on them immediately! If the stems remain firm and green, there’s still hope. They might be busy developing roots beneath the surface.
Aftercare & Troubleshooting
Once you start to see new leaf growth or feel a gentle tug when you lightly pull on a cutting, it’s a good sign that roots have formed! This usually takes 3-6 weeks. Gradually introduce your new plants to slightly less humid conditions by opening the plastic bag or dome a little each day for a few days. Water them just as you would your mature plants – keep the soil consistently moist but not soggy.
The most common issue you might encounter is rot. If your cuttings turn black and mushy, it’s usually a sign of too much moisture and not enough air circulation. Make sure your soil is well-draining, and don’t overwater. If you see mold on the soil surface, gently scrape it off. Overcrowding can also contribute to rot, so give your cuttings a little space.
A Little Encouragement
Propagating plants is a journey, and much like growing anything else, it requires a dash of patience and a willingness to learn. Don’t be discouraged if not every cutting takes. Each attempt is a learning experience! Enjoy the process of nurturing these tiny beginnings, and soon you’ll have more of those delightful Barleria acanthoides to brighten up your space. Happy gardening!
Resource:
https://identify.plantnet.org/k-world-flora/species/Barleria%20acanthoides%20Vahl/data