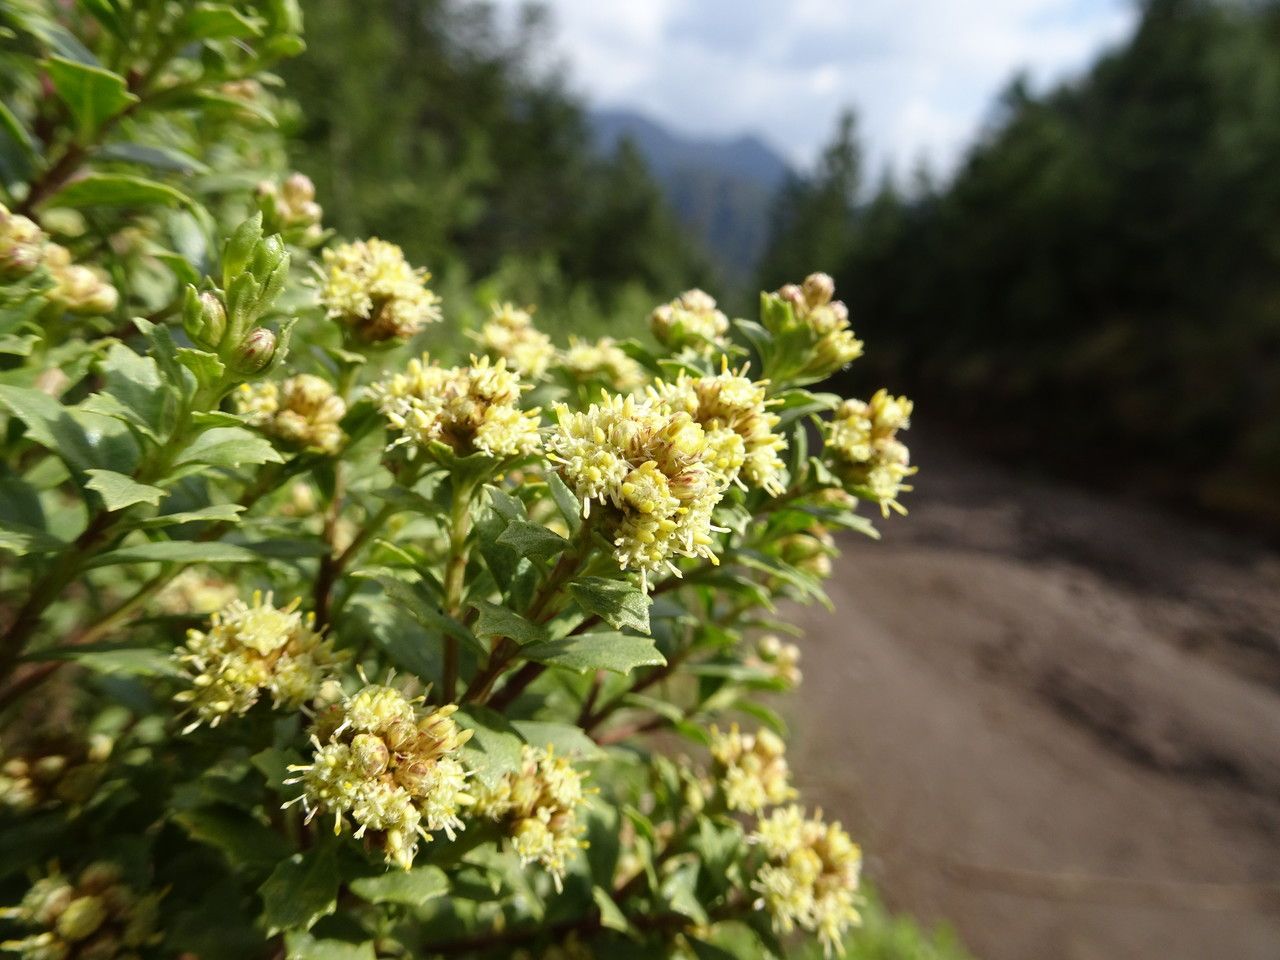
Hey there, fellow garden enthusiasts! It’s so lovely to share a bit of my plant passion with you today. I’ve got something a little different in mind – a fascinating native shrub that I find incredibly rewarding to work with. We’re going to talk about propagating Baccharis conferta.
You might know this chap as stickybaccharis or desert broom. I adore it for its toughness. It’s a champion in dry, sunny spots and its fine, almost airy foliage adds such a different texture to the garden. Plus, it’s a lifeline for so many native pollinators. Growing more of them from scratch? That’s pure gardening joy. Now, for the big question: is it easy for beginners? I’d say it’s moderately easy. It won’t throw a tantrum if you make a tiny mistake, but it does appreciate a little know-how.
The Best Time to Start
Hands down, the late spring or early summer is your prime time for Baccharis conferta. Think about early growth, when the stems are still a bit soft and pliable, but they’ve had a chance to mature a bit from the very first flush of spring. This is when they have the most energy to put into rooting. You can try in fall, but you’ll likely have a much lower success rate. Let nature guide you – look for healthy, actively growing stems.
Supplies You’ll Need
Gathering your supplies is half the fun, right? Here’s what I always have on hand:
- Sharp Pruning Shears or a Clean Knife: For making clean cuts.
- Rooting Hormone (Optional but Recommended): A powder or gel will give your cuttings a helpful boost.
- A Well-Draining Potting Mix: I like a blend of perlite, coco coir, and a bit of compost. You want it airy so those new roots can breathe.
- Small Pots or Trays: Clean ones are key! Little 4-inch pots work beautifully.
- Plastic Bags or a Humidity Dome: To keep things nice and moist.
- A Watering Can or Spray Bottle: For gentle watering.
Propagation Methods
We’ll focus on the stem cutting method, which is generally the most successful for Baccharis conferta.
- Select Your Stems: Look for healthy, semi-hardwood stems. These are last year’s growth that’s toughened up a bit but hasn’t become woody. They should be about 4-6 inches long.
- Make the Cut: Using your clean shears or knife, make a clean cut just below a leaf node. A leaf node is where a leaf attaches to the stem. This is where the magic happens for rooting.
- Prepare the Cuttings: Gently remove the lower leaves, leaving just a couple of sets at the top. This prevents them from rotting when they’re in the soil.
- Dip in Rooting Hormone (if using): Lightly dip the cut end into your rooting hormone powder or gel. Tap off any excess.
- Plant Your Cuttings: Fill your clean pots with your well-draining mix. Make a small hole with a pencil or your finger, and carefully insert the cutting, ensuring the leaf nodes that were below the soil line are submerged.
- Water Gently: Water thoroughly until you see water drain from the bottom of the pot.
- Create a Humid Environment: Cover the pots with a plastic bag, propped up so it doesn’t touch the leaves, or use a humidity dome. This is crucial for keeping those cuttings from drying out before they can root. Place them in a bright spot, but out of direct, harsh sunlight.
The “Secret Sauce” (Pro Tips)
Here are a few little tricks I’ve picked up over the years that can really make a difference:
- Don’t Be Afraid to Be Generous with Cuttings: Not every cutting will take, and that’s perfectly okay! Take more than you think you need. It’s better to have extras.
- Bottom Heat is Your Friend: If you have it, placing your pots on a gentle seedling heat mat can dramatically speed up root development. The warmth encourages those cells to get to work!
- Watch for Leaf Drop: If the leaves on your cutting start to look a bit sad and start to fall off, it’s usually a sign the cutting is failing or it’s losing too much moisture. It’s a cue to check the humidity and moisture levels.
Aftercare & Troubleshooting
Once your cuttings have rooted – and you’ll know when you see new growth or feel a gentle tug when you very carefully try to pull the cutting – it’s time for slightly different care.
- Gradually Acclimate: If you’ve had them covered, slowly start to remove the plastic or vent the dome over a week or so to get them used to the regular air.
- Continue Watering: Keep the soil consistently moist but not soggy. You’ll start to see them grow more vigorously.
- Troubleshooting: The most common issue is rot. This usually happens when the soil is too wet and there isn’t enough air circulation. If you see a cutting going dark and mushy at the base, it’s best to discard it to prevent it from spreading. Another sign of failure is if the stem just shrivels up completely and never seems to perk up.
And there you have it! Propagating Baccharis conferta is a truly satisfying way to fill your garden with these resilient beauties. Don’t get discouraged if your first few attempts aren’t perfect. Gardening is all about learning and trying. Be patient, give them some love, and soon you’ll have a whole troop of new Baccharis to enjoy. Happy propagating!
Resource:
https://identify.plantnet.org/k-world-flora/species/Baccharis%20conferta%20Kunth/data