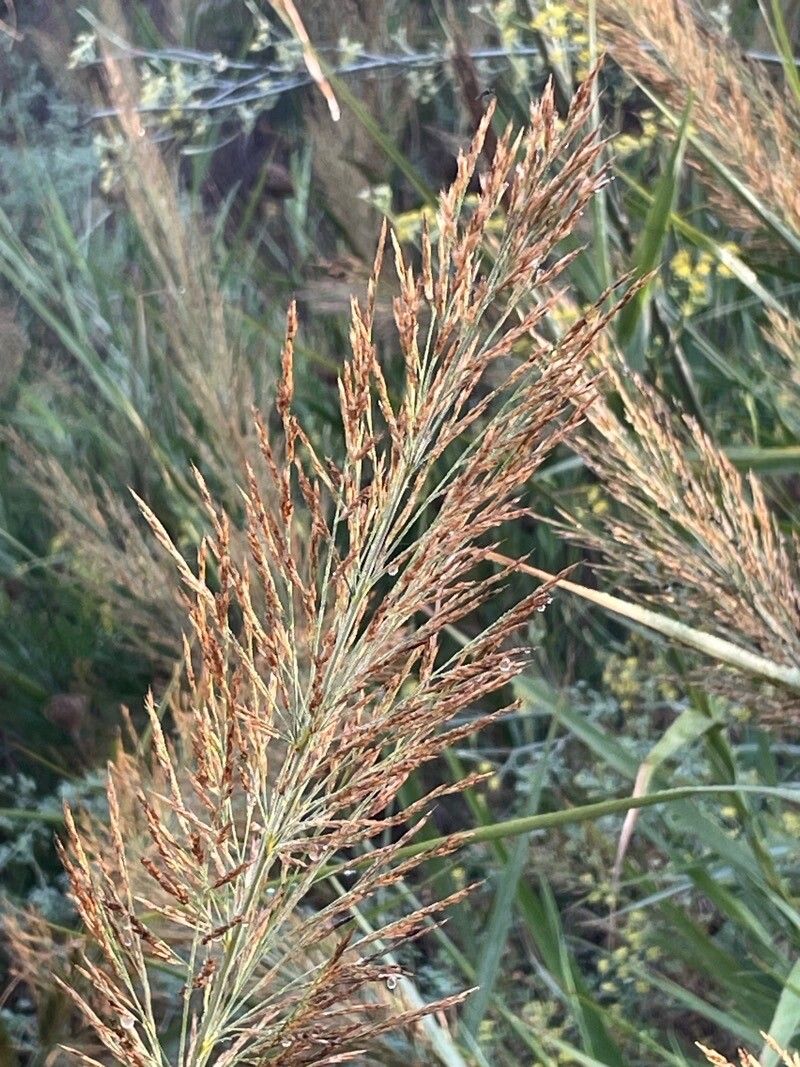
Ah, Arundo plinii! That majestic, reedy grass that brings such a wild, architectural beauty to any garden. It sways in the breeze like nature’s own dancer, and honestly, seeing it thrive is a joy. If you’ve ever admired its statuesque form and thought, “I’d love more of that!” then you’re in for a treat. Propagating Arundo plinii is wonderfully rewarding, and for the most part, it’s quite forgiving. I’d say it’s a great plant for beginners looking to branch out into grass propagation.
The Best Time to Start
When it comes to Arundo plinii, spring is your champion. After the last frost has kissed the ground goodbye, and the plant is actively sending up new shoots, that’s your golden window. You want to work with vigorous growth, not something that’s still waking up or getting ready for a nap. Early to mid-spring, when things are warming up nicely, is perfect.
Supplies You’ll Need
Gathering your tools beforehand makes the whole process smoother. Here’s what I usually have on hand:
- Sharp Pruning Shears or a Knife: Clean cuts are key for healthy new growth.
- Well-Draining Potting Mix: A standard all-purpose potting soil mixed with perlite or coarse sand works wonders. You want good aeration.
- Pots or Trays: For starting your new plants. Make sure they have drainage holes!
- Rooting Hormone (Optional but Recommended): This little boost significantly improves your odds, especially for stem cuttings. Look for a powder or gel.
- Watering Can with a Fine Rose: For gentle watering.
- Plastic Bags or a Propagator: To create a humid environment for cuttings.
Propagation Methods
Arundo plinii is best propagated by division or stem cuttings. Both are effective, but division is often the easiest for getting established clumps.
Division (My Favorite for this Grass!)
This is all about splitting up an existing plant.
- Dig Up Your Plant: In early spring, carefully dig around the base of your mature Arundo plinii. Work your way around the clump, trying not to injure the roots too much. Gently lift the entire plant out of the ground.
- Clean Off Excess Soil: Gently shake off some of the soil. You don’t need to get it all off, just enough to see the root structure and rhizomes.
- Divide the Clump: Look for natural divisions. You can use your hands to gently pull larger sections apart, or if it’s a bit stubborn, use a sharp, clean spade or knife to cut through the rhizomes. Each division should have a good amount of roots and at least one or two vigorous shoots.
- Replant or Pot: Immediately replant the divisions in their desired locations or into pots filled with your well-draining mix. Water them in thoroughly.
Stem Cuttings (A Little More Patience Required)
If you want to try stem cuttings, this is how you can do it.
- Take Your Cuttings: In spring, select healthy, vigorous stems that are about 6-10 inches long. Make your cut just below a node (where a leaf meets the stem). Remove the lower leaves, leaving just a couple at the top.
- Apply Rooting Hormone: Dip the cut end of the stem into your rooting hormone. Tap off any excess.
- Plant Your Cuttings: Insert the treated end of each cutting into pots filled with your moistened potting mix. Make sure at least one node is below the soil surface, as this is where roots will form.
- Create Humidity: Gently water the cuttings. Then, cover the pots with a clear plastic bag, securing it around the rim of the pot with a rubber band, or place them in a propagator. This traps humidity, which is crucial for cuttings. Keep them out of direct sun.
The “Secret Sauce” (Pro Tips)
Here are a couple of things I’ve learned over the years that really make a difference:
- Give Divisions a Drink, Then a Soak: When you step your divided clumps back into the soil, give them a really good watering. Then, for the first few weeks, keep them consistently moist, almost as if they’re sitting in a shallow tray of water (without waterlogging them, of course). This helps them establish quickly.
- Don’t Be Afraid of Bottom Heat: For stem cuttings, a little warmth from below can be a game-changer. If you have a heat mat designed for seedlings, placing your pots on it will encourage faster root development. Just keep it on a low setting.
Aftercare & Troubleshooting
Once your divisions or cuttings show signs of new growth – tiny leaves unfurling, a general look of vigor – you’re on your way!
- Watering: Keep new divisions and cuttings consistently moist, but never waterlogged. As they establish, you can gradually reduce watering frequency, allowing the soil to dry out slightly between waterings.
- Light: Place your cuttings in bright, indirect light. Mature plants love full sun.
- Troubleshooting: The most common problem you’ll encounter is rot, especially with cuttings if they’re sitting in too much water or not getting enough air. If you see stems wilting and turning mushy, it’s usually a sign of overwatering. If your divisions fail to establish, it could be due to insufficient watering during the critical establishment phase or planting them too deep.
A Encouraging Closing
Propagating Arundo plinii is a deeply satisfying process. It’s a chance to not only expand your garden’s beauty but also to connect with the natural rhythms of plant growth. Be patient with your new babies, give them a little extra care at the start, and soon you’ll be enjoying even more of that wonderful, wind-swept elegance. Happy gardening!
Resource:
https://identify.plantnet.org/k-world-flora/species/Arundo%20plinii%20Turra/data