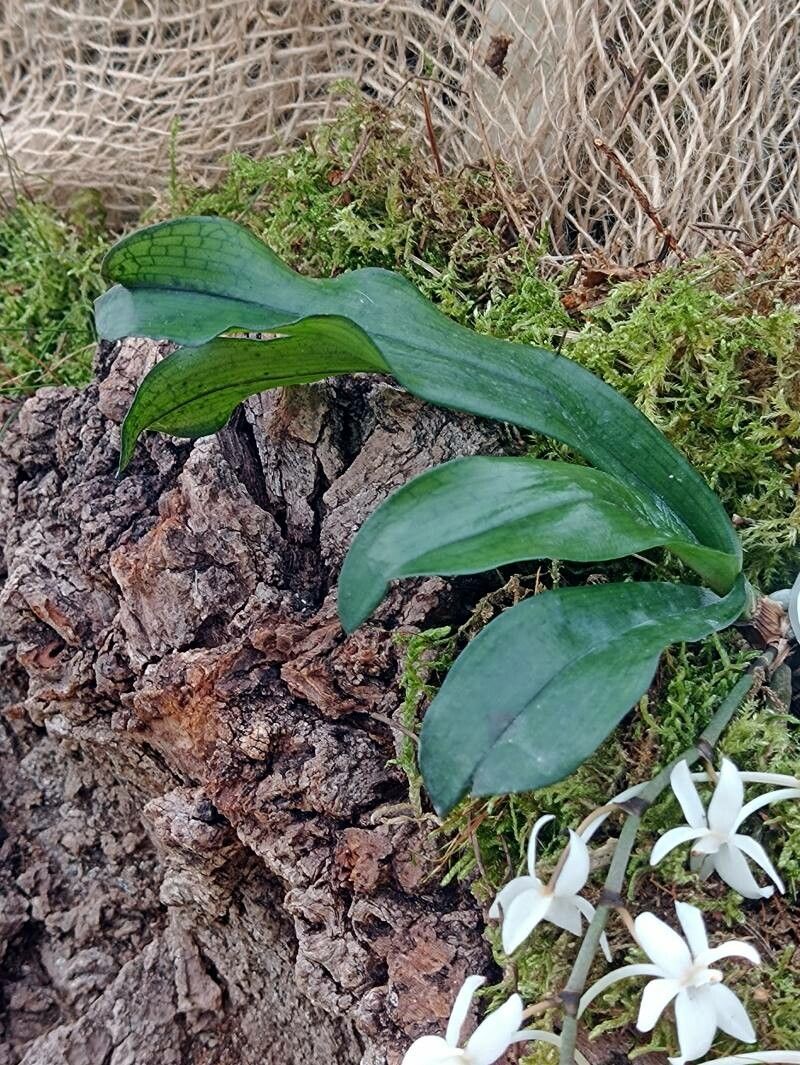
Oh, Aerangis mystacidii! Isn’t she a wonder? Those delicate, star-shaped white flowers, often with a hint of a sweet fragrance in the evening – they truly capture the magic of the orchid world, don’t they? Growing these beauties is a journey, and for me, propagating them is one of the most rewarding parts. It’s like watching life double, or triple, right before your eyes! Now, I wouldn’t call Aerangis mystacidii the absolute easiest orchid for a complete beginner, but with a little care and armed with the right information, you’ll find it surprisingly manageable.
The Best Time to Start
For Aerangis mystacidii, I find spring is our best bet. As the days get longer and warmer, the plant naturally enters a period of more vigorous growth. This means it’s more receptive to propagation, and any new babies will have the sunny summer months to get established. Aim for when you see new roots or leaf growth really kicking in.
Supplies You’ll Need
Here’s what I always have on hand when I’m looking to make more Aerangis magic:
- Sharp, sterile pruning shears or a sharp knife: Cleanliness is paramount to prevent disease.
- A high-quality orchid bark mix: Something airy and free-draining is key. I often use a blend that includes medium-grade bark, perlite, and a bit of charcoal.
- Sphagnum moss: Long-fibered sphagnum is excellent for retaining just enough moisture.
- Small pots or community trays: Terracotta or plastic pots work well, as long as they have good drainage.
- Rooting hormone (optional but helpful): A little boost can speed things along.
- Clear plastic bags or a propagation box: To create a humid microclimate.
- Spray bottle: For gentle misting.
- Identification tags: So you remember what’s what!
Propagation Methods
I primarily rely on one fantastic method for Aerangis mystacidii: division. It’s the most straightforward and successful way to multiply these lovely plants.
Division
This involves carefully separating a mature, healthy Aerangis mystacidii into smaller, independent plants.
- Gentle Extraction: First, I carefully remove the mother plant from its pot. You might need to gently coax it out. If it’s really stuck, a little soak in lukewarm water can help.
- Clean the Roots: Gently wash away old potting media from the roots. This allows you to see the structure of the plant and identify where to make your cuts. Look for natural divisions where new growths are emerging from the base.
- The Cut: Using your sterile shears or knife, carefully cut between the divisions. Each new division should have at least two to three healthy leaves and a good portion of roots. If a division has very few roots, it will need extra care and patience.
- Assess and Trim: Inspect the roots. Trim away any dead or mushy roots.
- Planting Up: Pot each new division into its own small pot filled with your prepared orchid bark mix. Ensure the base of the plant is at the surface of the mix, not buried.
- Secure and Rest: Water the newly potted divisions thoroughly.
The “Secret Sauce” (Pro Tips)
Here are a few little tricks I’ve learned over the years that make a big difference:
- Don’t Crowd the Roots: When potting divisions, give those new roots some space to breathe and grow. Overcrowding them in a pot that’s too big can lead to soggy conditions, which is an orchid’s worst nightmare.
- Embrace the Humidity Tent: After potting, I like to place each division into a clear plastic bag or a propagation box, leaving it slightly open for a bit of air circulation. This creates a wonderfully humid environment that encourages new root development. I’ll keep them like this for a few weeks, gradually opening the bags more as the plant settles in.
- A Touch of Bottom Heat: If you have a seedling mat, placing your new divisions on it can really give them a gentle nudge. Orchid roots love a bit of warmth, especially when they’re trying to establish themselves. Just a gentle, consistent warmth is all they need.
Aftercare & Troubleshooting
Once your divisions are potted, place them in a bright, indirect light location. Keep the potting mix lightly moist but never soggy. Misting the leaves daily, especially if they’re in a humidity tent, is beneficial.
The biggest hiccup you might encounter is rot. If you see leaves turning yellow and mushy at the base, or if a division just seems to be wilting away, it’s often a sign of too much moisture. Try to remove the affected parts immediately with sterile tools and allow the remaining healthy tissue to air dry before repotting in fresh, dry bark. Patience is your best friend here; it can take many weeks, sometimes months, before you see substantial new root or leaf growth. Don’t be discouraged!
A Encouraging Closing
Propagating Aerangis mystacidii is a beautiful act of faith in nature. It takes a little effort, and definitely a good dose of patience, but seeing those tiny new shoots emerge and flourish is a truly special experience. Enjoy the process, learn from each step, and soon you’ll have more of these enchanting orchids to share or simply to fill your home with their subtle charm. Happy growing!
Resource:
https://identify.plantnet.org/k-world-flora/species/Aerangis%20mystacidii%20(Rchb.f.)%20Schltr./data