Welcome Your Own Patch of Wild Valerian with Easy Propagation!
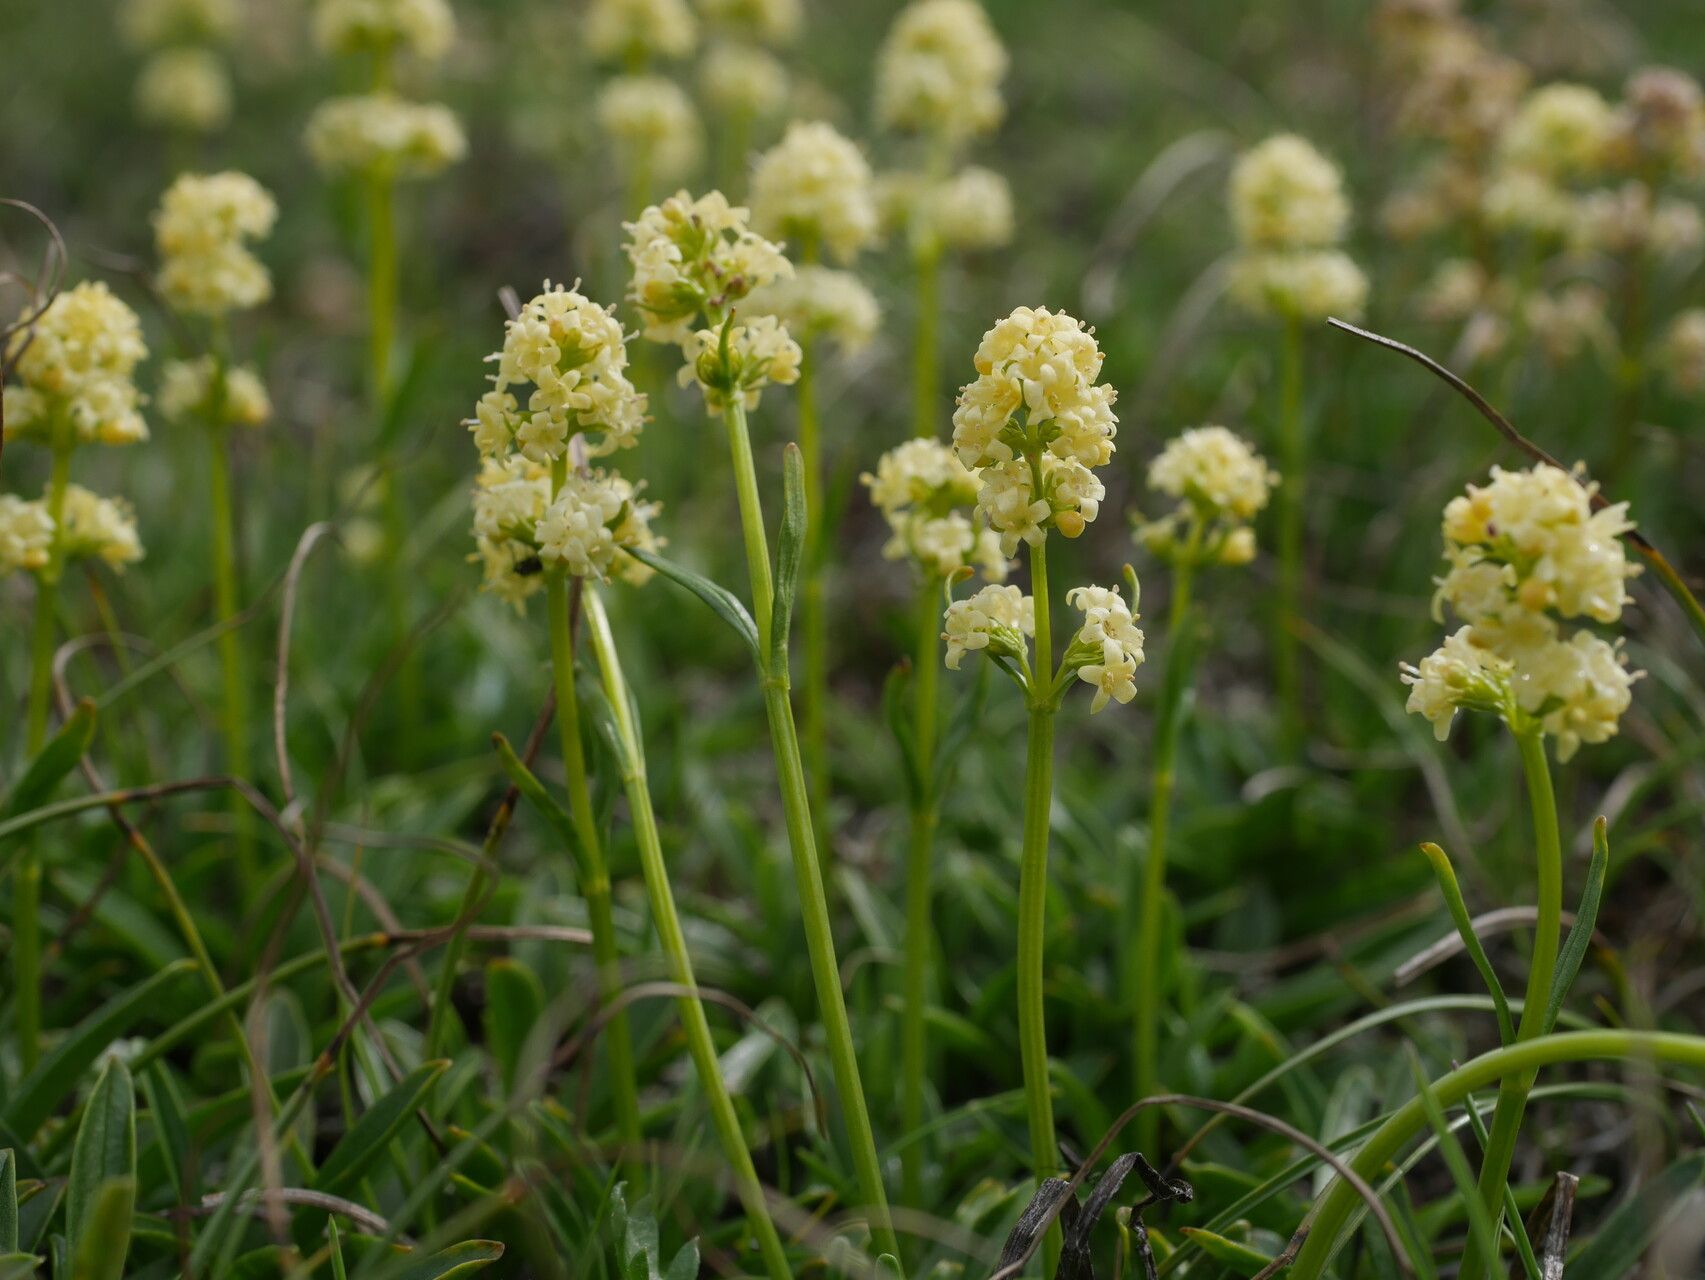
Oh, Valeriana celtica! If you haven’t met this charming little plant yet, you’re in for a treat. Its delicate, frothy white flowers and lovely, aromatic foliage bring a touch of wild beauty to any garden space. And the scent! It’s subtle, earthy, and just divine, especially on a warm evening.
Many gardeners shy away from propagating less common plants, thinking it’s a fussy affair. But honestly, Valeriana celtica is surprisingly forgiving. It’s a wonderful project for beginners and seasoned gardeners alike. Growing your own from a tiny start is incredibly satisfying, like nurturing a little piece of nature right in your hands.
When to Get Your Hands Dirty
The absolute best time to propagate Valeriana celtica is in late spring or early summer, just as the plant is bursting into active growth. This is when it’s full of vigor, and new shoots are readily available and eager to root. You can also have success in early autumn, but spring is your prime window for the most robust results.
Your Propagation Toolkit
Don’t worry, you don’t need a fancy greenhouse for this! Here’s what I usually have on hand:
- Sharp, clean pruning shears or a sharp knife: For making clean cuts. Dull tools can damage the plant tissue.
- Well-draining potting mix: A good blend of peat moss, perlite, and a bit of compost works beautifully. I often use a seed starting mix as my base.
- Small pots or trays: Clean containers with drainage holes are essential.
- Rooting hormone (optional but recommended): This really gives your cuttings a helpful boost.
- Plastic bags or a propagator lid: To create a humid environment for your cuttings.
- Watering can or spray bottle: For gentle watering.
Bringing New Valerian to Life: Division is Key!
For Valeriana celtica, the easiest and most successful method is division. This plant tends to form clumps, and separating these is like giving your existing plant a haircut and getting new ones for free!
Here’s how I do it:
- Dig Carefully: In late spring, when the soil is moist but not waterlogged, gently dig up the parent plant. Do this with a spade or trowel, trying to disturb the roots as little as possible.
- Clean the Roots: Gently shake off excess soil to get a clear view of the root ball and any new shoots emerging from the base.
- Separate the Divisions: This is the fun part! You can often gently pull the clumps apart with your hands. If they’re stubborn, use your clean pruning shears or knife to cut through the roots and crowns. Look for sections that have their own roots and at least one healthy shoot or bud.
- Potting Up: Plant each division in its own pot filled with your well-draining potting mix. Make sure the crown (where the leaves meet the roots) is just at the soil surface. Water them in gently.
My “Secret Sauce” for Valerian Success
Over the years, I’ve learned a few little tricks that make all the difference:
- Don’t Overwater Early On: While they need consistent moisture, waterlogged roots are the death knell for new divisions. Let the top inch of soil dry out slightly between waterings. This encourages roots to search for moisture, making them stronger.
- Think “Tender Loving Care” for the Root Ball: When you’re dividing, try to preserve as much of the intact root system as possible on each new division. The more roots available, the quicker it will establish.
- GIVE THEM SPACE: When you divide, make sure you’re not overcrowding your new pots. Each division needs enough room to grow without immediately competing with its neighbors.
Aftercare and What to Watch For
Once your divisions are potted, keep them in a bright, but not intensely sunny, location. A little dappled shade is perfect. Water them regularly, but always check the soil moisture first. You’ll know they’re settling in when you start to see new leaf growth appearing.
Now, what if things go a bit sideways? The most common issue is rot, which is usually a sign of too much moisture and poor drainage. If you see leaves wilting, yellowing, and appearing mushy, it’s a red flag. Check the soil – if it feels waterlogged, you’ll likely need to remove the affected part and try to improve drainage, perhaps by repotting into fresher, drier mix. Don’t be discouraged, though! It happens to the best of us.
Happy Growing!
Propagating Valeriana celtica is a delightful way to expand your garden. Be patient, give your new plants a little extra TLC, and before you know it, you’ll have a beautiful display of frothy blooms and that lovely, calming scent. Enjoy the process and the reward of creating life from your existing green treasures!
Resource:
https://identify.plantnet.org/k-world-flora/species/Valeriana%20celtica%20L./data