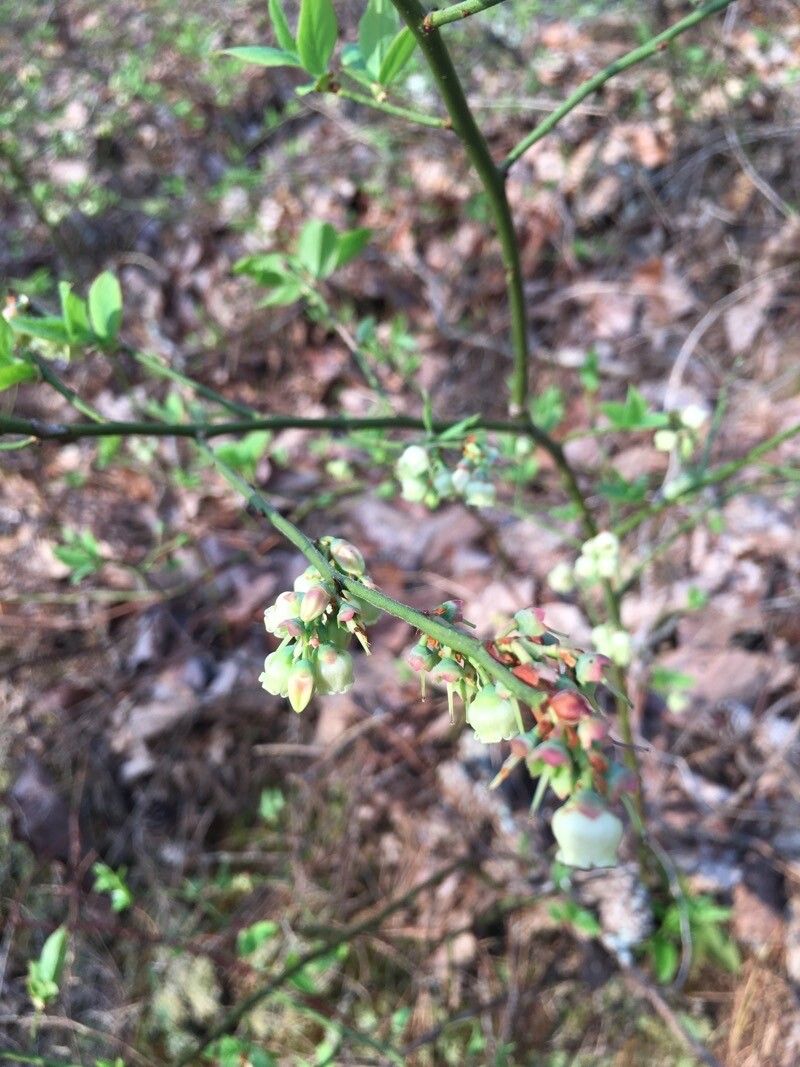
Oh, hello there! Come on in, grab a mug. I’ve been looking forward to chatting with you about Vaccinium pallidum, or as we lovingly call them, dryland blueberries or lowbush blueberries. There’s just something so special about these little jewels. They’re native, they’re tough, and when they’re happy, they reward us with a scattering of sweet, tart fruit that tastes like pure wildness. Plus, they offer delightful fall color! And even better? Learning to propagate them yourself is incredibly rewarding. Good news for you: this isn’t a super fussy plant to get started with.
The Best Time to Start
For the highest chance of success, I really like to take cuttings in late spring to early summer. This is when the plant is actively growing, and the new, pliable stems have a good amount of energy. You’re aiming for semi-hardwood cuttings – they’ll be a little firm but still bendy enough. Avoid anything too woody from last year or too tender and bright green.
Supplies You’ll Need
Here’s what you’ll want to have on hand before you get your hands dirty:
- Sharp pruning shears or a clean knife: For making clean cuts.
- Rooting hormone: Especially helpful for blueberries. You can find it in powder or gel form.
- Small pots or trays: With drainage holes! Absolutely essential.
- Well-draining potting mix: I usually mix peat moss, perlite, and a little bit of compost. You want it to hold moisture but not become waterlogged. Some people swear by a pure peat moss and perlite mix.
- Plastic bags or a propagator: To create a humid environment.
- Watering can or spray bottle: For gentle watering.
- Labels: So you don’t forget what you planted!
Propagation Methods
I find that taking stem cuttings is the most straightforward and effective way to multiply Vaccinium pallidum. Here’s how I do it:
- Select Your Cuttings: Gently select healthy, non-flowering stems from your existing plant. Look for stems that are about 4-6 inches long. Snip them just below a leaf node (where a leaf attaches to the stem).
- Prepare the Cuttings: Carefully remove the lower leaves, leaving just a few at the top. If any of the leaves are particularly large, I like to snip them in half to reduce water loss.
- Dip in Rooting Hormone: Lightly dip the cut end of each stem into your rooting hormone. Tap off any excess. This stuff really gives them a good kickstart.
- Plant Your Cuttings: Make a small hole in your prepared potting mix with a pencil or your finger. Insert the cutting, making sure the node where you removed the leaves is below the surface of the soil. Gently firm the soil around the stem.
- Water Gently: Water your newly planted cuttings thoroughly but gently. You want the soil to be moist, not soggy.
- Create Humidity: Cover the pots with a clear plastic bag or place them in a propagator. This traps humidity, which is crucial for cuttings to root. Make sure the leaves don’t touch the plastic – if they do, you can prop up the bag with stakes or trim the leaves a bit more.
While you can sometimes root blueberries in water, I find it’s a bit trickier to get them to transition to soil later. Sticking with soil from the start usually leads to happier, more established plants.
The “Secret Sauce” (Pro Tips)
Here are a couple of things I’ve learned over the years that can really make a difference:
- Bottom Heat is Your Friend: Blueberries absolutely love a bit of warmth from below. Placing your pots on a heat mat specifically designed for propagation can significantly speed up root development. It mimics the warmth of spring soil and gives the roots a real incentive to grow.
- Sterility Matters: Always make sure your pruning shears and knives are clean. Using alcohol wipes before and after you cut can prevent the spread of any diseases that might be lurking and causing trouble for your new babies. Don’t skip this step!
- Don’t Disturb: Once you’ve planted your cuttings, resist the urge to constantly pull them out and check for roots. You can gently tug them after a few weeks, but too much disturbance can break delicate new root structures.
Aftercare & Troubleshooting
After about 4-8 weeks, you should start to see signs of new growth at the top of your cuttings. This is a good indicator that roots have formed. You can gently check by giving a cutting a very light tug – if there’s resistance, you’re likely in business!
Once they’ve rooted, gradually acclimatize them to lower humidity by opening the plastic bag for longer periods each day over a week. Then, you can transplant them into individual, slightly larger pots with your regular potting mix. Continue to keep them consistently watered, but again, avoid waterlogged conditions.
The most common problem you’ll encounter is rot. If a cutting turns black and mushy, it’s usually a sign of too much moisture and not enough air circulation. Unfortunately, once rot sets in, there’s not much you can do. That’s why good drainage and not overwatering are so important. Another sign of failure is if the cutting just shrivels up and dies, which can happen if it dries out too much or if the rooting hormone wasn’t effective.
A Encouraging Closing
So there you have it! Propagating your own Vaccinium pallidum is a truly satisfying project. Be patient, trust the process, and don’t be discouraged if not every cutting takes. Gardening is all about learning and experimenting. Enjoy the journey of watching these little plants grow into future berry producers! Happy gardening!
Resource:
https://identify.plantnet.org/k-world-flora/species/Vaccinium%20pallidum%20Aiton/data