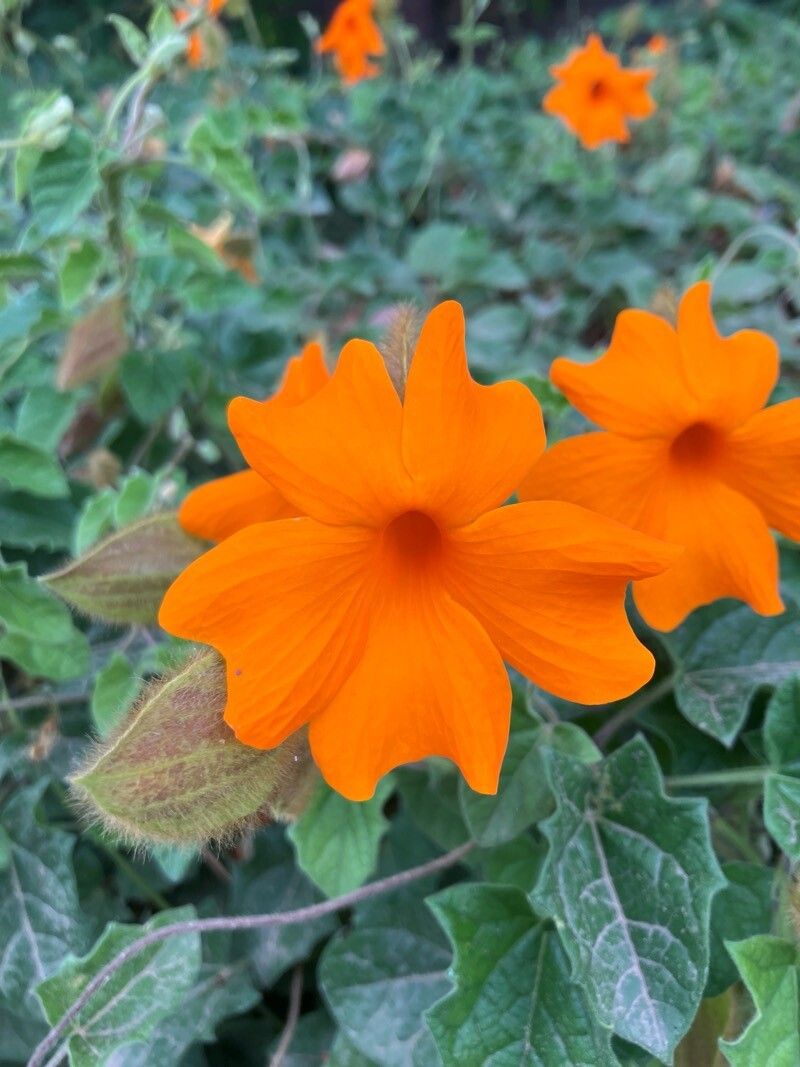
Oh, Thunbergia gregorii! Isn’t it just a ray of sunshine? That vibrant orange bloom, the way it cascades over pots or scrambles up a trellis – it’s pure garden joy. And the best part? Bringing more of that sunshine into your garden by propagating it yourself is incredibly rewarding. It’s not overly fussy, either. I’d say it’s a good project for a beginner looking to dip their toes into the wonderful world of plant reproduction.
The Best Time to Start
For Thunbergia gregorii, I find the late spring or early summer is your golden window. This is when the plant is actively growing, full of vigor, and ready to make new babies. Waiting until after the plant has had a good flush of growth will give you plenty of healthy material to work with.
Supplies You’ll Need
Here’s what I’ve found works best for me:
- Sharp, clean pruning shears or a sharp knife: Essential for making clean cuts that heal well.
- Rooting hormone (optional but recommended): A little boost can really speed things up. Look for a powder or gel.
- Light, well-draining potting mix: A blend of peat moss or coco coir, perlite, and a bit of compost is perfect. Or, a good quality seed starting mix will do in a pinch.
- Small pots or seedling trays: Whatever you have on hand that drains well.
- Plastic bags or a propagation dome: To keep humidity high around your cuttings.
- Watering can with a fine rose or a spray bottle: For gentle watering.
- A sunny spot or grow light: For warmth and light, but avoid direct, scorching sun initially.
Propagation Methods
Thunbergia gregorii is quite amenable to propagation through stem cuttings. It’s my go-to method for this beauty.
Stem Cuttings
- Take Your Cuttings: In late spring or early summer, select healthy, non-flowering stems. Look for stems that are semi-hardwood – not too soft and green, but not woody either. Make a clean cut just below a leaf node (where a leaf attaches to the stem). You want cuttings that are about 4-6 inches long. Remove the lower leaves, leaving just a couple at the very top. This prevents them from rotting in the soil and encourages the plant to focus energy on root development.
- Prepare the Cuttings: If you’re using rooting hormone, lightly dip the cut end into the powder or gel. Tap off any excess. This step really does make a difference in how quickly they root.
- Plant Your Cuttings: Fill your small pots or seedling trays with your prepared potting mix. Make a small hole with a pencil or your finger, and gently insert the cut end of the stem. Firm the soil gently around the base of the cutting to ensure good contact.
- Water and Cover: Water the soil thoroughly but gently. Then, cover the pot or tray with a plastic bag or a propagation dome. This creates a humid microclimate that helps prevent the cuttings from drying out before they can develop roots. You can secure the bag with a rubber band if needed.
The “Secret Sauce” (Pro Tips)
Here are a couple of little tricks I’ve learned over the years that often make a big difference:
- Bottom Heat is Your Friend: If you can, placing your pots on a gentle heat mat is fantastic. It encourages root growth from below and significantly speeds up the process. Just make sure it’s not too hot – think lukewarm bathwater warmth.
- Avoid Letting Leaves Touch the Soil: When you plant your cuttings, double-check that no leaves are buried in the soil. Even a single leaf touching the damp soil can invite fungal issues and rot. Pinch them off if they’re too low.
Aftercare & Troubleshooting
Once your cuttings are planted and covered, place them in a bright spot that gets indirect light. Avoid direct sun, which can overheat the tiny cuttings and the humid environment inside the bag, essentially cooking them!
Check your cuttings every few days. You want the soil to remain consistently moist but not waterlogged. If it looks dry, give it a gentle watering or a misting. You’ll know they’ve rooted when you see new leaf growth and they feel firm when gently tugged (don’t pull on them too hard, though!). Once they’ve rooted well, you can gradually acclimate them to normal conditions by opening the bag a little more each day over a week.
The most common issue you might encounter is rot. If you see stems turning black and mushy, it’s usually a sign of too much moisture and not enough air circulation. Don’t despair! Remove the affected cuttings, ensure your mix is well-draining, and try again. Sometimes, you just get a bad batch.
Happy Propagating!
So, there you have it! Propagating Thunbergia gregorii is a truly enjoyable journey. Be patient, keep an eye on your little ones, and don’t be afraid to experiment. Before you know it, you’ll have a whole collection of these cheerful, sun-loving plants to brighten your garden. Happy growing!
Resource:
https://identify.plantnet.org/k-world-flora/species/Thunbergia%20gregorii%20S.Moore/data