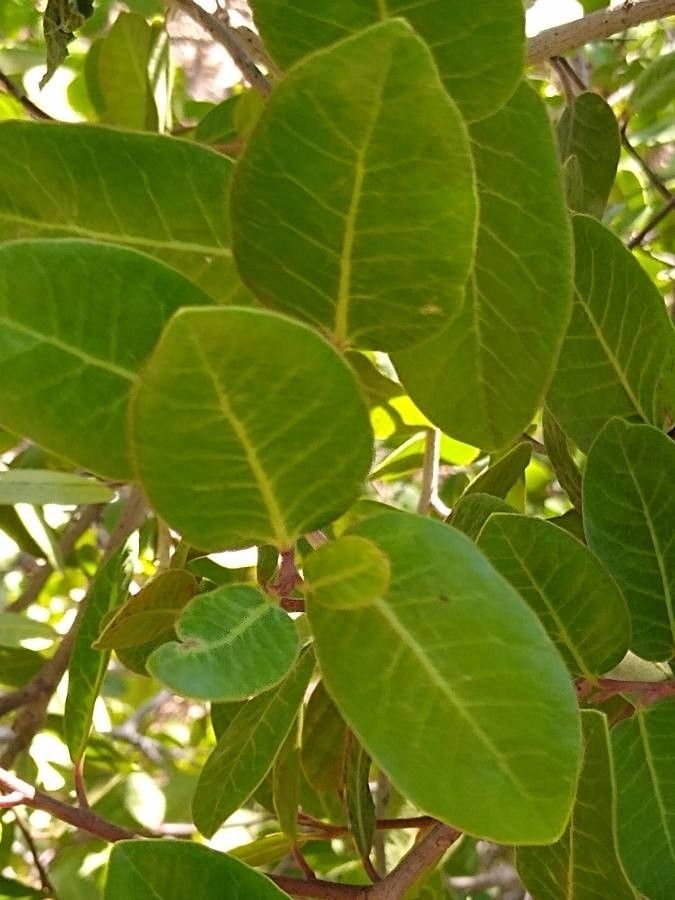
Oh, lovely Rhus kearneyi! If you’ve ever admired that stunning, delicate foliage and wondered how you could get more of it gracing your garden, you’re in the right place. I’ve been coaxing new life from plants for two decades now, and this particular shrub, while not one for the absolute beginner with a trowel for the first time, is wonderfully rewarding to propagate. Let’s get our hands a little dirty!
The Best Time to Start
For Rhus kearneyi, I’ve found the sweetest spot for propagation is late spring to early summer. This is when the plant is actively growing, sending out lovely new shoots, and has good energy reserves to dedicate to root development. Trying to propagate too early means the plant hasn’t quite woken up fully, and too late in the season, the days are shorter and cooler, slowing things down considerably.
Supplies You’ll Need
Here’s what I usually gather before I begin:
- Sharp, clean pruning shears or a knife: Hygiene is key to preventing disease.
- Rooting hormone powder or gel: This is a game-changer, boosting your chances of success. I usually stick with a powder for cuttings.
- A well-draining potting mix: I like to use a blend of equal parts perlite, coco coir, and a bit of compost for cuttings. For division, a standard, good-quality potting soil works.
- Small pots or seedling trays: Clean ones, of course!
- Plastic bags or a propagation dome: To create a humid microclimate.
- Water mister: For keeping things gently moist.
- Labels and a marker: Don’t forget what you’ve planted and when!
Propagation Methods
Let’s explore the two main ways we can multiply our Rhus kearneyi.
Stem Cuttings
This is my go-to for this plant.
- Take Your Cuttings: On a bright, dry day, select healthy, non-flowering shoots that are about 4-6 inches long. Make a clean cut just below a leaf node (where a leaf meets the stem). Remove the lower leaves, leaving just a few at the top.
- Dip in Rooting Hormone: Moisten the cut end of the stem slightly with water, then dip it generously into your rooting hormone. Tap off any excess.
- Plant Your Cuttings: Fill your small pots with your prepared potting mix. Make a hole in the center with a pencil or your finger, and insert the cutting, firming the soil gently around it. You can plant several cuttings in one pot, spaced a few inches apart.
- Water and Cover: Water gently to settle the soil. Then, cover the pot loosely with a plastic bag or place it inside a propagation dome to maintain humidity. You want to create a mini greenhouse effect.
- Find a Sunny Spot: Place the pots in a bright location that receives indirect sunlight. Avoid direct sun, which can scorch the young cuttings.
Division
If you have an established clump of Rhus kearneyi, division is a straightforward option.
- Gently Excavate: In late spring or early fall, when the weather is mild, carefully dig around the base of the plant. You want to lift the entire root ball out of the soil.
- Inspect and Separate: Gently shake off excess soil to expose the roots. Look for natural divisions in the root system where you can clearly separate sections. You can use your hands or a clean, sharp spade to help. Each division needs to have at least one healthy shoot and a good portion of roots.
- Replant Immediately: Pot up the divisions into pots filled with your potting mix, or replant them directly into their new garden homes. Water them in well.
The “Secret Sauce” (Pro Tips)
- The “Wiggle Test”: After a few weeks, when you think roots might be forming, give a gentle tug on a cutting. If there’s resistance, you’ve got roots! If it slides out easily, it hasn’t rooted yet, and you can try again.
- Bottom Heat is Your Friend: For stem cuttings, popping them on a heat mat designed for seedlings can significantly speed up root development. It encourages hormonal activity in the stem.
- Don’t Drown Them: While humidity is crucial, don’t let the leaves sit in standing water inside the bag or dome. This is a fast track to rot. A light misting when the surface looks dry is usually sufficient.
Aftercare & Troubleshooting
Once your cuttings show signs of rooting (new growth, resistance to a gentle tug), or your divisions are replanted, keep them consistently moist but not soggy. Gradually acclimate them to normal humidity by opening the plastic bag or dome a little more each day over a week. Once they are established and growing well, you can treat them like a mature plant.
The most common issue you’ll encounter is rot. If your cuttings start looking mushy, turning black, or smell unpleasant, rot has likely set in. This is usually due to too much moisture, poor drainage, or lack of air circulation. Don’t be discouraged; just try again with improved conditions. Sometimes, a cutting just doesn’t take, and that’s okay.
A Little Patience Goes a Long Way
Propagating plants, like any gardening endeavor, requires a dash of patience and a whole lot of observation. It’s a wonderful way to connect with your plants and expand your green collection. Enjoy the process, celebrate each success, and don’t be afraid to experiment! Happy propagating!
Resource:
https://identify.plantnet.org/k-world-flora/species/Rhus%20kearneyi%20F.A.Barkley/data