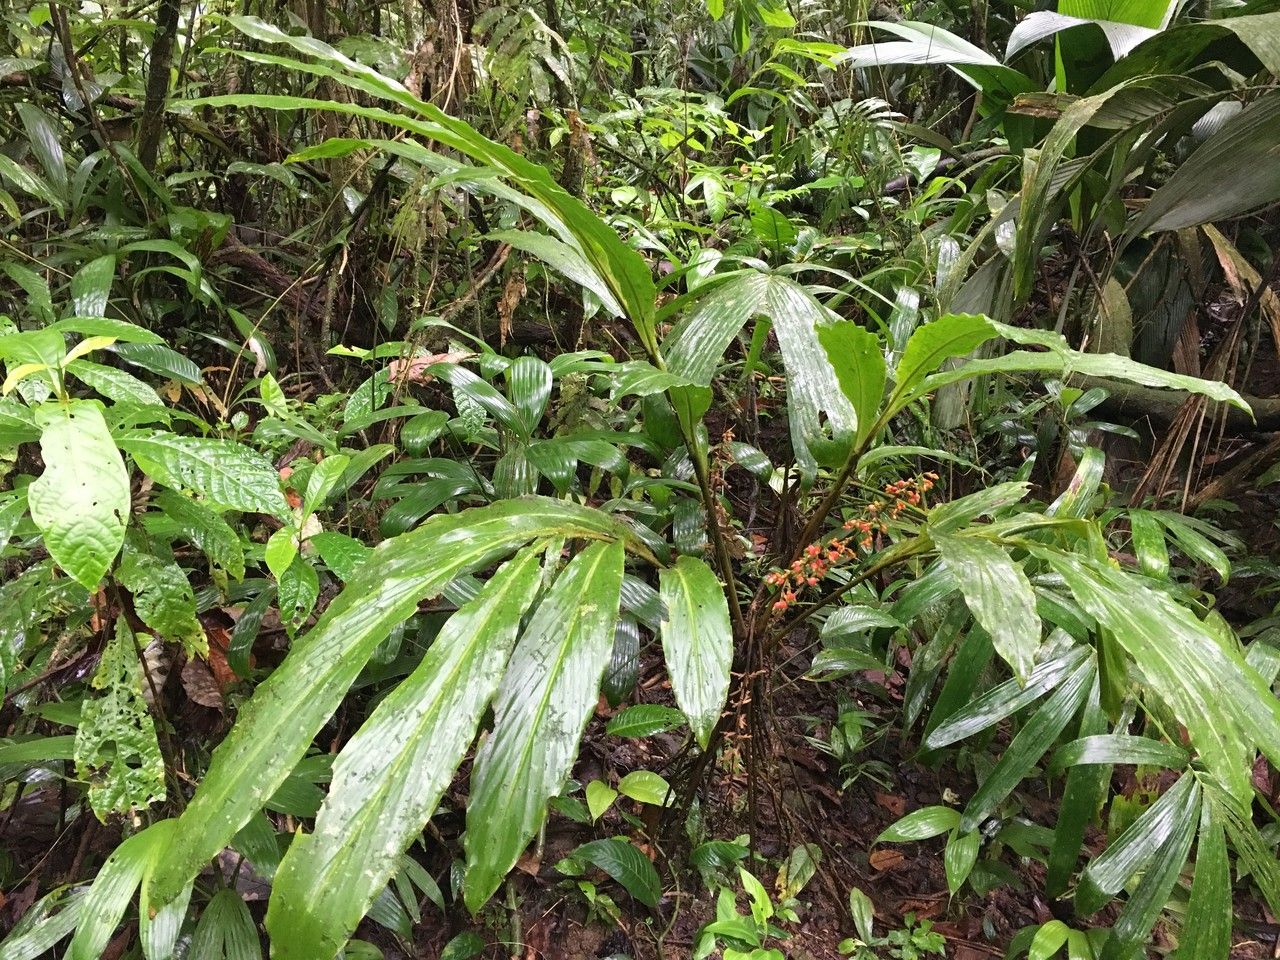
Ah, Renealmia concinna! What a beauty. I just love sharing my passion for this plant with fellow gardeners. If you’re looking for a tropical stunner that brings a touch of the exotic to your home or garden, you’ve found it. Its striking foliage and, if you’re lucky, its fragrant blooms make it a real showstopper. And the best part? Getting more of this gorgeousness from cuttings or divisions is incredibly satisfying. Don’t let its tropical origins fool you; propagating Renealmia concinna is absolutely achievable, even for those of you just starting out on your plant parent journey.
The Best Time to Start
When it comes to Renealmia concinna, I find spring and early summer are your absolute best friends for propagation. This is when the plant is really ramping up its growth cycle, full of vigor. New shoots are emerging, and the plant has plenty of energy to put into developing new roots. Waiting until the plant is actively growing, rather than just ticking over, makes a huge difference in your success rate.
Supplies You’ll Need
Before we get our hands dirty, let’s gather our tools. Having everything ready makes the process so much smoother!
- Sharp Pruning Shears or a Clean Knife: For making clean cuts.
- Potting Mix: A well-draining mix is crucial. I often use a blend of equal parts peat moss, perlite, and orchid bark. You could also use a good quality potting mix with extra perlite added.
- Small Pots or Seedling Trays: Clean pots are essential to prevent disease.
- Rooting Hormone (Optional but Recommended): This really gives your cuttings a boost. Look for one with a fungicide to help prevent rot.
- Watering Can or Spray Bottle: For gentle watering.
- Clear Plastic Bag or Cloche: To create a humid environment.
- A Small Stake or Stick: For support if needed.
Propagation Methods
There are a couple of ways to multiply your Renealmia concinna, and both are quite effective.
Stem Cuttings
This is my go-to method for Renealmia concinna. It’s efficient and I usually get a high success rate.
- Select a Healthy Basal Shoot or Stem: Look for a new shoot that’s at least 6-8 inches long and has a few healthy leaves. You can usually find these at the base of the plant.
- Make a Clean Cut: Using your sharp shears or knife, make a clean cut just above a node (where a leaf attaches to the stem). Try to get a piece that has at least two or three nodes.
- Remove Lower Leaves: Gently strip off the bottom leaves from your cutting, exposing the nodes. This is where the roots will emerge.
- Apply Rooting Hormone (Optional): Dip the cut end of the stem into your rooting hormone, tapping off any excess.
- Plant Your Cutting: Fill your small pot with your well-draining potting mix. Make a hole in the center with your finger or a stick, and insert the cut end of your Renealmia cutting. Gently firm the soil around it.
- Water Lightly: Water the soil gently so it’s moist but not waterlogged.
- Create Humidity: Place the pot inside a clear plastic bag or cover it with a cloche. This will trap moisture and create the humid environment your cutting needs to root. Make sure the leaves aren’t touching the plastic if possible, as this can encourage rot. You can use a stake to prop it up.
- Place in Bright, Indirect Light: Find a warm spot that receives plenty of bright, indirect light. Avoid direct sun, which can scorch the delicate cutting.
Division
If your Renealmia concinna plant has gotten a bit crowded or is producing multiple offsets, division is a fantastic and straightforward method.
- Gently Remove the Plant from its Pot: Turn the pot on its side and gently ease the plant out. If it’s really stuck, you might need to tap the sides of the pot or run a knife around the edge.
- Identify Natural Divisions: Examine the root ball. You should be able to see where the plant naturally divides into smaller clumps, each with its own shoots and roots.
- Separate the Clumps: Using your hands or a clean knife, gently separate the root ball into smaller sections. Try to ensure each division has a good portion of roots and at least one or two healthy stems.
- Pot Up the Divisions: Pot each division into its own small pot filled with your well-draining potting mix.
- Water and Place: Water them gently and place them in a location with bright, indirect light.
The “Secret Sauce” (Pro Tips)
After years of coaxing plants to grow, I’ve picked up a few tricks that seem to make all the difference.
- Bottom Heat is Your Friend: If you’re having trouble with cuttings rooting, especially in cooler months, consider placing your pots on a seedling heat mat. This gentle warmth from below encourages root development and significantly speeds up the process. It’s like a little spa treatment for your cuttings!
- Don’t Be Afraid of a Little “Air”: While humidity is key, make sure to ventilate occasionally. Once a day, I like to briefly lift the plastic bag or cloche to allow for some air circulation. This helps prevent fungal diseases and keeps things fresh.
- The “Wiggle Test” is Your Signal: Be patient! It can take several weeks, sometimes even a couple of months, for roots to form. Don’t fuss too much. A good indicator that your cutting has rooted is when you can give it a gentle tug, and you feel resistance. This means there’s a root system holding on.
Aftercare & Troubleshooting
Once you see signs of new growth or the wiggle test passes, it’s time to adjust their care.
- Gradually Reduce Humidity: As your new Renealmia concinna establishes itself, you can gradually reduce the humidity. Start by opening the plastic bag for longer periods, and eventually, you can remove it altogether.
- Watering: Water when the top inch of soil feels dry. Avoid letting the soil dry out completely or become waterlogged.
- Fertilizing: Wait for a few weeks after you see solid new growth before introducing a diluted, balanced liquid fertilizer.
- Signs of Trouble: The most common issue is rot, and it usually stems from overwatering or poor drainage. If your cutting turns black and mushy, it’s a sign of rot. Sadly, at that point, it’s usually beyond saving. Another sign of distress can be yellowing leaves, which might indicate too much direct sun or inconsistent watering.
A Little Patience Goes a Long Way
Seeing a new plant emerge from a simple cutting or division is one of the most rewarding experiences in gardening. Don’t get discouraged if your first attempt isn’t perfect. Gardening is a journey, and each plant teaches us something new. Be patient, enjoy the process, and soon you’ll have a whole host of beautiful Renealmia concinna plants to share! Happy planting!
Resource:
https://identify.plantnet.org/k-world-flora/species/Renealmia%20concinna%20Standl./data