Hey there, fellow plant lovers!
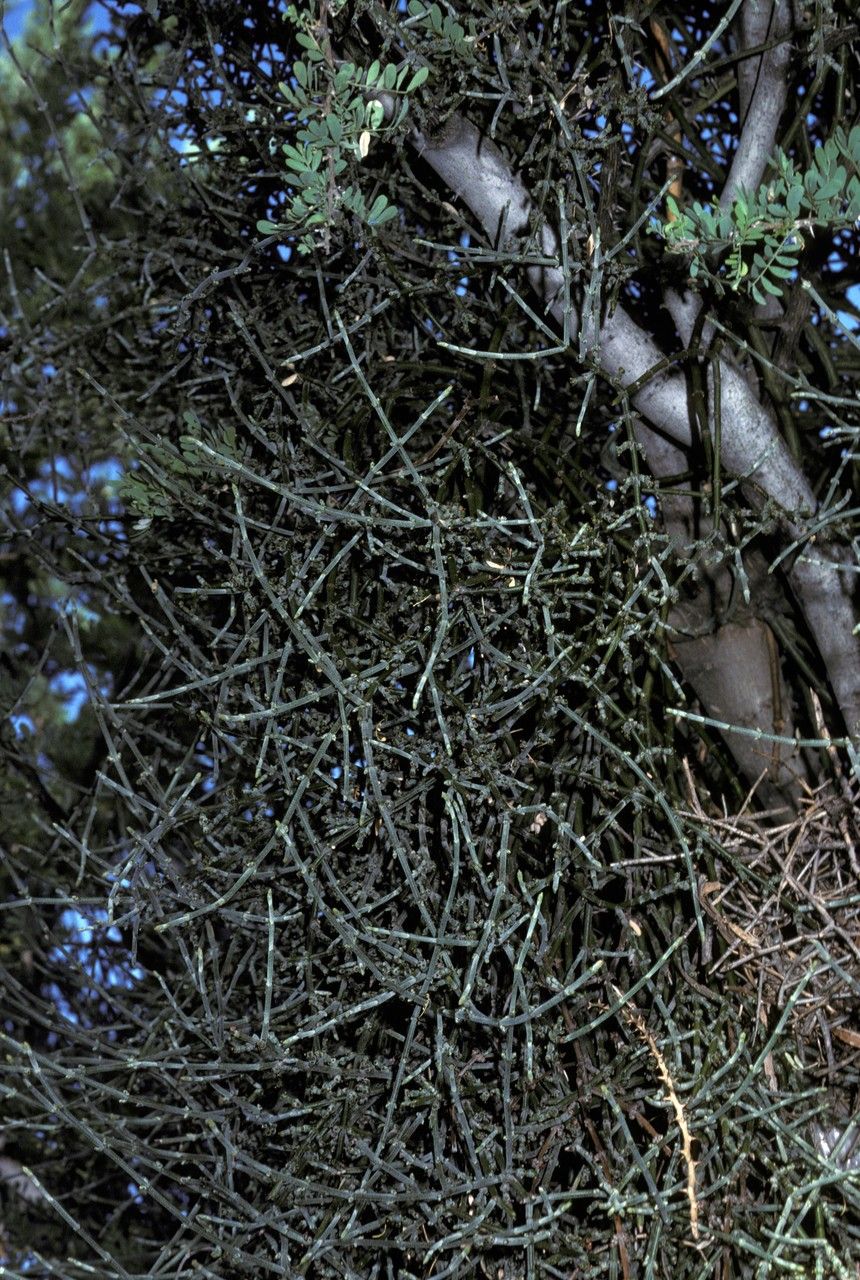
Today, we’re diving into the wonderfully quirky world of Phoradendron californicum, also known as desert mistletoe. Now, I know what you might be thinking – mistletoe? Isn’t that just for holiday smooches? Well, yes, but this fascinating semi-parasitic plant has a charm all its own, especially for those of us who appreciate the resilient beauty of desert flora. Propagating it can be a truly rewarding endeavor, offering a unique connection to this sometimes misunderstood member of the plant kingdom. For beginners, I’d say it’s moderately challenging, but definitely not out of reach with a little patience and the right approach. You’ve got this!
The Best Time to Start
Timing is everything, right? For Phoradendron californicum, you’ll have the best luck propagating from cuttings collected in late spring or early summer. This is when the plant is actively growing and has plenty of energy stored. Look for stems that are firm but not woody, with healthy, green leaves. Avoid any that look damaged or stressed.
Supplies You’ll Need
Gathering your tools beforehand makes the process so much smoother. Here’s what I usually have on hand:
- Sharp, sterilized pruning shears or a clean knife: Crucial for making clean cuts that heal well.
- Small pots or propagation trays: Biodegradable ones are a nice touch if you’re aiming to plant directly out later.
- Soilless propagation mix: A blend of perlite, vermiculite, and peat moss or coco coir works wonders. You want something that drains exceptionally well.
- Rooting hormone (optional but recommended): A good quality rooting powder or gel can give your cuttings a significant boost.
- Spray bottle: For keeping things consistently moist.
- Plastic bag or propagation dome: To create a humid environment.
- Gravel or small stones: For the water propagation method.
Propagation Methods
Let’s get our hands dirty! The most reliable way to propagate Phoradendron californicum is through stem cuttings.
- Taking Cuttings: Using your sterilized shears, take cuttings that are about 4-6 inches long. Make sure each cutting has at least two leaf nodes (where the leaves attach to the stem). Remove the lower leaves, leaving just two or three sets at the top. This helps the cutting focus its energy on root development rather than leaf growth.
- Applying Rooting Hormone: If you’re using rooting hormone, dip the cut end of the stem into the powder or gel. Tap off any excess.
- Planting the Cuttings: Fill your small pots or trays with the well-draining propagation mix. Make a small hole with your finger or a pencil, and insert the cutting, ensuring at least one leaf node is buried below the surface. Gently firm the soil around the cutting.
- Creating Humidity: Water the soil lightly, just until it’s evenly moist. Then, cover the pots with a plastic bag, ensuring it doesn’t touch the leaves, or place them inside a propagation dome. This traps humidity, which is vital for successful rooting.
- Placement: Place your potted cuttings in a warm location with bright, indirect light. Avoid direct sunlight, as this can scorch the delicate cuttings.
Water Propagation (Less common, but I’ve had success!):
While less common for mistletoe, you can try water propagation for a fun experiment. Take your cuttings as described above. Place them in a jar or vase filled with water, ensuring no leaves are submerged. Change the water every few days to keep it fresh. Once you see tiny roots forming (this can take several weeks!), you can then attempt to plant them in your soilless mix. This method is often trickier for woody cuttings, but worth a shot.
The “Secret Sauce” (Pro Tips)
Here are a few things I’ve learned over the years that can really make a difference:
- The “Wound” Trick: After taking your cutting, some gardeners like to gently scrape a tiny sliver of the outer bark off the bottom inch or so of the stem. This exposes more cambium tissue, which can encourage faster rooting. Be gentle, though!
- Bottom Heat is Your Friend: If you have a heating mat for seedlings, placing your propagation pots on it can significantly speed up rooting. It mimics the warmth of the soil where the parent plant is growing.
- Don’t Be Too Eager to Transplant: Resist the urge to tug on your cuttings to check for roots! Wait until you see new leaf growth, which is a strong indicator that roots have developed.
Aftercare & Troubleshooting
Once your cuttings have developed a good root system (you’ll see roots emerging from the drainage holes, or new growth on top!), it’s time for a little more TLC.
- Gradual Acclimation: Before removing the plastic bag or dome, gradually introduce your new plants to the outside air over a week or so. This helps them adjust to lower humidity.
- Potting Up: Carefully transplant your rooted cuttings into slightly larger pots with a free-draining potting mix specifically formulated for desert plants or cacti.
- Watering: Water thoroughly after potting, then allow the soil to dry out somewhat between waterings. Overwatering is the most common downfall for new cuttings.
- Troubleshooting: Rot: If your cuttings start to look mushy, discolored, or slimy, it’s a sign of rot, usually caused by too much moisture and poor air circulation. Sadly, it’s hard to recover from at this stage. In the future, ensure your soil drains impeccably and you’re not over-misting. If you catch it super early, you might be able to salvage a healthy tip, but more often than not, it’s best to start fresh.
A Encouraging Closing
Propagating Phoradendron californicum is a delightful way to understand its unique life cycle and share its charm. It takes patience, a keen eye, and a willingness to learn from both successes and… well, lessons learned. Don’t get discouraged if your first attempt isn’t perfect. Every gardener has their “failures”—they just become stepping stones to future triumphs. So, grab those shears, get your hands dirty, and enjoy the journey of coaxing new life from your desert mistletoe. Happy propagating!
Resource:
https://identify.plantnet.org/k-world-flora/species/Phoradendron%20californicum%20Nutt./data