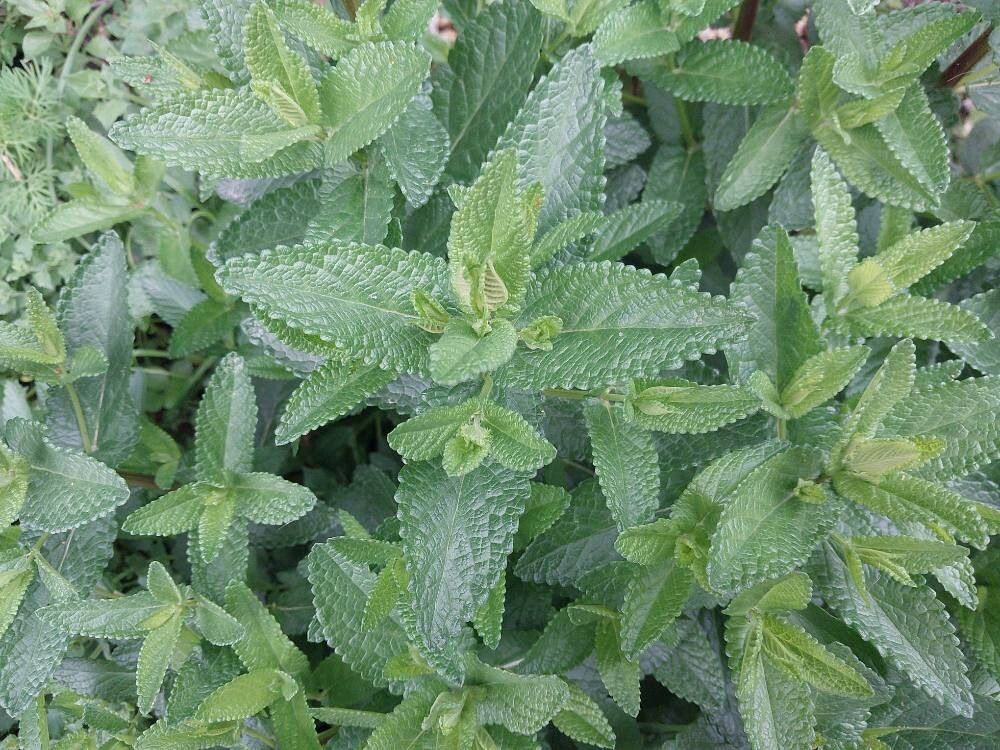
Hello there, fellow plant lovers! If you’ve ever been captivated by the gentle sway and lovely fragrance of Nepeta argolica, you’re in for a treat. This beauty, with its silvery-green foliage and clusters of lavender-blue flowers, is a magnet for bees and a delight in any garden border. Growing more of it yourself is not only rewarding but surprisingly straightforward. I’ve found Nepeta argolica to be a very forgiving plant, making it a wonderful candidate for beginner propagation efforts!
The Best Time to Start
For Nepeta argolica, the sweet spot for propagation is late spring to early summer. This is when the plant is actively growing, and its stems are still soft and pliable, making them ideal for taking cuttings. You want to aim for non-flowering shoots, so keep an eye out for those energetic new growths before they get too woody.
Supplies You’ll Need
Gathering your tools beforehand makes the whole process much smoother. Here’s what I keep on hand:
- Sharp pruning shears or a clean, sharp knife: For taking clean cuts.
- Potting mix: A well-draining mix is crucial. I usually use a blend of 50% peat moss and 50% perlite or sharp sand.
- Small pots or seed trays: Whatever you have that can hold your cuttings. Make sure they have drainage holes!
- Rooting hormone (optional but helpful): A powder or gel can give your cuttings a nice boost.
- Plastic bags or propagation domes: To create a humid environment.
- Watering can or spray bottle: For gentle watering.
Propagation Methods
There are a couple of fantastic ways to get more Nepeta argolica going. I usually lean towards stem cuttings, as they’re reliable and efficient.
Stem Cuttings
- Take your cuttings: Using your clean shears or knife, select a healthy, non-flowering stem. Cut a section about 4-6 inches long. Make your cut just below a leaf node (where the leaves attach to the stem).
- Prepare the cuttings: Gently remove the lower leaves, leaving just a few at the top. This helps prevent rot and focuses the plant’s energy on rooting. If the leaves at the top are quite large, you can even cut them in half.
- Apply rooting hormone: If you’re using it, dip the cut end of the stem into the rooting hormone, tapping off any excess.
- Pot them up: Fill your small pots with your prepared potting mix. Make a pilot hole with a pencil or your finger, and then insert the cutting, about an inch deep, ensuring the leaf nodes are buried. Gently firm the soil around the stem.
- Water gently: Water thoroughly but gently, so you don’t dislodge the cuttings.
- Create humidity: Cover the pots with a clear plastic bag or a propagation dome. This traps moisture and creates the humid environment cuttings need to root. Place them in a bright spot, but out of direct, harsh sunlight.
Water Propagation (My Quick & Easy Method)
Sometimes, I just want to see the roots forming! For Nepeta argolica, water propagation can work nicely.
- Prepare your cuttings: Follow steps 1 and 2 from the stem cuttings method.
- Place in water: Put the cuttings in a small jar or glass filled with fresh water. Ensure that no leaves are touching the water. Submerged leaves will rot and can take down your whole cutting.
- Change water regularly: Change the water every few days to keep it fresh and prevent bacterial growth.
- Wait for roots: You should start to see tiny roots emerge from the nodes in a few weeks. Once the roots are about an inch long, you can carefully transplant them into pots filled with your well-draining potting mix.
The “Secret Sauce” (Pro Tips)
Here are a few little tricks I’ve picked up over the years that really help:
- Bottom Heat: If you have a heated propagator or mat, using it underneath your pots can significantly speed up rooting. It mimics the warmth of spring soil and gives those sleepy roots a nudge.
- Don’t Be Afraid to Prune: Once your cuttings have started to root and you see new growth, you can pinch off the very tip of the new stem. This encourages the plant to branch out, resulting in a bushier, more attractive plant right from the start.
- Callousing is Key (for woody cuttings): While Nepeta argolica cuttings are best taken when soft, if you’re attempting to propagate from slightly older material, letting the cut end of the stem “callous over” for a day or two in a dry, airy spot before potting can improve rooting success.
Aftercare & Troubleshooting
Once you see those lovely little roots appearing, or new growth pushing through, congratulations!
- Acclimate them: Slowly introduce your new plants to less humid conditions. You can start by leaving the plastic bags off for a few hours each day, gradually increasing the time.
- Water consistently: Keep the soil consistently moist but not waterlogged. Overwatering is the quickest way to invite trouble.
- Watch for trouble: The most common issue is rot. If your cuttings turn black and mushy, they’ve likely succumbed to too much moisture and poor air circulation. Unfortunately, there’s not much to do once rot sets in, but you can always try again! Stunted growth or yellowing leaves can sometimes indicate insufficient light.
Growing new plants from cuttings is such a satisfying part of gardening. It’s about patience, observation, and the sheer joy of watching life unfurl. Don’t get discouraged if your first few attempts aren’t perfect. Keep at it, enjoy the process, and soon you’ll have a whole garden full of fragrant Nepeta argolica to share! Happy propagating!
Resource:
https://identify.plantnet.org/k-world-flora/species/Nepeta%20argolica%20Bory%20&%20Chaub./data