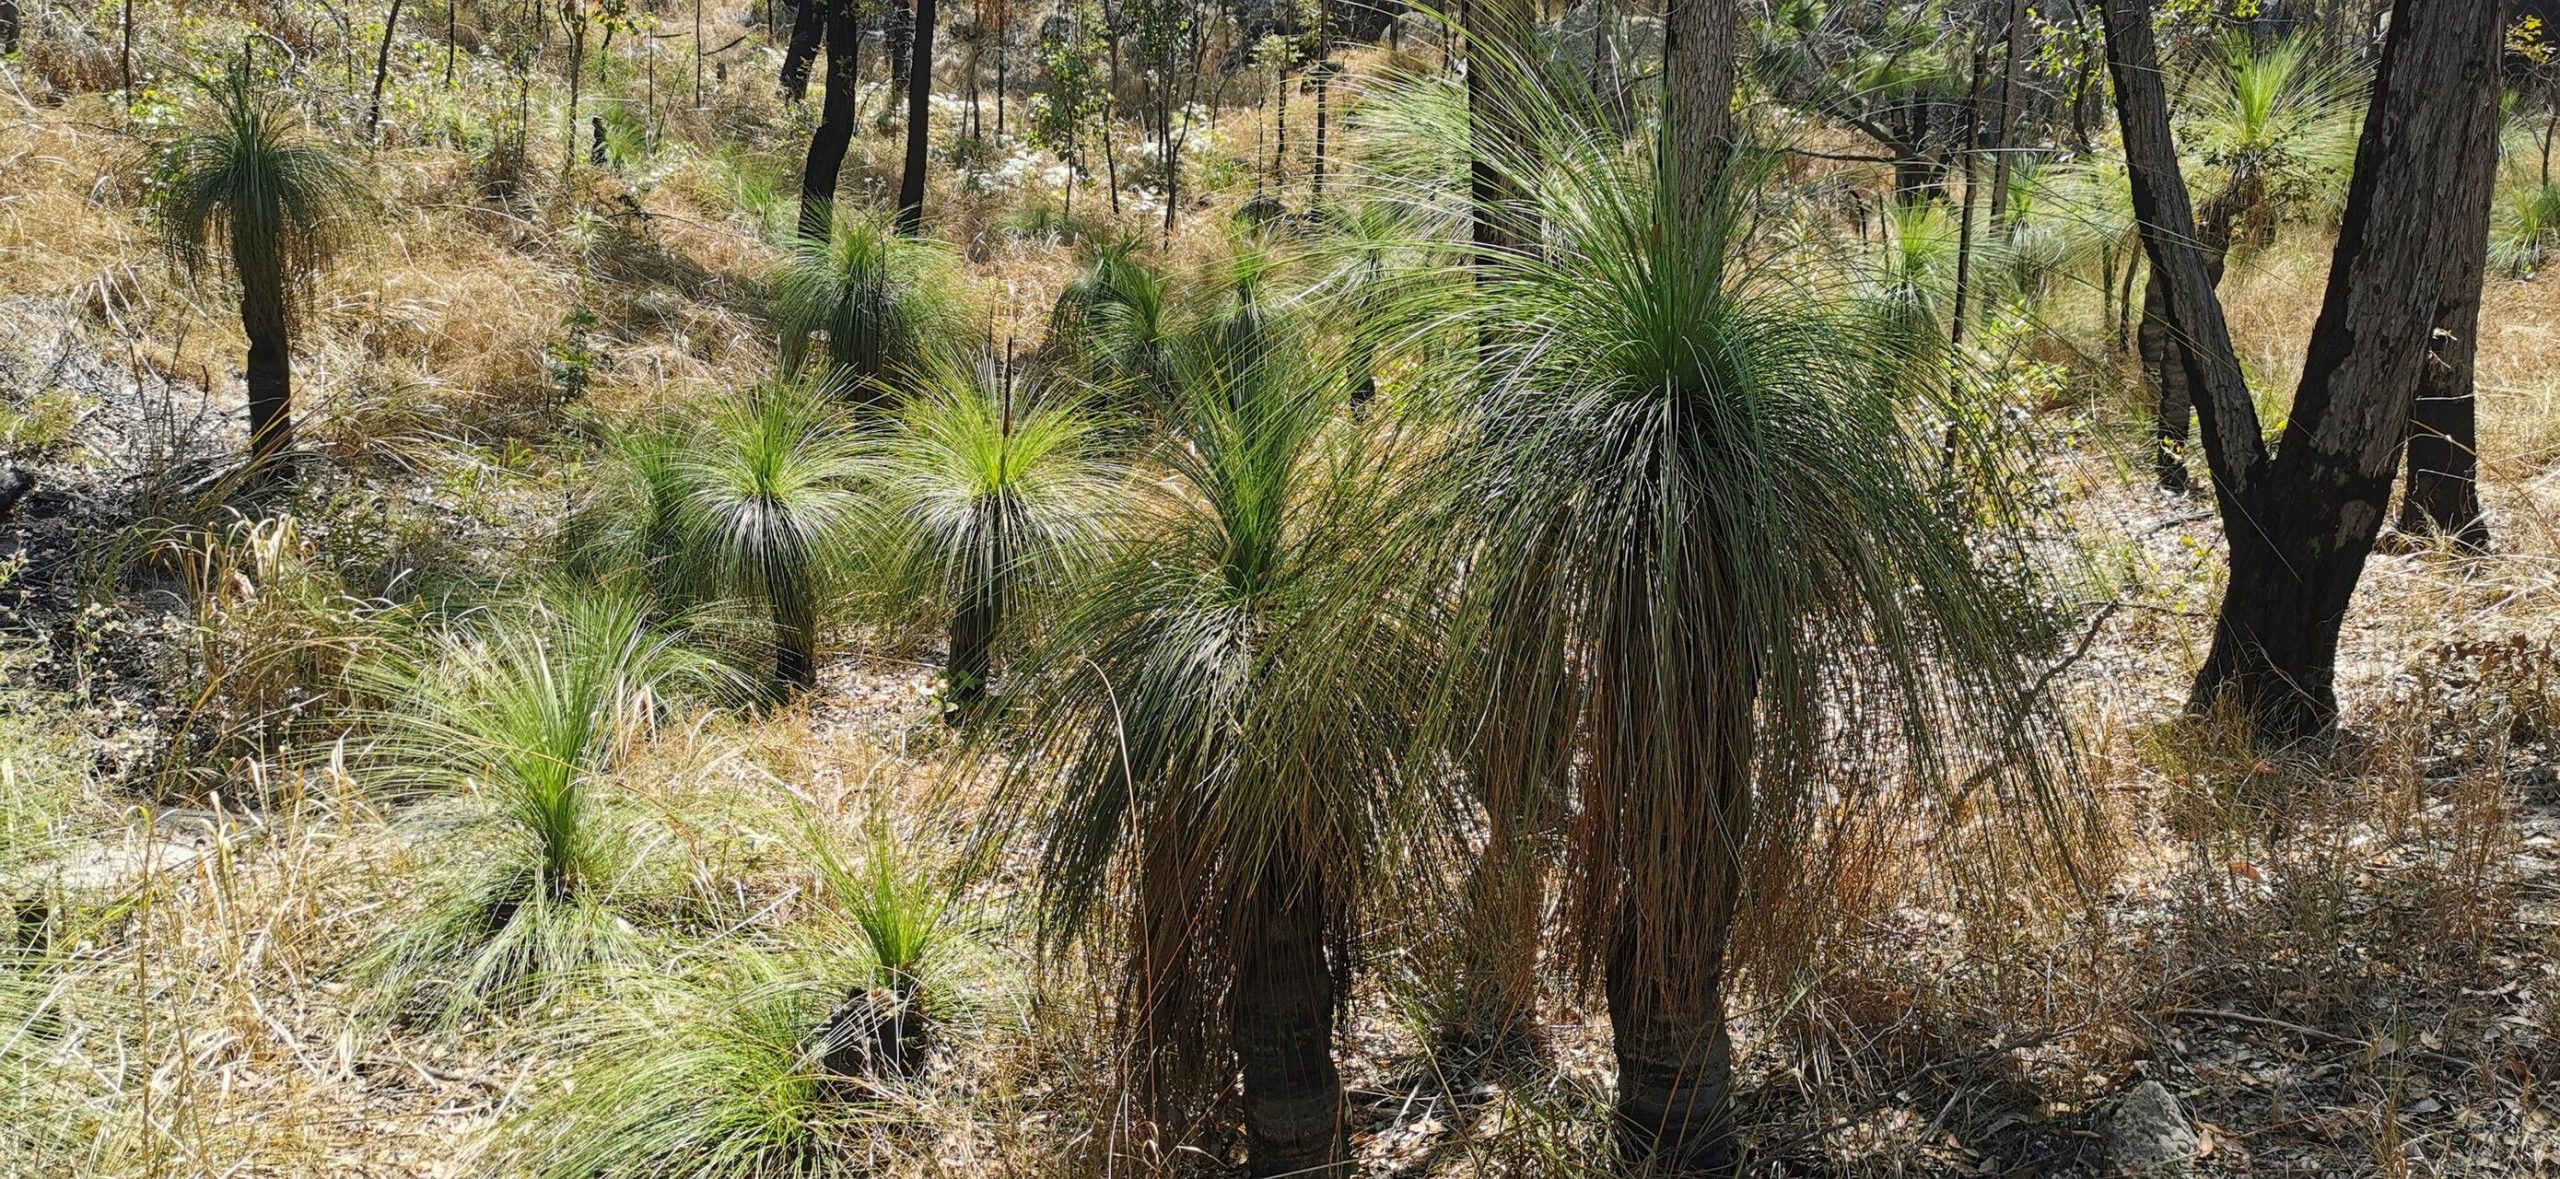
Oh, hello there! Come on in, grab a cuppa. Today, we’re diving into something really special: Kingia australis. If you’ve ever seen one of these magnificent plants, you know exactly what I’m talking about. That striking architectural form, those incredible fruiting structures… they’re just showstoppers. And you know what’s even better? Being able to bring that magic into your own garden, or share it with friends. Propagating Kingia australis can feel a bit like unlocking a secret, and while it’s not quite as simple as sticking a rose cutting in the ground, it’s absolutely achievable with a little know-how. It’s a journey that’s incredibly rewarding.
The Best Time to Start
For Kingia australis, spring is your golden ticket. As the days get longer and the temperatures start to warm up consistently, the plant is really ramping up its growth. This is when it has the most energy reserves to put into developing new roots. Aim for either just as new growth is emerging, or after flowering has finished and the plant is actively pushing out new shoots. You want to catch it when it’s feeling vigorous!
Supplies You’ll Need
Before we get our hands dirty, let’s gather our tools. Think of it as setting up your little propagation station!
- Sharp Pruning Shears or a Knife: Cleanliness is key here!
- Potting Mix: A well-draining, gritty mix is vital. I often use a blend of perlite, coarse sand, and a bit of coco coir or compost. Avoid heavy, water-retentive soils.
- Small Pots or Seed Trays: Clean containers are a must to prevent disease.
- Rooting Hormone (Optional but Recommended): A powder or gel can give your cuttings a helpful boost.
- Plastic Bags or a Propagation Dome: To create a humid environment.
- Watering Can with a Fine Rose: To water gently without disturbing things.
Propagation Methods: My Go-To Way
The most reliable method for Kingia australis, in my experience, is stem cuttings. It’s where I’ve seen the most consistent success.
- Take Your Cuttings: On a healthy, mature plant, select a stem that has at least a few sets of leaves. Using your sharp, clean shears, make a cut just below a leaf node. You’re looking for cuttings that are about 6-8 inches long. Remove any lower leaves that might end up submerged in the soil to prevent rot.
- Prepare the Cutting: If you’re using rooting hormone, dip the cut end of the stem into the rooting hormone powder or gel, tapping off any excess.
- Potting Up: Fill your small pots with your well-draining potting mix. Make a hole in the center of the mix with your finger or a dibber.
- Plant the Cutting: Gently insert the cut end of your stem cutting into the prepared hole, ensuring at least one leaf node is buried. Firm the mix gently around the stem.
- Create the Humid Environment: Water the soil thoroughly but gently. Then, cover the pot with a clear plastic bag or place it under a propagation dome. This traps moisture and creates that essential humid microclimate.
The “Secret Sauce” (Pro Tips)
Now, here are a few little tricks I’ve learned over the years that make a difference:
- Bottom Heat is Your Friend: I can’t stress this enough! Placing your pots on a heat mat will significantly speed up root development. It mimics the warmth of its native soil and really encourages those roots to get going.
- Patience, Young Grasshopper! Kingia australis are not lightning-fast rooters. Don’t be discouraged if you don’t see any action for weeks, or even a couple of months. Just resist the urge to keep digging them up to check!
- Avoid Direct Sun: While they love light, direct, harsh sunlight on your nascent cuttings can scorch them and dry out the delicate new growth. Place them in a bright spot with indirect light.
Aftercare & Troubleshooting
Once you start to see those tiny new roots appearing, it’s time to adjust their care. Very gradually, start to harden them off by opening the plastic bag for increasing periods each day. You want them to get used to the normal humidity levels. Water them when the top inch of soil feels dry to the touch.
The most common problem you might encounter is rot. If your cutting starts to look mushy, black, or just generally unhappy, it’s usually a sign of too much moisture and not enough air circulation. Yellowing leaves can also indicate overwatering. If you see rot, it’s often best to discard the affected cutting cleanly to prevent it from spreading.
A Gentle Encouraging Closing
So there you have it! Propagating Kingia australis is a process that calls for a bit of faith and a lot of patience. But when you see those first roots emerge, or when you plant out your own little Kingia seedling into its permanent home, the satisfaction is immense. Don’t be afraid to experiment, learn from each attempt, and most importantly, enjoy the quiet magic of nurturing new life. Happy gardening!
Resource:
https://identify.plantnet.org/k-world-flora/species/Kingia%20australis%20R.Br./data