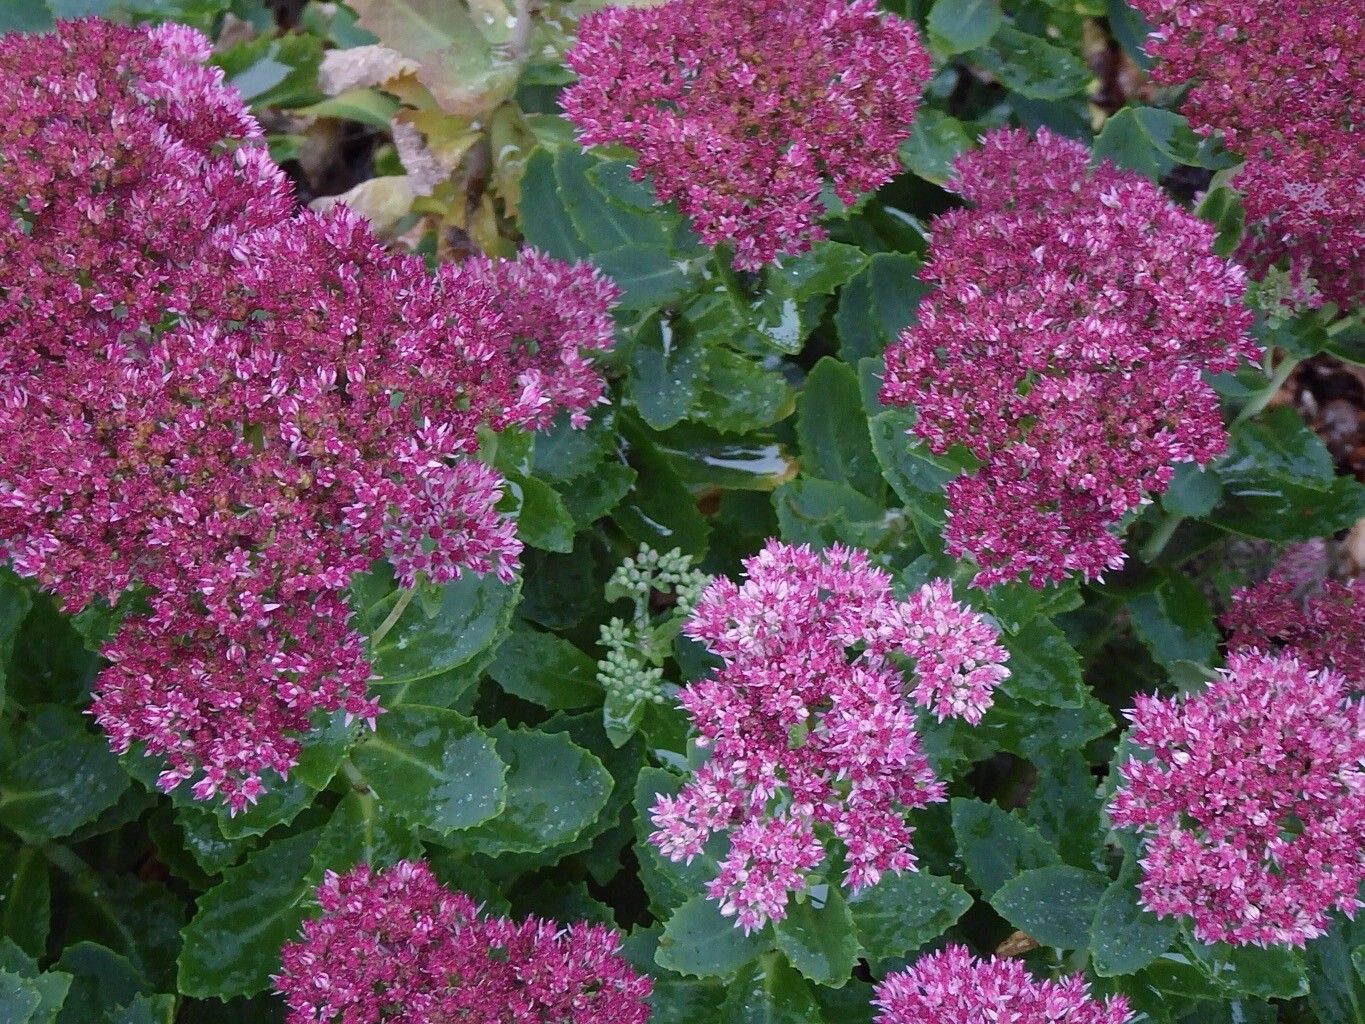
Oh, hello there! Pull up a chair and let’s chat about one of my favorite garden additions – Hylotelephium telephium, or as many of us know it, the hardy Sedum, or sometimes even Grape-leaf Sedum. I’ve grown these beauties for years, and honestly, there’s something so satisfying about making more of them. They’re the superstars of the late summer and fall garden, with their sturdy stems, fantastic foliage color, and those gorgeous, flat-topped flower heads that attract all sorts of buzz. Propagating them is a lovely way to fill out your borders, share with friends, or just bask in the glow of your gardening prowess. And the best part? They are wonderfully forgiving, making them an excellent choice, even if you’re just starting your plant propagation journey.
The Best Time to Start
When it comes to getting new Hylotelephium plants, I find the sweet spot is late spring to early summer. This is when the plants are actively growing and have plenty of fresh, healthy stems to work with. You want to catch them before they get too leggy or start putting all their energy into flowering. Taking cuttings while the plant is vigorous gives them the best chance to establish strong roots before the heat of summer fully kicks in or the chill of fall arrives.
Supplies You’ll Need
Before we get our hands dirty, let’s gather our tools. You don’t need anything too fancy!
- Sharp Pruning Shears or a Clean Knife: For taking clean cuts.
- Rooting Hormone (Optional but Recommended): A little boost never hurt!
- Small Pots or Trays: With drainage holes, of course.
- Well-Draining Potting Mix: I usually go for a mix of equal parts peat moss or coco coir and perlite or coarse sand. The key is aeration!
- Watering Can or Spray Bottle: For gentle watering.
- Labels: To keep track of your new babies!
Propagation Methods
I typically stick to a couple of tried-and-true methods for Hylotelephium telephium, and they both work like a charm.
Stem Cuttings – My Go-To Method
This is usually the most straightforward and successful way to propagate these sedums.
- Take Your Cuttings: Using your clean shears, snip off healthy stems that are about 4-6 inches long. Try to get cuts just below a leaf node (where a leaf attaches to the stem).
- Prepare the Cuttings: Gently remove the lower leaves from the stem, leaving a few at the top. You can also pinch off any flower buds if you see them.
- Dip in Rooting Hormone (Optional): If you’re using rooting hormone, dip the cut end of the stem into it. Just a quick dip.
- Plant Them Up: Fill your pots or trays with your well-draining potting mix. Make a small hole with your finger or a pencil and insert the cutting, making sure the nodes where you removed the leaves are buried. Gently firm the soil around the stem.
- Water Gently: Give them a light watering. Don’t soak them – just enough to moisten the soil.
- Find the Right Spot: Place the pots in a bright location, but out of direct, scorching sunlight. A greenhouse, a bright windowsill, or even a shady spot outdoors can work.
Division in Spring
While stem cuttings are my favorite, you can also divide established clumps in early spring as soon as new growth appears.
- Dig Up the Plant: Carefully dig around the base of the mature plant.
- Separate the Roots: Gently pull apart the clump. You can use your hands or a trowel to divide it into sections, ensuring each section has healthy roots and some shoots.
- Replant: Immediately replant the divisions in their new spots in the garden or in pots with fresh potting mix.
- Water Well: Give them a good watering to help them settle in.
The “Secret Sauce” (Pro Tips)
Here are a couple of little tricks I’ve learned over the years that really help:
- Let Them Callus: After taking stem cuttings, I often leave them to sit out for a day or two in a dry, airy spot. This allows the cut end to form a callus. It’s like the plant is sealing the wound, and I find it reduces the risk of rot and encourages better rooting.
- Bottom Heat is a Game Changer: If you can manage it, placing your pots on a heat mat designed for seedlings can significantly speed up root development. It gives those young roots a cozy environment to sprout. Just a gentle warmth is all they need.
Aftercare & Troubleshooting
Once your cuttings are planted, patience is key. Keep the soil consistently moist but not waterlogged. A light misting with a spray bottle can be helpful, especially in drier conditions. You can gently tug on a cutting after a few weeks – if you feel resistance, you’ve got roots! Once they’re well-rooted and you see new growth, you can treat them like young plants and transplant them to their permanent homes or larger pots.
The most common issue you might encounter is rot. If you see your cuttings looking mushy or turning brown and falling over, it’s usually a sign of too much moisture and not enough air circulation. Don’t be discouraged! Sometimes, one or two might rot, but others will thrive. Just remove any affected cuttings and check your watering practices.
A Warm Encouraging Closing
See? It’s really not as daunting as it might seem. Propagation is a lot like nurturing and watching life blossom. Be patient with your little cuttings, enjoy the process of watching them sprout roots, and before you know it, you’ll have more of these wonderful sedums to enjoy and share. Happy propagating!
Resource:
https://identify.plantnet.org/k-world-flora/species/Hylotelephium%20telephium%20(L.)%20H.Ohba/data