Oh, hello there! Come on in, pull up a chair. I’ve been looking forward to chatting with you about a truly special plant – Herrania kanukuensis. If you’re a fan of unique foliage and that lush, tropical vibe, then this one is sure to capture your heart. Getting more of these beauties to grow is a fantastic way to fill your home or garden with that unmistakable charm.
Introduction
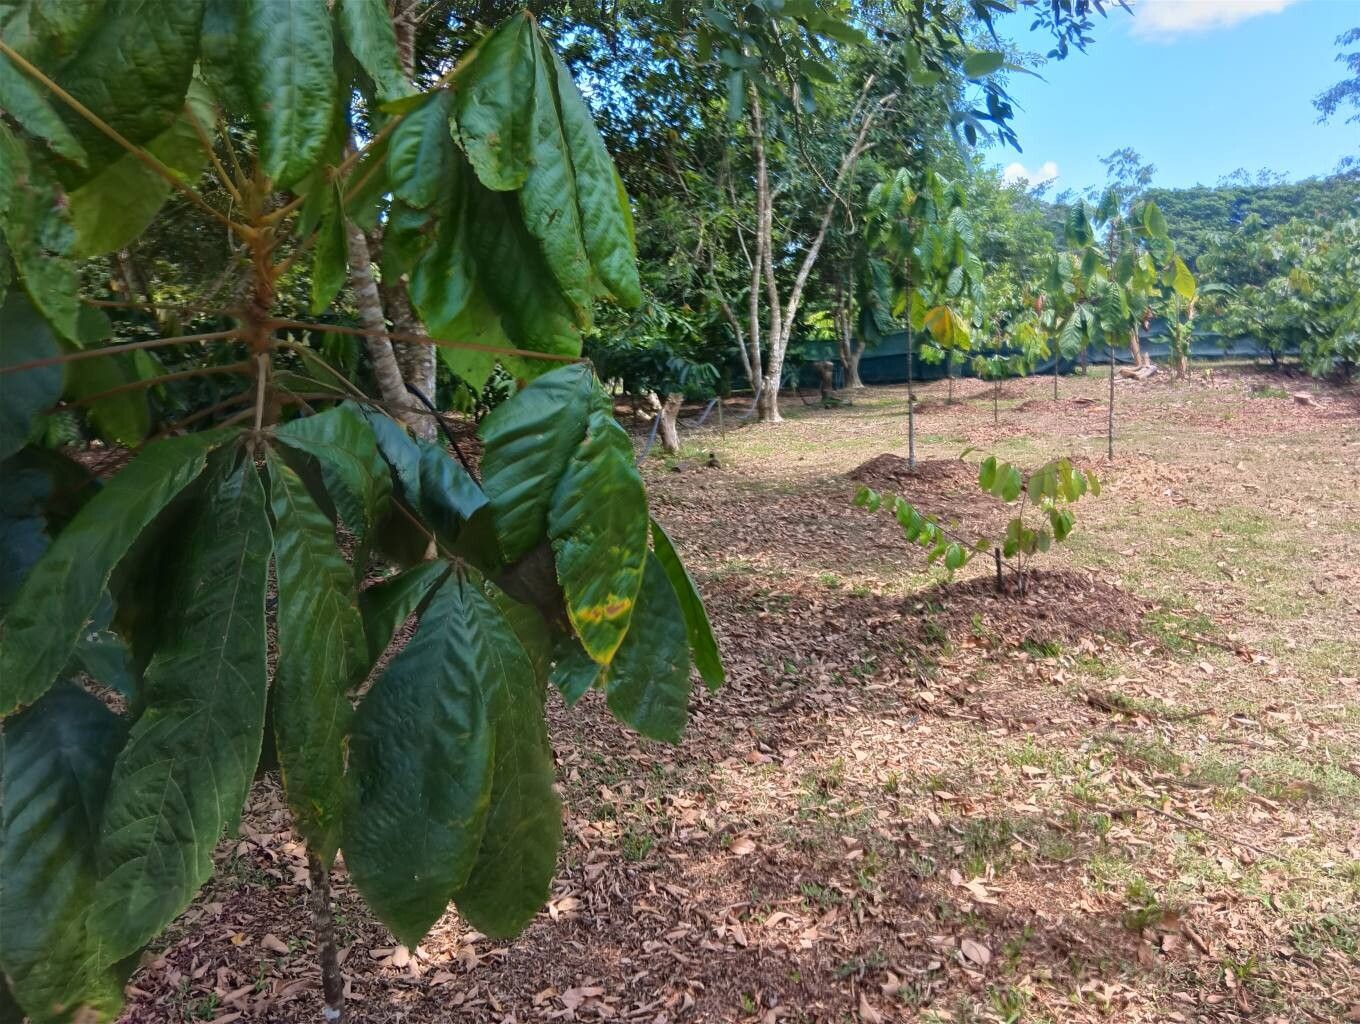
Herrania kanukuensis, also known affectionately as the “chocolate-scented Herrania” because of its subtle, pleasant aroma, is a stunner. Its large, paddle-shaped leaves have a velvety underside that’s just a delight to touch. Propagating it is a wonderful journey, a chance to witness new life unfurl from a piece of your existing plant. Now, is it easy for beginners? Honestly, it’s more of a moderate challenge. It requires a little attention to detail, but don’t let that deter you! With a bit of know-how, you’ll be rewarded with more of these gorgeous specimens.
The Best Time to Start
For the best chances of success with Herrania kanukuensis, I always lean towards the spring and early summer. This is when the plant is naturally in an active growth phase. New shoots are emerging, and hormonal activity is high, which really helps cuttings take off. Think of it as giving your new plant the best possible start with plenty of warmth and light.
Supplies You’ll Need
To get your propagation station set up, here’s what you’ll want on hand:
- Sharp, clean pruning shears or a sharp knife: For making clean cuts.
- Small pots or propagation trays: With good drainage holes.
- A well-draining potting mix: I like a blend of peat moss, perlite, and a bit of orchid bark. You want something that won’t hold too much moisture.
- Rooting hormone (optional, but recommended): A powder or gel form works well.
- Clear plastic bags or a propagation dome: To create a humid environment.
- Water: For misting and watering.
- A spray bottle: For gentle misting.
Propagation Methods: Stem Cuttings
Stem cuttings are my go-to for Herrania kanukuensis. Here’s how I do it:
- Select Your Cuttings: Look for healthy, semi-hardwood stems. These are usually stems that are growing but not brand new and soft. You want pieces that are about 4-6 inches long, with at least a couple of sets of leaves.
- Make the Cut: Using your sterilized shears or knife, make a clean cut just below a leaf node (where a leaf attaches to the stem).
- Prepare the Cutting: Gently remove the lower leaves, leaving just a couple at the top. If the remaining leaves are very large, you can even cut them in half horizontally to reduce water loss through transpiration.
- Apply Rooting Hormone: Dip the cut end of the stem into your rooting hormone, tapping off any excess. This step really encourages root development.
- Plant Your Cuttings: Fill your pots with your prepared potting mix. Make a small hole in the center with your finger or a pencil. Insert the cutting, ensuring the leaf node is buried. Gently firm the soil around the base.
- Create Humidity: Water the potting mix gently until it’s evenly moist but not soggy. Then, cover the pot with a clear plastic bag or place it under a propagation dome. This traps moisture and creates that humid environment the cuttings crave. You can prop the bag up with a few skewers if it’s touching the leaves.
The “Secret Sauce” (Pro Tips)
Now, for a couple of little tricks I’ve picked up over the years:
- The Water Test (for semi-hardwood): Before I even go to the potting mix, I sometimes do a quick water test with a few of my cuttings. I’ll pop them in a jar of lukewarm water, making sure no leaves are touching the water. If I see tiny root nubs forming within a week or two, I know they’re good to go into soil.
- Bottom Heat is Your Friend: If you have a seedling heat mat, now’s the time to use it! Placing your pots on a gentle heat source (around 70-75°F) can significantly speed up root formation. It provides that consistent warmth that the roots love.
Aftercare & Troubleshooting
Once your cuttings are potted, keep them in a bright, indirect light location. Avoid direct sun, which can scorch them. Mist the leaves and the top of the soil regularly to maintain humidity, but let the top inch of soil dry out slightly between waterings. Feel for roots by gently tugging on the cutting; if there’s resistance, they’re likely forming!
The most common issue you’ll see is rot. This usually happens if the soil is too wet or there isn’t enough airflow. If an entire cutting turns black and mushy, sadly, it’s probably a goner. Don’t beat yourself up – propagation is part learning, part experimenting! If you see just a little bit of wilting, it might be a sign of too much light or not enough humidity, so adjust accordingly.
A Encouraging Closing
Seeing those first tiny roots emerge is such a thrill! Be patient with your Herrania kanukuensis cuttings. They can sometimes take their time, but the reward of nurturing a new plant from scratch is truly special. Enjoy the process, learn from each cutting, and soon you’ll have a collection to be proud of! Happy propagating!
Resource:
https://identify.plantnet.org/k-world-flora/species/Herrania%20kanukuensis%20R.E.Schult./data