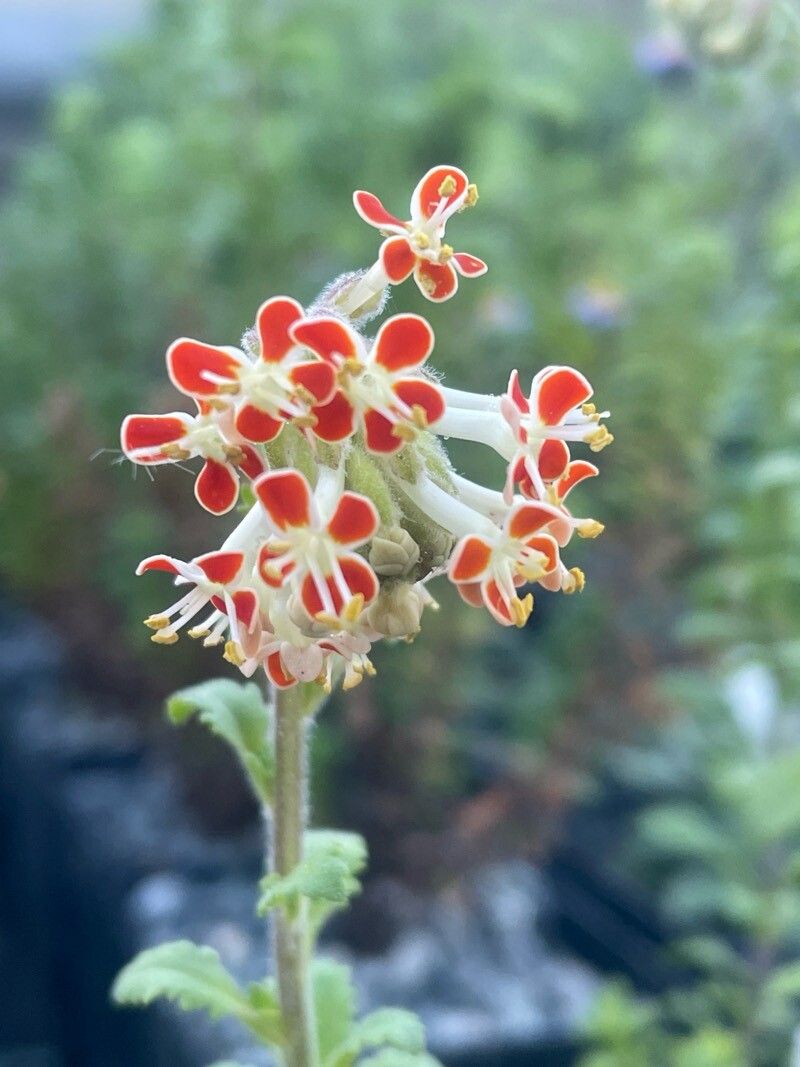
Hello fellow garden enthusiasts! Today, we’re diving into the wonderfully rewarding world of propagating Glumicalyx goseloides, often called “Lemon Thyme Bells” for their delicate, bell-shaped flowers and lovely citrusy aroma. If you’ve ever admired the cascading beauty and sweet scent of this plant in someone else’s garden (or your own!), you’re in luck. Propagating it yourself is not only feasible but incredibly satisfying. While it’s not overly fussy, Glumicalyx can be a touch more demanding than your average geranium cutting, so I’d say it’s a satisfying project for those with a little patience and a willingness to learn. Don’t let that scare you off, though – I’m here to guide you every step of the way.
The Best Time to Start
For the highest success rate, I find the late spring to early summer is absolutely prime time for taking cuttings of Glumicalyx goseloides. This is when the plant is actively growing, meaning it has plenty of energy to put into developing new roots. Look for stems that are firm and upright, not yet woody, but not so soft they’re floppy. They should feel substantial when you gently pinch them.
Supplies You’ll Need
Here’s what you’ll want to gather before we get started:
- Sharp Pruning Shears or a Clean Knife: For making clean cuts.
- Rooting Hormone (Optional but Recommended): A powder or gel to encourage root development.
- Well-Draining Potting Mix: A mix of perlite, coarse sand, and peat moss works wonderfully. You can also buy commercially available succulent or cactus mixes.
- Small Pots or Trays: Clean pots or seed trays are perfect for starting your cuttings.
- Plastic Bag or Dome: To create a humid environment (like a mini-greenhouse).
- Spray Bottle: For misting.
- Labeling Stakes: To remember what you propagated and when!
Propagation Methods
While propagation by seed is also possible for some Glumicalyx varieties, stem cuttings are generally the most reliable and straightforward method for getting new plants with the same desirable traits.
Stem Cuttings:
- Select Your Stems: As mentioned, look for healthy, semi-hardwood stems in late spring or early summer. You want pieces about 4-6 inches long.
- Make the Cut: Using your sharp pruning shears or knife, make a clean cut just below a leaf node. A leaf node is where a leaf or branch sprouts from the main stem. This is where the magic of root formation often happens.
- Prepare the Cutting: Gently remove the lower leaves from the stem, leaving just a few at the top. This prevents them fromrotting once planted and directs the plant’s energy towards root development.
- Apply Rooting Hormone (Optional): If you’re using rooting hormone, dip the cut end into the powder or gel. Tap off any excess.
- Plant Your Cuttings: Fill your small pots with your well-draining potting mix. Make a hole with your finger or a pencil. Gently insert the cut end of the stem into the mix, ensuring at least one leaf node is buried. Firm the soil around the cutting.
- Water Gently: Water the soil thoroughly but gently. You don’t want to dislodge the cutting.
- Create Humidity: Cover the pot with a clear plastic bag (supported by stakes so it doesn’t touch the leaves) or a propagation dome. This keeps the humidity high, which is crucial for cuttings to root.
- Find a Suitable Spot: Place the pots in a bright location, but avoid direct, scorching sunlight. A lightly shaded windowsill or a greenhouse bench is ideal.
The “Secret Sauce” (Pro Tips)
Here are a few things I’ve learned over the years that really give cuttings an edge:
- Don’t let those leaves touch the water! If you’re using a method where a tiny bit of the stem might be submerged, be extra careful. Excess moisture on leaves can lead to fungal issues, which is the last thing we want.
- Bottom heat is your friend! If you have a heated propagator or can pop the pots onto a heat mat (they’re relatively inexpensive!), the gentle warmth will significantly speed up root formation. It mimics the feeling of spring soil warming up.
- Sterilize everything! Before you start, give your pots, shears, and any tools a good wash with soap and water, and a quick wipe down with rubbing alcohol. This helps prevent the transmission of any diseases.
Aftercare & Troubleshooting
Once you’ve planted your cuttings, the waiting game begins! Keep the soil consistently moist but not waterlogged. Mist the leaves occasionally with your spray bottle, especially if it’s warm and dry. You should start to see signs of new growth – tiny leaves unfurling or the stem looking plumper – within a few weeks to a couple of months.
The real test is when the cuttings develop a resistance when you give them a gentle tug. If you feel a slight pull, it means roots have formed! At this point, you can gradually acclimate them to lower humidity by opening the plastic bag a little more each day. Once they’re robust, you can transplant them into slightly larger pots.
What if things go wrong? The most common culprit is rot, which usually shows up as a mushy, black stem base. This is almost always due to overwatering and poor drainage. If you see this, it’s best to discard the affected cutting to prevent it from spreading to others. Also, if your cuttings start to wilt and look sad without any sign of rot, they might be too dry. Give them a good watering and misting.
A Encouraging Closing
Propagating plants is like giving a gift to your future garden – and to yourself! Be patient with Glumicalyx goseloides. Some cuttings root faster than others, and that’s perfectly okay. Enjoy the process of nurturing these tiny bits of life, and soon you’ll have a whole new collection of these lovely plants to fill your space with their fragrance and charm. Happy gardening!
Resource: