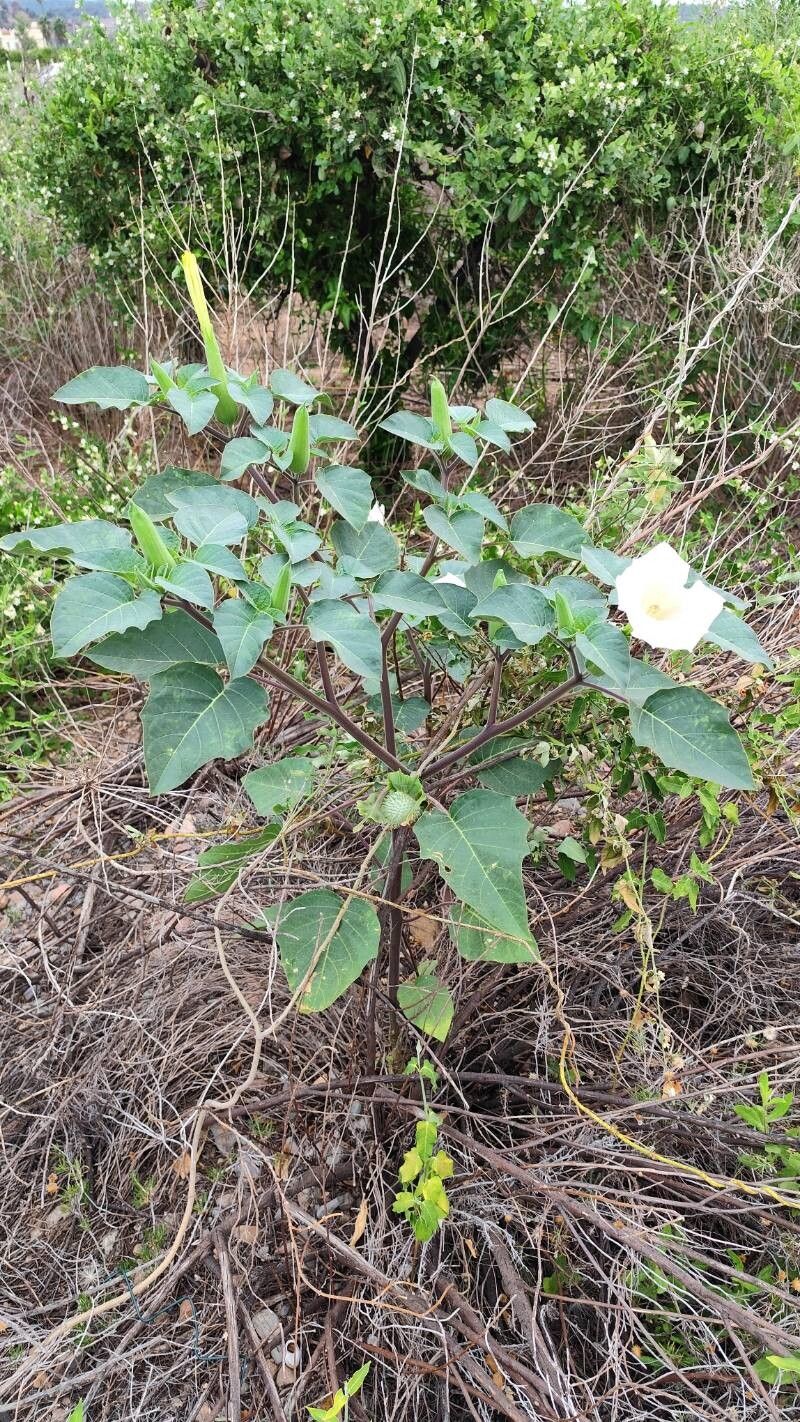
Oh, hello there! Pull up a chair, let’s chat about one of my absolute favorites: Datura innoxia, often called Sacred Datura or Moonflower. I’ve spent years coaxing these beauties from seed and cuttings, and honestly, there’s a special kind of magic in creating new life from an existing plant. You get to watch those tiny roots emerge, and then the first shy leaves unfurl. It’s incredibly rewarding, and truthfully, Datura innoxia is quite forgiving, making it a wonderful plant for even those just dipping their toes into propagation.
The Best Time to Start
For the highest success rate with Datura innoxia, I always reach for softwood cuttings. This means taking cuttings from the current year’s growth when the stems are still flexible and green, but have started to firm up a bit. The prime time for this is during late spring or early summer, after the plant has had a good growth spurt and before the intense heat of midsummer sets in. Think of it as capturing the plant’s youthful energy!
Supplies You’ll Need
Before we get our hands dirty, let’s gather our tools:
- Sharp Pruning Shears or a Clean Knife: For taking clean cuts.
- Rooting Hormone Powder (Optional but Recommended): This really gives your cuttings a boost.
- Small Pots or Seedling Trays: With drainage holes, of course!
- A Well-Draining Potting Mix: I like a blend of peat moss or coco coir, perlite, and a little bit of compost. You want it to hold moisture without becoming waterlogged.
- Water (Distilled or Rainwater is Best): For misting and watering.
- Plastic Bags or a Clear Dome Lid: To create a humid environment.
- A Small Watering Can or Spray Bottle: For gentle watering and misting.
Propagation Methods
Let’s get down to the satisfying part: making new plants!
Stem Cuttings: My Go-To Method
This is how I usually multiply my Daturas.
- Select a Healthy Mother Plant: Look for a vigorous, disease-free plant.
- Take Cuttings: Using your sharp shears, make a clean cut just below a leaf node (where a leaf attaches to the stem). Aim for cuttings about 4-6 inches long. Remove any flowers or developing seed pods from your cutting.
- Prepare the Cuttings: Gently strip off the lower leaves, leaving just 2-3 at the top. This prevents them from rotting in the soil.
- Apply Rooting Hormone (Optional): Dip the cut end of each cutting into your rooting hormone powder. Tap off any excess.
- Plant the Cuttings: Fill your small pots with your prepared potting mix. Make a small hole in the center of each pot and insert the cutting, ensuring the leaf nodes are buried. Gently firm the soil around the base.
- Water Gently: Give them a light watering.
- Create Humidity: Cover each pot with a clear plastic bag or place them in a seedling tray with a dome. This traps moisture and creates a mini-greenhouse effect.
Water Propagation: Simple and Visual
If you like to see your roots grow, this is for you!
- Take Cuttings: Follow steps 1 and 2 from the stem cutting method.
- Remove Lower Leaves: Just like before, strip off the lower leaves.
- Place in Water: Pop the cuttings into a clean glass or jar filled with water, ensuring no leaves are submerged.
- Change Water Regularly: Refresh the water every few days to keep it clean and oxygenated.
- Watch for Roots: You’ll start to see little white nubs emerge from the leaf nodes. Once the roots are about an inch long, it’s time to plant them in soil.
The “Secret Sauce” (Pro Tips)
Now for a couple of things I’ve learned over the years that really make a difference:
- Don’t Let Leaves Touch the Water (for water propagation): This is crucial! Any leaves submerged will rot, which can quickly spread to the cutting and spoil the whole endeavor. Snip them off if you have to.
- Bottom Heat is Your Friend: Datura innoxia loves warmth. Placing your pots on a heat mat designed for seedlings can significantly speed up root development. It mimics the warmth of spring soil beautifully.
- Wipe Down Your Tools: Always use clean, sharp tools. This reduces the risk of introducing diseases to your cuttings or mother plant. It’s a small step that saves a lot of headaches.
Aftercare & Troubleshooting
Once your cuttings have developed a good root system (you might see them peeking out the drainage holes or feel a gentle tug when you lightly pull on the cutting), it’s time to treat them like a small, precious plant.
- Gradual Acclimation: If you used a plastic bag, gradually remove it over a few days to help the new plant adjust to normal humidity.
- Container Up: Transplant your rooted cuttings into slightly larger pots with fresh potting mix.
- Gentle Watering: Water when the top inch of soil feels dry. Avoid overwatering, as this is the most common cause of problems.
- Light: Provide bright, indirect light initially. As the plant grows stronger, you can introduce it to more direct sun, much like its parent plant.
The main thing to watch out for is rot. If your cutting looks mushy, dark, or smells foul, it’s likely rotted. This usually happens due to too much moisture and poor air circulation. If you see a bit of wilting, don’t panic immediately. Check the soil moisture. If it’s waterlogged, try to gently air it out. If it’s completely dried out, give it a gentle watering.
A Encouraging Closing
Propagating Datura innoxia is such a rewarding journey. Be patient with your little ones, offer them a bit of warmth and careful watering, and you’ll be rewarded with beautiful new plants. Don’t get discouraged if a cutting doesn’t make it; it happens to all of us! Just try again. Enjoy the magic of growing. Happy gardening!
Resource:
https://identify.plantnet.org/k-world-flora/species/Datura%20innoxia%20Mill./data