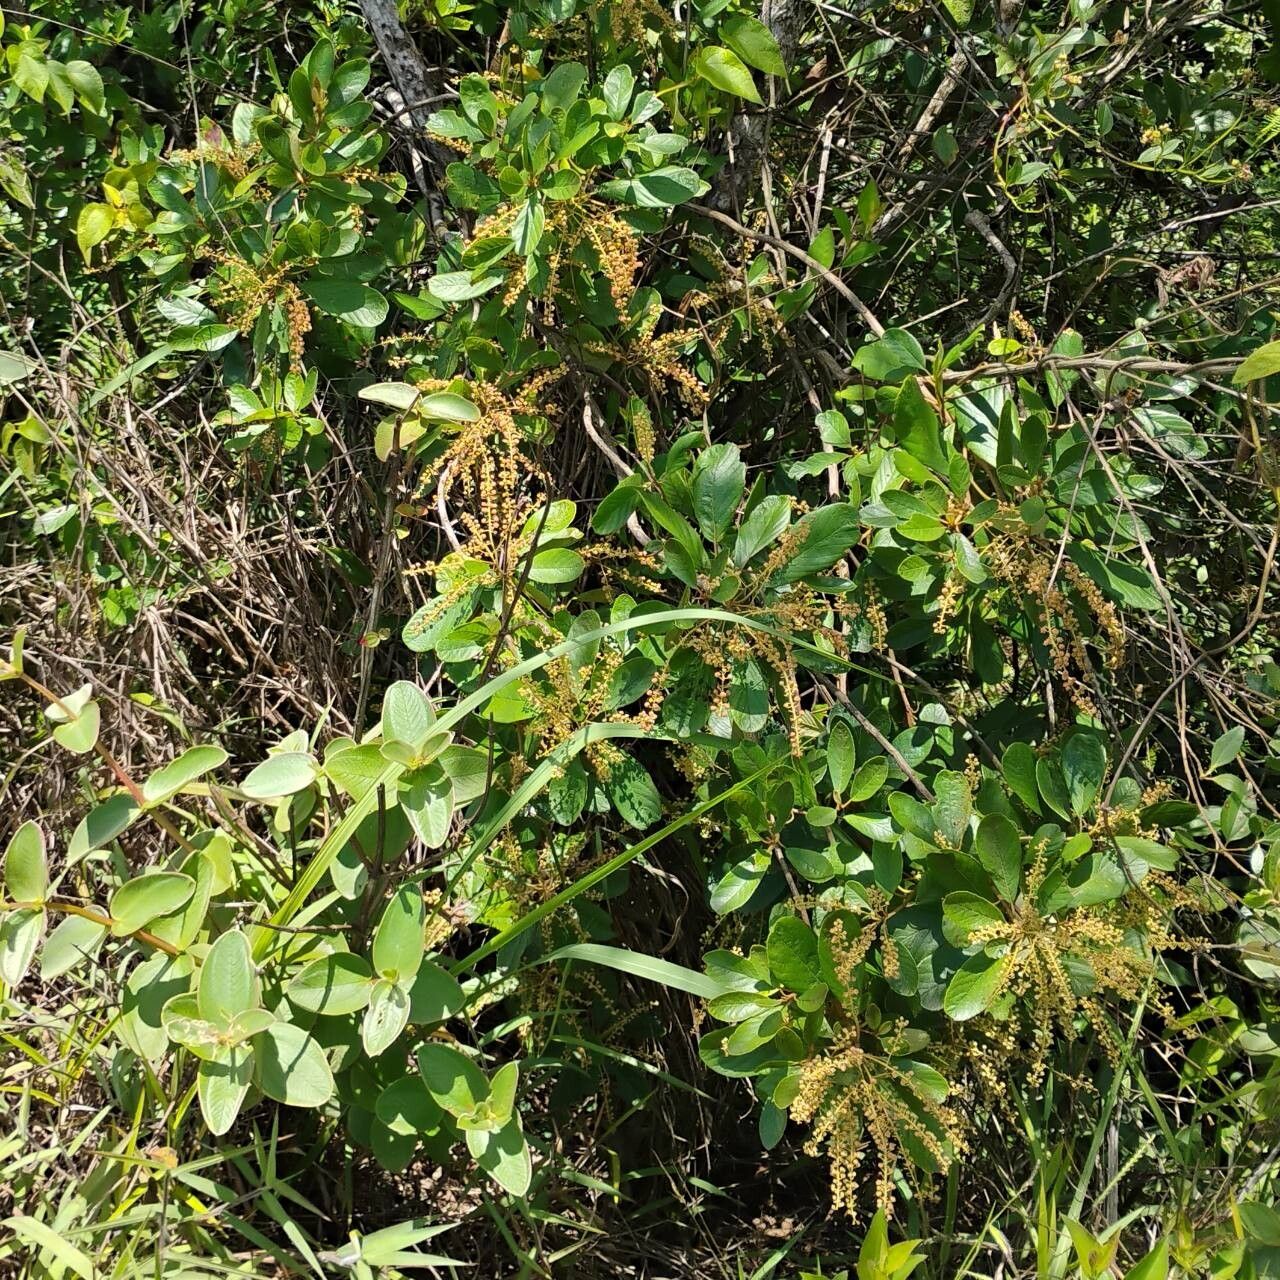
Hello fellow plant lovers! Today, we’re diving into the wonderful world of Clethra mexicana, also known as Mexican Pepperbush. If you’ve ever admired its fragrant, bottlebrush-like flowers and the delightful buzz of pollinators it attracts, you’re not alone. This shrub is a real gem, bringing both beauty and life to the garden. And the best part? It’s surprisingly rewarding to multiply your own! For beginners, I’d say Clethra is a moderately easy plant to propagate. A little patience and the right approach go a long way.
The Best Time to Start
When is your Clethra ready to share its gifts? For stem cuttings, which is my go-to method for this plant, the sweet spot is late spring to early summer. We’re looking for semi-hardwood cuttings. This means the stems have started to mature a bit, so they’re not quite as soft and floppy as new growth, but they haven’t fully hardened into woody stems either. Think of a pencil – firm, but not stiff.
Supplies You’ll Need
Before we get our hands dirty, let’s gather our toolkit. Having everything ready makes the process so much smoother:
- Sharp Pruning Shears or Knife: Clean cuts are crucial for healthy rooting.
- Rooting Hormone: This isn’t strictly required for Clethra, but it can significantly speed things up and increase your success rate. I prefer the powder form.
- Small Pots or Seed Trays: At least 4-inch pots are good, or you can use a larger tray with individual cells.
- Well-Draining Potting Mix: A good blend of peat moss, perlite, and a bit of compost works wonders. You can also buy a specialized seed-starting mix.
- Plastic Bags or Dome Covers: To create a humid environment around your cuttings.
- Watering Can with a Fine Rose: Gentle watering is key.
- Gloves (optional): If you prefer to keep your hands clean.
Propagation Methods
Let’s talk about how we’ll bring new Clethra plants to life.
Stem Cuttings (My Favorite!)
This is the most reliable method for Clethra mexicana in my experience.
- Take Cuttings: On a mild day, select healthy stems from your mature Clethra. Look for stems that are about 4-6 inches long. Make a clean cut just below a leaf node (where a leaf attaches to the stem).
- Prepare the Cuttings: Gently remove the lower leaves, leaving just a couple of leaves at the very top. If the remaining leaves are very large, you can even cut them in half horizontally. This reduces water loss.
- Apply Rooting Hormone: Dip the cut end of each stem into your rooting hormone powder, tapping off any excess.
- Pot Them Up: Fill your pots with your moist potting mix. Make a hole with your finger or a pencil, then insert the dipped end of the cutting into the hole. Gently firm the soil around it.
- Create Humidity: Water gently to settle the soil. Then, cover each pot with a clear plastic bag or place them in a propagator with a lid. Make sure the leaves don’t touch the sides of the bag if possible – this can lead to rot.
- Placement: Place the pots in a bright spot that doesn’t get direct, harsh sunlight. A warm location is beneficial.
Water Propagation (For the Patient Observer)
While I find this less successful for reliable establishment, it’s a beautiful way to watch the magic happen.
- Take Cuttings: Same as above, select healthy semi-hardwood stems.
- Prepare Cuttings: Remove all lower leaves so only the top few remain.
- Place in Water: Put the cuttings in a clean jar or vase filled with fresh, clean water.
- Change Water Regularly: Change the water every 2-3 days to prevent stagnation and bacterial growth.
- Location: Keep them in a bright location out of direct sun. You’ll start to see tiny white roots emerge. Once the roots are an inch or two long, you can carefully transplant them into pots filled with your well-draining soil mix. Be gentle; these delicate roots are prone to damage.
Division (For Established Plants)
If you have a mature, well-established Clethra, you might be able to divide it.
- Dig Up the Plant: In early spring, before new growth really takes off, carefully dig up the entire plant from the ground.
- Separate the Roots: Gently shake off excess soil. You’ll likely see clumps or offsets with their own root systems. Use a sharp spade or knife to carefully divide the root ball into smaller sections, ensuring each section has a good amount of roots and at least one strong stem.
- Replant: Immediately replant the divisions into prepared garden beds or pots. Water well.
The “Secret Sauce” (Pro Tips)
Here are a few things I’ve learned over the years that can really boost your success:
- Bottom Heat is Your Friend: For stem cuttings, placing your pots on a heat mat designed for plants can dramatically speed up root formation. Warm soil encourages the plant to start the rooting process.
- Don’t Over-Water the Soil: While cuttings need moisture, soggy soil is the enemy. It leads to rot. The potting mix should be consistently moist, but not waterlogged. If you can squeeze water out of it, it’s too wet.
- Scratch and Sniff (Gently!): For extra assurance with rooting hormone, you can gently scrape away a very thin sliver of the outer bark on the bottom inch of the stem before applying the hormone. This exposes the cambium layer, which is where roots preferentially form. Do this very lightly so you don’t damage the cutting.
Aftercare & Troubleshooting
Once tiny roots have formed (you can test by gently tugging on a cutting; if there’s resistance, roots are there!), it’s time for a little extra care.
- Acclimatize: Slowly remove the plastic bag or propagator lid for a few hours each day over a week to help the new plants adjust to lower humidity.
- Watering: Continue to keep the soil consistently moist. As the plant grows, you can start watering it as you would a mature plant, allowing the top inch of soil to dry out slightly between waterings.
- Fertilizing: Wait until you see active new growth before giving them a very dilute liquid fertilizer.
Now, what if things go wrong? The most common culprit is rot. If your cuttings turn black, become mushy, or just won’t root, it’s usually due to the soil being too wet or a lack of airflow. If you see signs of rot, remove the affected cuttings immediately to prevent it from spreading. Sometimes, it’s just a matter of trying again; nature always has its own pace!
Happy Propagating!
Growing new plants from cuttings is incredibly satisfying. It’s a tangible way to connect with nature and share the beauty of your garden. Don’t get discouraged if your first attempt isn’t perfect. Every gardener has learned through trial and error. With a little perseverance and these tips, you’ll soon have a whole herd of fragrant Clethra mexicana to enjoy. Happy green-thumbing!
Resource:
https://identify.plantnet.org/k-world-flora/species/Clethra%20mexicana%20DC./data