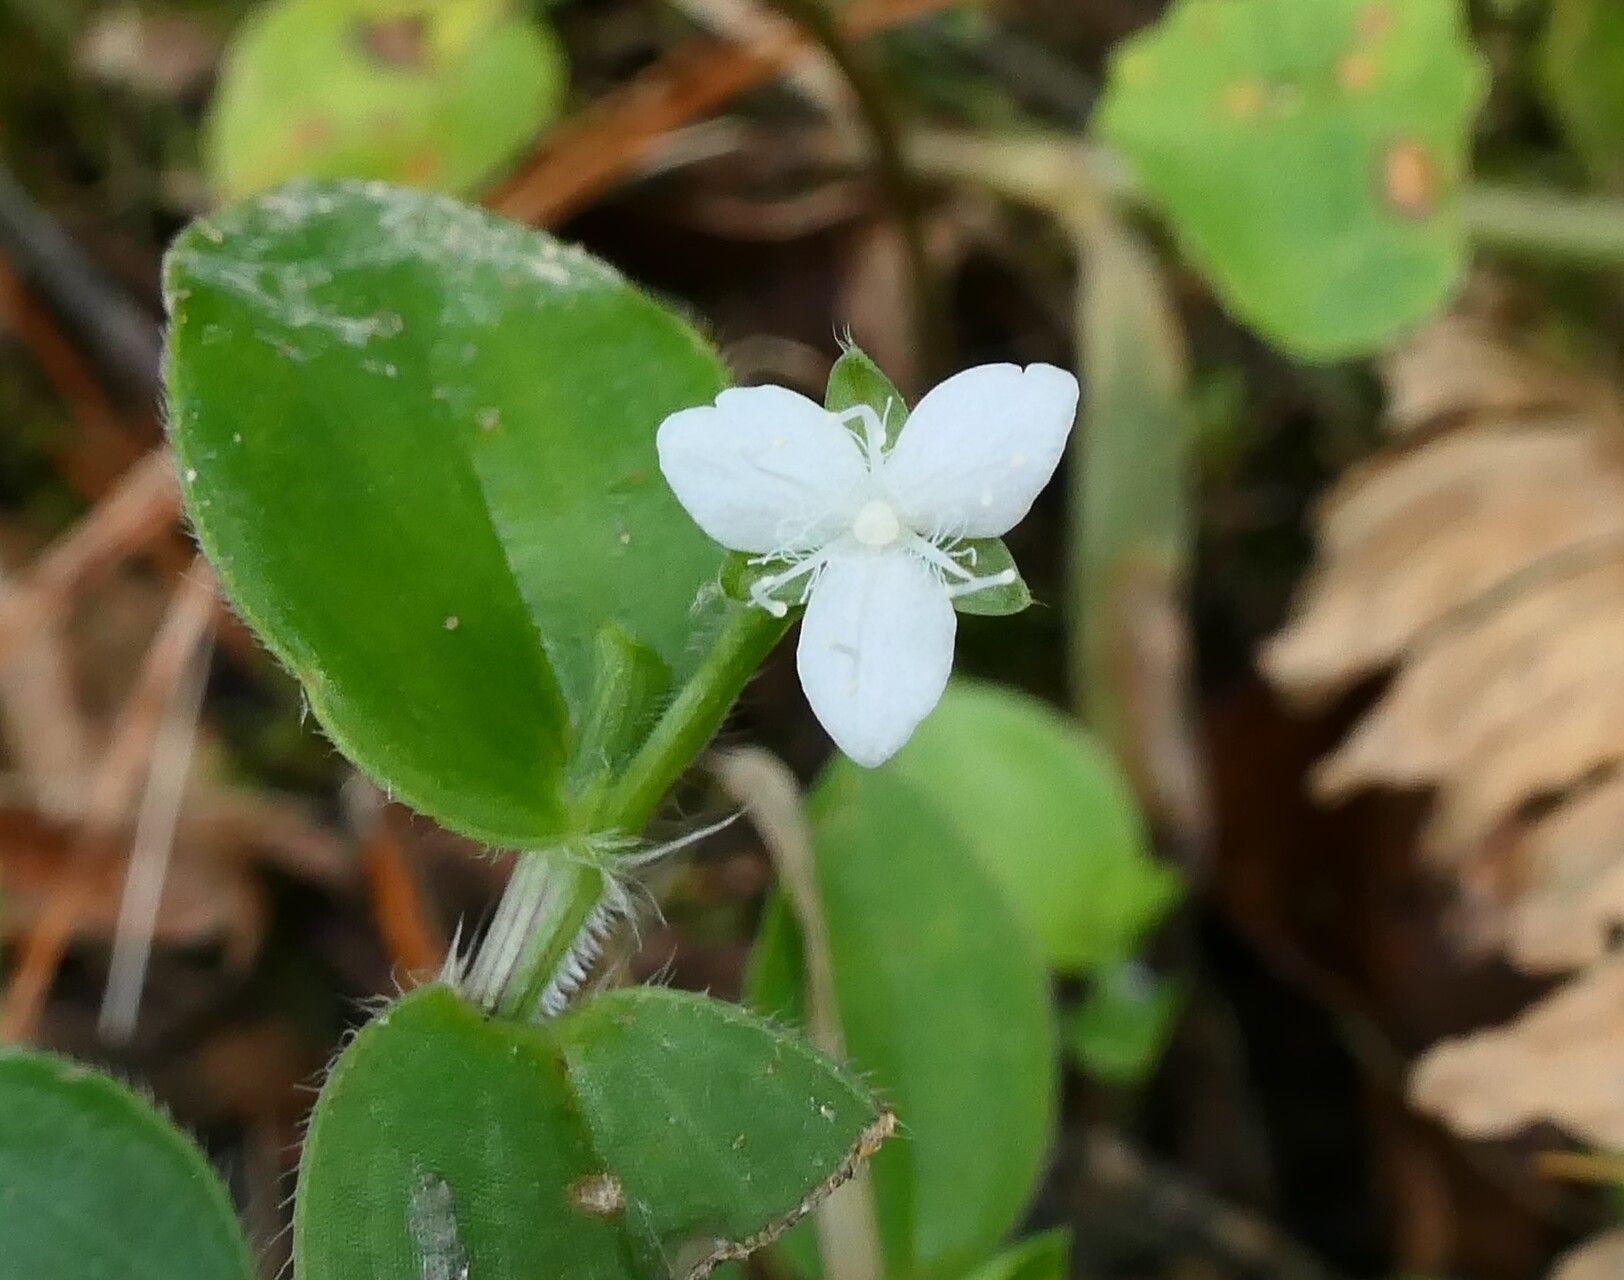
Hello fellow plant lovers! It’s so good to have you here. Today, we’re diving into the wonderfully rewarding world of Callisia gracilis, sometimes called the “Creeping Inch Plant” or “Callisia Pickles” (though there are many Callisia relatives, so let’s stick to gracilis!). If you’re looking for a plant that adds a touch of lush, trailing greenery to your space and is practically begging to be shared, this is it! I’ve been growing and propagating these beauties for years, and let me tell you, they are incredibly satisfying to work with. For those of you just starting out in the gardening world, you’ll be delighted to know that Callisia gracilis is quite forgiving. It’s a fantastic plant to get your feet wet with propagation!
The Best Time to Start
Spring and early summer are your golden ticket for propagating Callisia gracilis. This is when the plant is actively growing and eager to put out new shoots. You’ll find the cuttings are most vigorous and will root with the least fuss during this time. You can certainly try other times of the year, but you might find the rooting process a bit slower.
Supplies You’ll Need
Here’s what you’ll want to have on hand to make this a breeze:
- Sharp Pruning Shears or Scissors: Clean cuts are happy cuts!
- Well-Draining Potting Mix: I like a blend of regular potting soil with perlite or coarse sand.
- Small Pots or Propagation Trays: Whatever you have will work, just make sure they have drainage holes.
- Water: For rinsing and watering.
- Rooting Hormone (Optional, but helpful): Not strictly necessary for Callisia, but it can speed things up.
- Clear Plastic Bag or Dome (Optional): To create a mini-greenhouse effect.
Propagation Methods
Callisia gracilis is a champion of propagation, and you have a couple of super simple ways to grow new plants.
Stem Cuttings: My Go-To Method
This is by far the easiest and most effective way to propagate your Callisia.
- Take Cuttings: Look for healthy, new stem growth. Using your clean shears, snip off a stem that’s about 4-6 inches long. You want stems that have at least a few sets of leaves. It’s best to make your cut just below a leaf node (that little bump where a leaf attaches to the stem).
- Prepare the Cuttings: Gently remove the lowest set or two of leaves from your cutting. This exposes the nodes where roots will emerge. If you’re using rooting hormone, dip the cut end into it now.
- Planting: You can do this in two ways:
- In Soil: Fill your small pots with your well-draining mix. Make a small hole with your finger and insert the cut end of the Callisia stem. Gently firm the soil around it. Water thoroughly.
- In Water: Place the cuttings in a jar or glass of water, ensuring the nodes where you removed the leaves are submerged. Make sure the remaining leaves are above the water line.
- Placement: Put your potted cuttings or water propagations in a bright spot, but out of direct, harsh sunlight. This can scorch delicate new growth.
Water Propagation (Continued)
If you chose water propagation, change the water every few days to keep it fresh and prevent bacterial growth. You should start to see tiny white roots forming within a week or two. Once the roots are about an inch long, it’s time to transplant them into soil, just like you would with the stem cuttings planted directly in pots.
The “Secret Sauce” (Pro Tips)
Here are a couple of little tricks that I always use.
- Don’t Let Leaves Touch the Water: When propagating in water, I always make sure that no leaves are submerged below the waterline. Submerged leaves tend to rot, which can then spread to the stem and prevent rooting.
- Bottom Heat (If You Have It): While not essential for Callisia, if you have a seedling heat mat, placing your pots on it can really speed up root development. It mimics that lovely warm spring soil. Just a gentle warmth is all they need.
Aftercare & Troubleshooting
Once your cuttings have developed a good root system (you’ll see new growth appearing, or if in water, nice, sturdy roots), it’s time to give them a little extra love.
- Watering: Water your newly rooted plants as you would an established Callisia. Allow the top inch of soil to dry out before watering again. Overwatering is the quickest way to invite trouble.
- Light: Continue to provide bright, indirect light. As they grow stronger, they can handle more light but still avoid scorching sun.
- Signs of Trouble: The most common issue you might encounter is rot. If a cutting turns mushy, black, or smelly, it’s likely rotting. This is usually due to too much moisture or lack of air circulation. If you see this, remove the affected cutting immediately. If you’re propagating in water, change the water more frequently. If in soil, try to let the soil dry out a bit more between waterings.
A Little Something to Grow On
See? I told you Callisia gracilis was a joy to propagate! The beauty of gardening is in the patience and the watching. So, go ahead, snip those stems, get them in water or soil, and enjoy the magical process of new life unfolding. Happy propagating!
Resource:
https://identify.plantnet.org/k-world-flora/species/Callisia%20gracilis%20(Kunth)%20D.R.Hunt/data