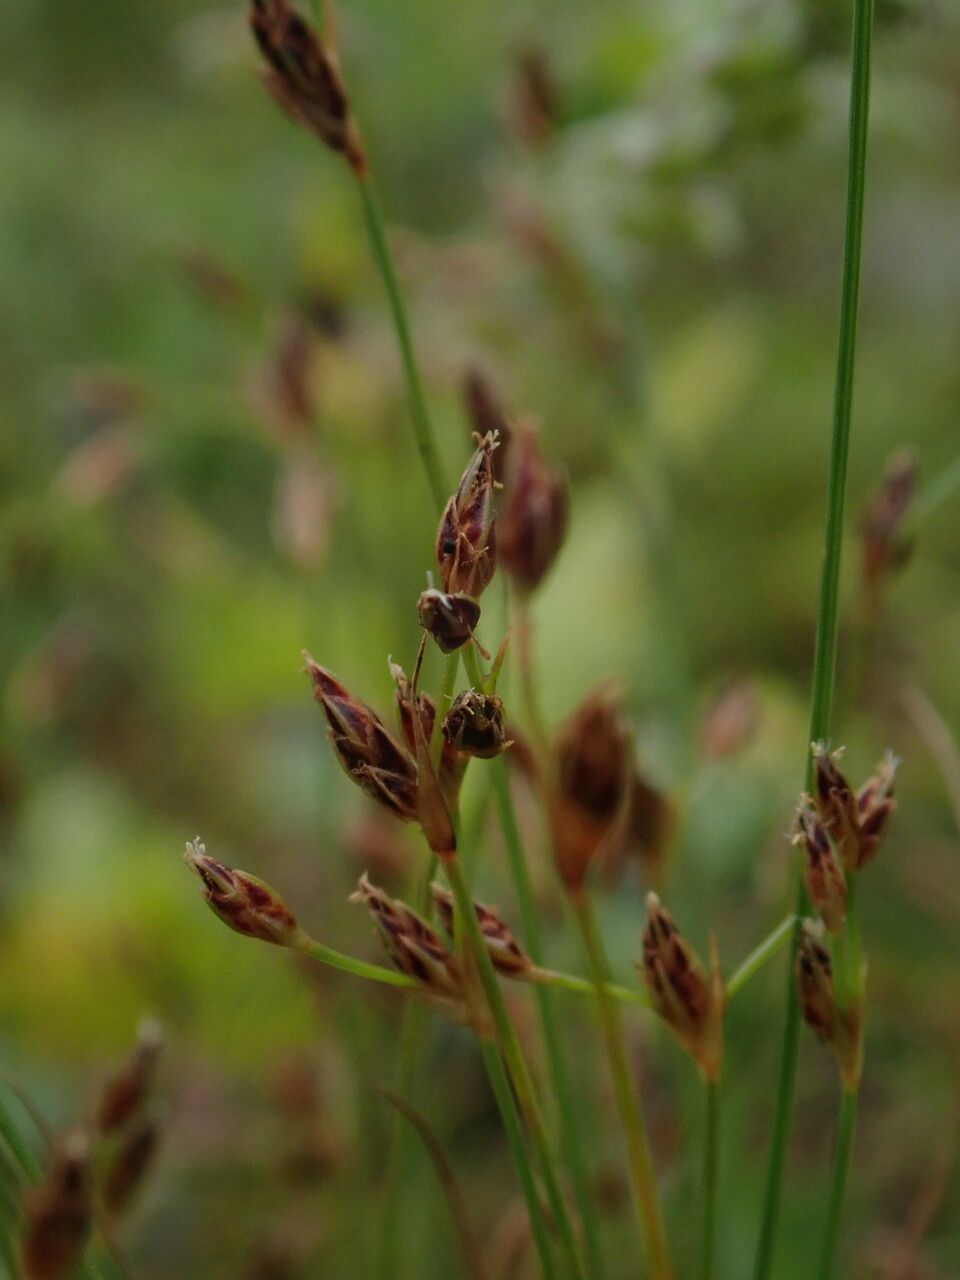
Hello there, fellow plant enthusiasts! I’m so excited to talk to you today about a truly charming little plant that’s been a joy to work with for years: Bulbostylis densa. If you’ve ever spotted its delicate, grass-like foliage topped with little brown flower spikes, you’ve probably fallen a bit in love. It adds such a lovely texture to containers and borders, and the satisfaction of growing your own from scratch is just immense.
Now, I know some propagation can feel a bit intimidating, but Bulbostylis densa is actually quite forgiving. For beginners looking to dip their toes into the wonderful world of making more plants, I think you’ll find this one a delightful and relatively easy success.
The Best Time to Start
For the absolute best chances of success with Bulbostylis densa, I always aim for the spring and early summer. This is when the plant is really hitting its stride, full of vigor and ready to grow. Starting new propagations when the days are getting longer and the temperatures are warming up gives them that crucial boost they need to establish themselves quickly.
Supplies You’ll Need
Here’s a quick rundown of what you’ll want to have on hand before you get started:
- Sharp, clean pruning shears or a sharp knife: For making clean cuts.
- Well-draining potting mix: A cactus/succulent mix or a blend of potting soil with perlite and sand works wonderfully.
- Small pots or propagation trays: Make sure they have drainage holes!
- Rooting hormone (optional but recommended): This can significantly speed up the process.
- Watering can or spray bottle: For gentle watering.
- Clear plastic bag or humidity dome: To create a mini-greenhouse effect.
Propagation Methods
Bulbostylis densa is a champion at making new plants through division. It’s incredibly straightforward and my go-to method.
Method: Division
- Gently unpot your parent plant. Carefully ease it out of its container, trying not to disturb the root ball too much.
- Examine the root ball. You’ll likely see distinct clumps or sections forming. Look for where the plant naturally wants to separate.
- Divide the clumps. Using your fingers or a clean knife, gently split the root ball into smaller sections. Aim for each section to have a good portion of roots and some foliage. Don’t worry if a few roots break; it’s part of the process.
- Pot up your new divisions. Fill your small pots with your prepared well-draining soil. Make a little hole in the center and plant each division, ensuring the top of the root ball is level with the soil surface.
- Water gently. Give each pot a good, but not drenching, soak.
The “Secret Sauce” (Pro Tips)
Over the years, I’ve picked up a few little tricks that seem to make all the difference for these delicate dividers.
- Don’t be afraid to get your hands dirty with the roots. While you want to be gentle, really look at the root structure. Sometimes, a slight tease of the roots before dividing can reveal natural separation points you might have missed.
- Give them a bit of humidity. After potting up your divisions, mist them lightly and cover the pots with a clear plastic bag or pop them under a humidity dome. This keeps those tender new shoots from drying out while they establish new roots. Just make sure there’s a little air circulation so mold doesn’t become an issue.
- Patience is key with these little guys. They aren’t the fastest to show dramatic new growth. Trust the process! New roots are forming underground long before you see a big difference above.
Aftercare & Troubleshooting
Once your divisions are potted, place them in a bright spot that receives indirect sunlight. Direct, hot sun can scorch those new, tender leaves. Keep the soil consistently moist but not soggy. This is the most critical part. You want them to feel like they are in a humid environment, but no one likes having their feet constantly wet – that’s how you get rot.
If you see your new plant looking limp and wilting, it could be a sign that it’s not getting enough water, or conversely, that the soil is too wet and the roots are struggling. Watch out for any signs of mold or rot, which usually manifest as mushy, discolored stems or leaves. If you see this, it’s often best to discard the affected part to prevent it from spreading. Sometimes, a plant just doesn’t take, and that’s okay too! Gardening is a journey of learning.
A Encouraging Closing
So there you have it! Propagating Bulbostylis densa is a wonderfully rewarding way to expand your collection and share these charming plants with friends. Be patient, give them a good home, and enjoy watching them grow. Happy gardening!
Resource:
https://identify.plantnet.org/k-world-flora/species/Bulbostylis%20densa%20(Wall.)%20Hand.-Mazz./data