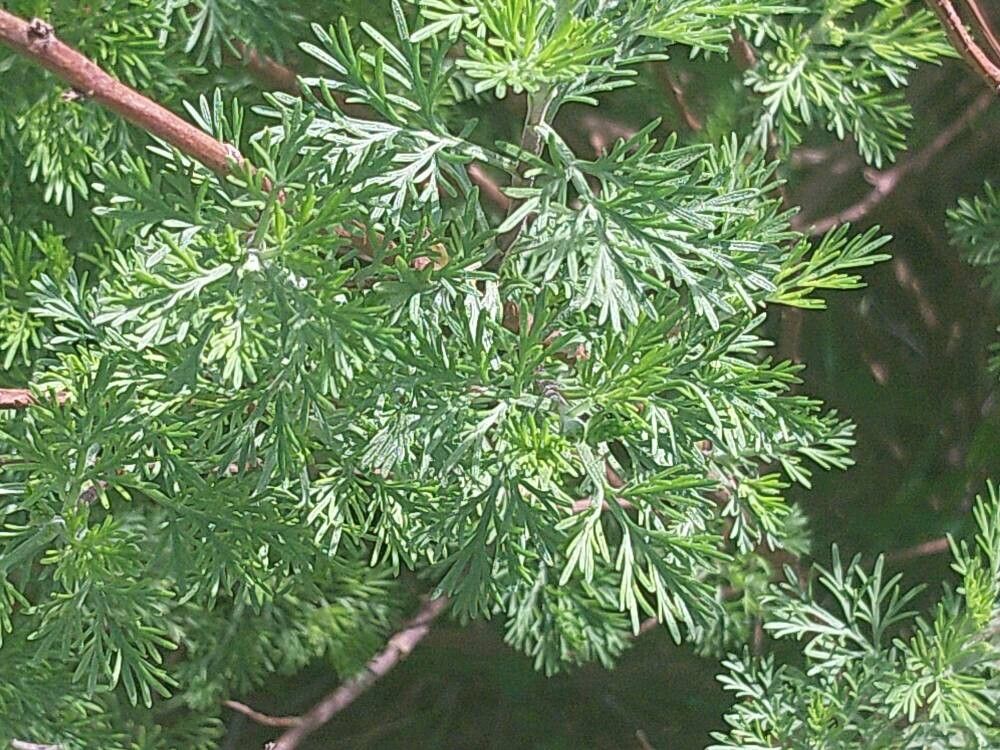
Oh, hello there! It’s so lovely to have you join me in the garden today. We’re going to chat about one of my favorite plants, Artemisia molinieri, sometimes known as silver wormwood. If you’ve ever admired its delicate, silvery foliage and its wonderfully aromatic presence, then you’re in for a treat. Propagating it is incredibly rewarding, and truthfully, it’s a fantastic plant for beginners to get their hands dirty with. You’ll be amazed at how quickly you can fill your garden (or your friends’ gardens!) with these beauties.
The Best Time to Start
My favorite time to get started with Artemisia molinieri propagation is in the late spring or early summer. This is when the plant is actively growing, and its stems are usually pliable and full of life. Starting during this vibrant period gives your cuttings the best chance to establish themselves before the cooler weather arrives. Don’t be afraid to try a little later in the summer either; just keep an eye on the forecast.
Supplies You’ll Need
Gathering your tools beforehand makes the whole process much smoother. Here’s what I always have on hand:
- Sharp Pruning Shears or a Knife: For clean cuts that heal well.
- Rooting Hormone (Optional but Recommended): A powder or gel to give those new roots a helpful boost.
- Well-Draining Potting Mix: A mix of perlite, peat moss, and coarse sand works wonders for Artemisia. A standard sterile seedling mix with added perlite is also a good option.
- Small Pots or Seed Trays: Clean containers with drainage holes are essential.
- Plastic Bag or Cloche: To create a humid environment for your cuttings.
- Marker and Labels: To keep track of what you’ve planted and when.
Propagation Methods
Let’s get down to business! I find that stem cuttings are the most reliable and straightforward method for Artemisia molinieri.
Stem Cuttings:
- Select Your Parent Plant: Choose a healthy, vigorous Artemisia molinieri that isn’t flowering. Look for stems that are about pencil-thick and have plenty of healthy leaves.
- Take Your Cuttings: Using your clean pruning shears or knife, take cuttings that are 4-6 inches long. Make your cut just below a leaf node (where the leaves connect to the stem). This is where tiny roots are most likely to form.
- Prepare the Cuttings: Gently remove the lower leaves from the bottom half of each cutting. This prevents them from rotting in the soil. You can leave the top few leaves.
- Apply Rooting Hormone (Optional): If you’re using rooting hormone, dip the cut end of each stem into the powder or gel. Tap off any excess.
- Plant Your Cuttings: Fill your small pots or trays with your well-draining potting mix. Make a pilot hole with a pencil or your finger to avoid rubbing off the rooting hormone. Insert the cut end of each Artemisia cutting into the soil, making sure at least one or two leaf nodes are buried.
- Water Gently: Water the soil thoroughly but gently. You want the soil to be moist, not waterlogged.
- Create a Humid Environment: Cover the pots with a plastic bag or a clear plastic cloche. This traps humidity, which is vital for cuttings to root. You can use a few small stakes to keep the plastic from touching the leaves.
- Find a Bright Spot: Place your pots in a location that receives bright, indirect light. Avoid direct sunlight, as this can scorch the delicate cuttings.
The “Secret Sauce” (Pro Tips)
Here are a couple of little tricks I’ve learned over the years that often make a big difference:
- Bottom Heat is Your Friend: If you have it available, placing your pots on a gentle heated propagator mat can significantly speed up root development. Artemisia cuttings really appreciate that little bit of warmth from below.
- Air Circulation is Key: While you want to keep the humidity high, don’t forget to ventolate occasionally. I like to lift the plastic bag for a few minutes each day to allow fresh air to circulate. This helps prevent fungal diseases from setting in.
Aftercare & Troubleshooting
Once you see signs of new growth – little leaves unfurling at the top – that’s a great indication that roots are forming! You might also notice a slight resistance when you gently tug on a cutting.
- Gradual Acclimatization: Once roots are well-established (after about 3-4 weeks), start to gradually remove the plastic cover over a few days. This helps your new plants adjust to the drier air of your home or greenhouse.
- Watering: Continue to water when the top inch of soil feels dry. Avoid overwatering.
- Transplanting: Once your new Artemisia plants have a good root system and are showing strong growth, you can transplant them into individual pots or out into your garden.
Now, what if things don’t go as planned? The most common issue is rot. If your cuttings turn mushy and black, it’s usually a sign of too much moisture and not enough air circulation. Don’t despair! Just clean out your pot, use fresh, slightly drier mix, and try again with new cuttings. It’s all part of the learning curve.
A Encouraging Closing
Propagating Artemisia molinieri is a truly satisfying endeavor. Be patient with your new little plants, offer them a bit of care and attention, and enjoy watching them grow. Each new plant you’ll create is a little piece of your garden’s magic, ready to spread its silvery charm. Happy gardening!
Resource: