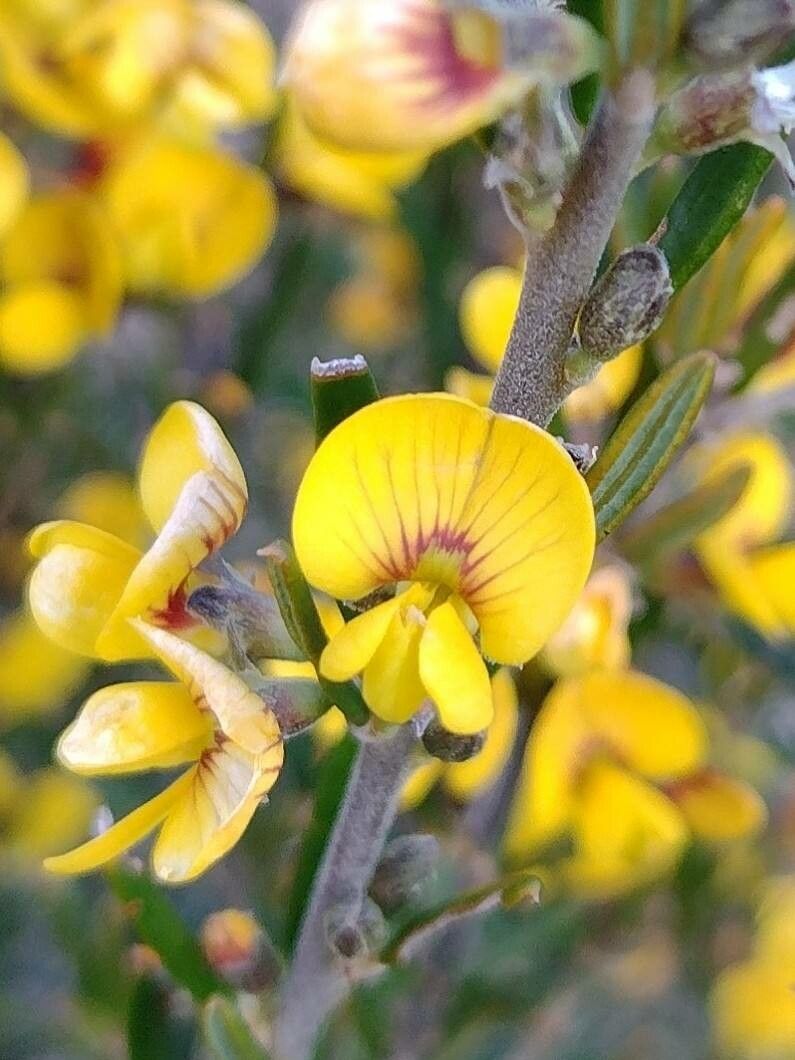
Hey there, fellow plant lovers! It’s so good to have you here. Today, we’re diving into the wonderful world of propagating Aotus ericoides, also known as the Early Flowering Pea Bush. If you’ve ever admired its delicate, pea-like flowers and fine, heathery foliage, you’re in for a treat. Creating more of these beauties from your existing plants is incredibly satisfying, and honestly, it’s not as daunting as it might seem. While it might present a slight learning curve for absolute beginners, with a little patience and these tips, you’ll be well on your way to a flourishing collection.
The Best Time to Start
For Aotus ericoides, the sweet spot for propagation is usually late spring to early summer. This is when the plant is actively growing, and the new shoots are semi-hardwood. They’ve developed a bit, giving them structure, but they’re still pliable enough to root. Starting too early, when growth is very soft, can lead to rot. Wait until the growth feels firm, but not woody.
Supplies You’ll Need
Gathering your tools beforehand makes the whole process smoother. Here’s what I always have on hand:
- Sharp, clean pruning shears or a sharp knife: For making clean cuts without crushing the stems.
- Rooting hormone (optional but recommended): A powder or gel to help encourage root development.
- Well-draining potting mix: A good blend for me is equal parts perlite, peat moss, and a little bit of compost. Or, a commercial seed-starting mix works wonders.
- Small pots or seed trays: Clean ones are key to preventing disease.
- Plastic bags or a propagator: To create a humid environment.
- Labels and a marker: To keep track of what you’ve planted!
Propagation Methods
The most reliable method for Aotus ericoides is through stem cuttings. It’s straightforward and gives great results.
-
Take Your Cuttings: Select healthy, vigorous stems that are about 4-6 inches long. Look for stems that have some new growth but are starting to feel a bit firm. Using your clean shears or knife, make a cut just below a leaf node (where a leaf attaches to the stem). Remove the lower leaves, leaving just a few at the top.
-
Prepare the Cuttings: If you’re using rooting hormone, dip the cut end of each stem into the powder or gel. Tap off any excess. This step isn’t strictly necessary, but it can give your cuttings a helpful boost.
-
Pot Them Up: Fill your clean pots or trays with your well-draining potting mix. Make a small hole in the center of the mix with your finger or a pencil. Carefully insert the cut end of your prepared cutting into the hole, ensuring the leaf nodes are below the surface of the soil. Gently firm the soil around the stem to keep it upright.
-
Create Humidity: Water the potting mix thoroughly, but don’t let it become waterlogged. Then, cover the pots with a plastic bag, a clear plastic dome, or place them in a propagator. This traps moisture and creates the humid environment your cuttings need. Ensure the leaves aren’t touching the plastic if possible.
The “Secret Sauce” (Pro Tips)
Now, for a couple of things I’ve learned over the years that often make a big difference:
- Bottom Heat is Your Best Friend: If you have a seedling mat or an old heating pad set on a low setting, place your pots on it. This gentle warmth from below encourages root formation without drying out the top of the soil too quickly. It’s a game-changer for many cuttings.
- Don’t Overwater, Ever: This is probably the biggest pitfall. Soggy soil is an open invitation for rot. You want the soil to be consistently moist, not soaking wet. I often check the moisture by gently poking my finger into the soil. If it feels dry about an inch down, it’s time to water.
- Patience is Key with Leaf Drop: Don’t panic if a few lower leaves yellow and drop. It’s a natural process as the plant redirects its energy to root development. However, if all your leaves start to shrivel, that’s usually a sign it’s too dry or too hot.
Aftercare & Troubleshooting
Once you start to see signs of new growth – tiny new leaves or shoots emerging – that’s your cue! It means roots have likely formed. You can gently tug on a cutting; if there’s resistance, roots are present.
Care for your newly rooted plants just as you would a young seedling. Gradually acclimate them to less humid conditions by opening the plastic cover a little each day over a week. Keep them in bright, indirect light. Water them as needed, allowing the top inch of soil to dry out between waterings.
The most common issue you’ll encounter is rot. This usually happens due to overwatering or poor air circulation. If a cutting turns mushy or black at the base, it’s probably succumbed to rot. Unfortunately, there’s no bringing it back. Just discard the affected cutting and assess your watering habits for the remaining ones.
An Encouraging Closing
Propagating plants is a wonderful way to connect with nature and expand your garden without spending a fortune. Be patient with your Aotus ericoides cuttings. Some will be faster than others. Celebrate every success, learn from every setback, and most importantly, enjoy the process of nurturing something new into existence. Happy propagating!
Resource:
https://identify.plantnet.org/k-world-flora/species/Aotus%20ericoides%20(Vent.)%20G.Don/data