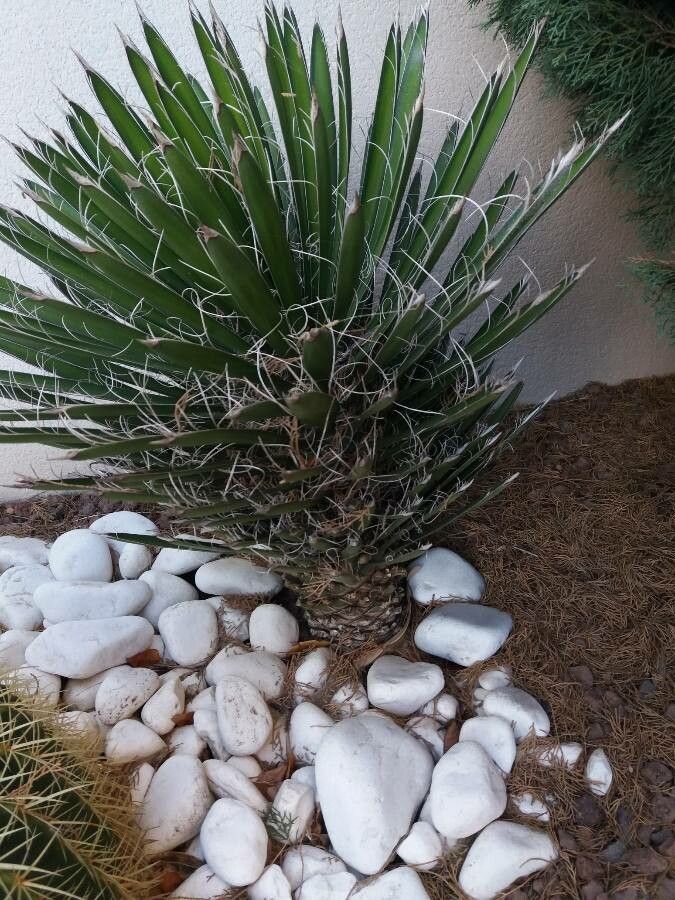
Hello, fellow plant lovers! Today, we’re diving into the wonderful world of propagating Yucca decipiens. I’ve always been drawn to these striking plants. Their architectural form and spiky rosettes really make a statement in any garden or indoor space. And the best part? They’re not nearly as intimidating to multiply as you might think! I remember the first time I successfully got a new plant from a cutting; it was such a thrill. This isn’t a plant that will test your patience too severely, making it a great project for beginners and seasoned gardeners alike.
The Best Time to Start
For the happiest results, I like to propagate Yucca decipiens during its active growing season, which is typically late spring through summer. This is when the plant has plenty of energy to put into developing new roots. Starting then gives your new babies a good head start heading into cooler months if you’re in a climate that experiences them.
Supplies You’ll Need
Here’s what you’ll want to have on hand before you get started:
- Sharp, clean pruning shears or a knife: For making neat cuts. Sterilize them with rubbing alcohol to prevent disease.
- Potting mix: A well-draining mix is crucial. I often use a cactus or succulent mix, or I create my own by combining potting soil with perlite or coarse sand (about a 50/50 ratio).
- Rooting hormone (optional but recommended): This can give your cuttings a helpful boost. Look for one formulated for woody plants.
- Small pots or containers: Make sure they have drainage holes. Terracotta pots are lovely as they allow the soil to breathe.
- Watering can or spray bottle: For gentle watering.
- A warm, bright location: This is key for successful rooting.
Propagation Methods
Yucca decipiens is quite obliging, and I’ve found a couple of methods work wonderfully:
Stem Cuttings
This is my go-to for Yucca decipiens.
- Take the cutting: Using your clean shears, select a healthy stem that is at least 4-6 inches long. Cut just below a leaf node, where the leaves emerge from the stem. Remove any lower leaves, leaving only a few at the top.
- Let it callous: This is super important! Place the cutting in a dry, airy spot for several days to a week. You want the cut end to form a dry callus. This prevents rot from setting in when you plant it.
- Apply rooting hormone (if using): Dip the callused end into the rooting hormone, tapping off any excess.
- Plant your cutting: Fill your pot with your well-draining mix. Make a hole in the center with your finger or a pencil. Insert the callused end of the cutting into the hole, about an inch or two deep. Gently firm the soil around it.
- Water sparingly: Give the soil a light watering. You want it moist but not waterlogged.
Water Propagation
While I find stem cuttings more consistently successful for Yucca decipiens, I have had good luck with water propagation too.
- Prepare your cutting: Follow steps 1 and 2 from the Stem Cuttings method. You definitely want the callus to form here too.
- Place in water: Fill a clean jar or glass with room-temperature water. Make sure the water level is high enough to submerge the callused end of the cutting, but crucially, do not let the leaves touch the water.
- Find a bright spot: Place the container in a bright location, out of direct sunlight.
- Change the water regularly: Every 2-3 days, change out the water to keep it fresh and prevent bacterial growth.
- Watch for roots: You’ll start to see tiny white roots emerging from the cut end. Once the roots are about an inch long, it’s time to plant your new yucca. Follow steps 4 and 5 from the Stem Cuttings method to transplant it into soil.
The “Secret Sauce” (Pro Tips)
Here are a few little tricks I’ve learned over the years that really make a difference:
- Bottom heat is your friend: If you can, place your pots on a propagating heat mat. This gently warms the soil from below, encouraging root development much faster than ambient room temperature alone. It’s like a cozy little spa day for your cuttings!
- Don’t overwater, ever! Yucca are drought-tolerant plants by nature. Their cuttings can rot very easily if the soil stays too wet. It’s far better to err on the side of too dry than too wet. I usually wait until the top inch of soil feels dry before watering again.
- Patience is a virtue, especially with yuccas: While they can be relatively quick, sometimes it takes a few weeks, or even a couple of months, for roots to fully establish. Resist the urge to tug on your cuttings to “check” for roots – you can damage developing ones! Trust the process.
Aftercare & Troubleshooting
Once your cuttings have developed a good root system (you might see roots emerging from the drainage holes, or they’ll feel resistant when gently tugged), you can treat them like a mature Yucca decipiens.
Water them thoroughly when the soil is dry, and ensure they have plenty of bright light. They’re tough plants, so they’ll usually thrive with good light and sensible watering.
The biggest issue you’ll likely encounter is rot. If your cutting turns mushy and black, sadly, it’s probably too late. This is almost always due to overwatering or not letting the cutting callous properly. If you see signs of rot on a cutting that hasn’t fully succumbed, you can try cutting off the rotted portion and letting the healthy part callous again before replanting.
A Little Encouragement to Grow
Watching a new plant emerge from a simple cutting is one of gardening’s greatest joys. It’s a tangible reminder of nature’s resilience and your own nurturing touch. Don’t be discouraged if your first attempt isn’t perfect. Every gardener has had their share of failed propagations; it’s all part of learning! So grab your shears, find a healthy stem, and give it a go. Enjoy the process, be patient, and before you know it, you’ll have a whole new family of beautiful Yucca decipiens to admire. Happy propagating!
Resource:
https://identify.plantnet.org/k-world-flora/species/Yucca%20decipiens%20Trel./data