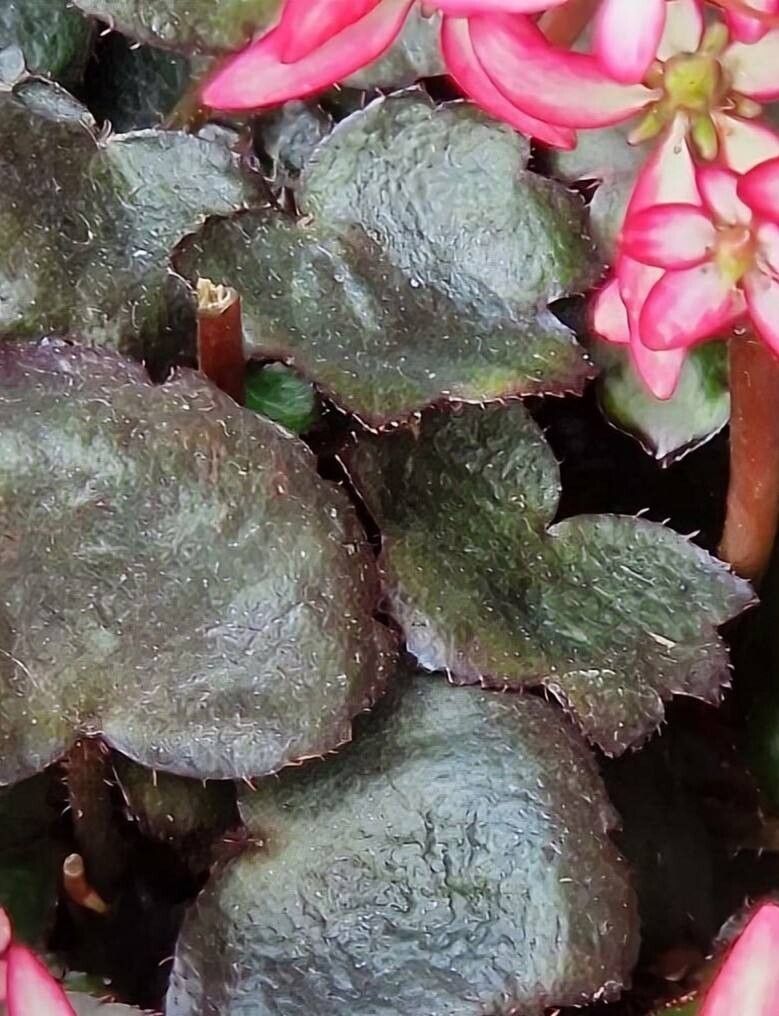
Hey there, fellow plant enthusiasts! Today, we’re diving into the wonderful world of Saxifraga cortusifolia. If you’re looking for a charmer for your shady spots, this is it. With its delicate, almost fern-like foliage and dainty flower spikes that can appear well into autumn, Saxifraga cortusifolia brings a touch of woodland magic to any garden. And the best part? It’s incredibly rewarding to multiply this beauty yourself! Honestly, I find it quite straightforward, even for those just dipping their toes into the exciting realm of propagation.
The Best Time to Start
For the highest success rate with Saxifraga cortusifolia, I’ve found late spring to early summer to be the sweet spot. This is when the plant is actively growing, its energy is high, and the cuttings or divisions are more likely to establish themselves quickly. Aim for when the plant is showing good new growth, but before it gets too hot and stressful.
Supplies You’ll Need
Gathering your tools beforehand makes the whole process so much smoother.
- Sharp pruning shears or a clean, sharp knife: For making clean cuts.
- Rooting hormone (optional but recommended): Especially for cuttings.
- Small pots or seedling trays: With drainage holes, of course!
- Well-draining potting mix: A mix of equal parts peat moss or coco coir, perlite, and coarse sand works wonders. You can also use a good quality seed-starting mix.
- Watering can with a fine rose: For gentle watering.
- Plastic bags or a propagator lid: To create a humid environment.
- Labels or markers: To keep track of your projects!
Propagation Methods
Saxifraga cortusifolia is happy to be propagated in a couple of ways. My favorite is division, but stem cuttings can also be very successful.
Stem Cuttings
This is a fantastic way to get multiple new plants from a single parent.
- Take the cuttings: In late spring or early summer, look for healthy, non-flowering stems. Use your sharp pruning shears or knife to make cuttings about 3-4 inches long. Remove the lower leaves, leaving just a few at the top.
- Apply rooting hormone (optional): Dip the cut end of each stem into rooting hormone powder. Tap off any excess.
- Plant the cuttings: Fill your pots or trays with your prepared potting mix. Make small holes with your finger or a pencil. Insert the cuttings about an inch deep into the mix. Gently firm the soil around them.
- Water gently: Water thoroughly with your fine-rose watering can until the soil is moist but not waterlogged.
- Create humidity: Cover the pots with a plastic bag or propagator lid. This traps moisture and keeps the cuttings from drying out. Make sure the leaves aren’t touching the plastic if possible. Place them in a bright spot, but out of direct sunlight.
Division
This is a more direct approach when you have an established plant.
- Dig up the plant: In late spring or early summer, carefully dig up your Saxifraga cortusifolia. Try to disturb the roots as little as possible.
- Separate the divisions: Gently shake off excess soil to expose the root system. You should see distinct clumps or rosettes. Use your hands or a clean knife to carefully split the plant into smaller sections. Each division should have a good amount of roots and at least one or two healthy shoots.
- Replant immediately: Pot up the divisions into new containers with fresh potting mix, or replant them directly into your garden beds. Water them in well.
The “Secret Sauce” (Pro Tips)
Here are a few things I’ve learned over the years that really make a difference:
- When rooting cuttings in water, don’t let the leaves touch the water. Any submerged foliage is prone to rot, which will spell the end for your cutting. Air space between the leaves and the water is crucial.
- For stem cuttings, bottom heat can be a game-changer. Placing your pots or trays on a heat mat can significantly speed up root development. It mimics the conditions deep in the soil that encourage roots to form. Don’t overdue it, though; a gentle warmth is all you need.
- When dividing, if a division looks a bit sad or has very few roots, don’t hesitate to temporarily pot it up in a smaller pot and keep it in a more sheltered, humid environment for a week or two before planting it out. It gives it a chance to recover.
Aftercare & Troubleshooting
Once your cuttings have developed roots (you can gently tug on them – if there’s resistance, you have roots!) or your divisions are established, treat them like a young plant.
- Continue to keep them consistently moist, but avoid waterlogging. As they grow stronger, you can gradually acclimate them to drier conditions, similar to your mature plants.
- Gradually remove the humidity cover over a few days to harden them off before moving them to their permanent spot.
- The most common issue you might encounter is rot. This is usually caused by overwatering or poor drainage. If you see mushy stems or roots, sadly, it’s often too late to save that particular cutting or division. Prevention is key: ensure excellent drainage and don’t water on a schedule, but rather when the plant needs it.
A Encouraging Closing
Propagating plants is a journey, and like any good journey, it’s about the experience. Be patient with your new little saxifrages. Some might take off immediately, while others might be a bit slower to start. Enjoy the process, celebrate each new root and leaf, and soon you’ll have a whole garden full of these delightful Saxifraga cortusifolia beauties to share! Happy gardening!
Resource: