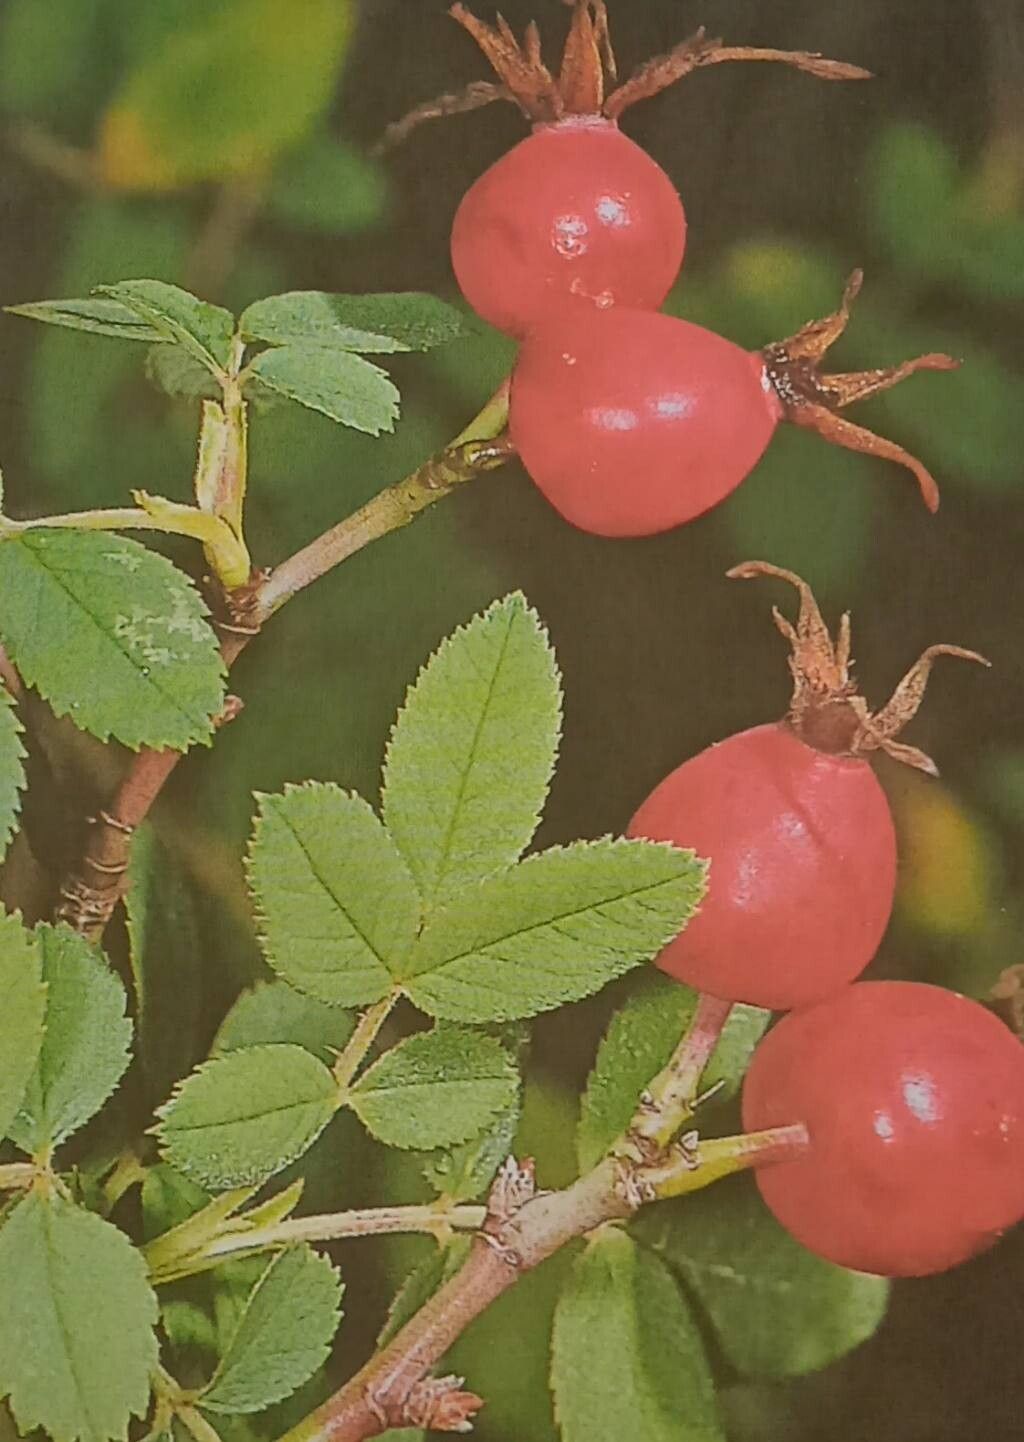
Hello fellow garden enthusiasts! I’m so glad you’re thinking about propagating Rosa caesia. It’s a beauty, isn’t it? With its lovely blooms and often hardy nature, there’s something truly special about coaxing new life from an existing plant. Watching a tiny cutting or a divided division unfurl its first true leaves feels like a little miracle.
Now, about beginners. Rosa caesia can be a bit of a mixed bag. Some varieties are quite forgiving, while others can be a little more particular. Don’t let that deter you, though! With a little patience and the right approach, you’ll be successful. Think of it as a fun challenge – a chance to learn and grow alongside your new roses.
The Best Time to Start
For the highest success rate with Rosa caesia, late spring or early summer is usually your sweet spot. This is when the plant is actively growing, meaning it has plenty of energy to dedicate to rooting. You’ll want to look for semi-hardwood cuttings. These are stems that were new growth in the spring and have started to firm up a bit, but aren’t fully woody yet. They snap cleanly with a bit of effort.
Supplies You’ll Need
Gathering your supplies beforehand makes the whole process much smoother. Here’s what I recommend having on hand:
- Sharp Pruning Shears or a Knife: For clean cuts, which are crucial.
- Rooting Hormone: While not always strictly necessary, it can give your cuttings a significant boost. Look for one formulated for woody plants.
- Well-Draining Potting Mix: A blend of cocopeat/peat moss, perlite, and a little coarse sand works wonderfully. Avoid heavy garden soil.
- Small Pots or Seed Trays with Drainage Holes: For your cuttings to call home.
- Plastic Bags or a Propagator Dome: To create a humid environment around your cuttings.
- Watering Can or Spray Bottle: For gentle watering.
- Small Labels and a Marker: To keep track of what you’ve planted and when!
Propagation Methods
Let’s get our hands dirty! Here are a couple of reliable ways to propagate Rosa caesia:
Stem Cuttings (The Most Common Approach)
- Take Your Cuttings: Select healthy, non-flowering shoots from your Rosa caesia plant. Using your clean shears, take cuttings that are about 6-8 inches long. Make a clean cut just below a leaf node. Remove any flowers or flower buds – they just steal energy the cutting needs for roots.
- Prepare the Cuttings: Gently remove the leaves from the bottom half of the cutting. If the remaining leaves are very large, you can cut them in half horizontally to reduce water loss.
- Apply Rooting Hormone: Dip the cut end of the stem into rooting hormone, tapping off any excess.
- Plant Your Cuttings: Fill your small pots or trays with your prepared potting mix. Make a pilot hole with a pencil or stick so you don’t rub off the rooting hormone. Insert the cuttings about 1-2 inches deep, ensuring at least two leaf nodes are buried.
- Water Gently: Water thoroughly until the soil is moist but not waterlogged.
- Create Humidity: Cover the pots with plastic bags (secured with a rubber band around the pot rim) or place them under a propagator dome. Make sure the leaves don’t touch the plastic if possible. Place them in a bright location, but out of direct, hot sun.
Water Propagation (Simpler, but sometimes less reliable for woody plants)
- Take Cuttings: Use the same method as above for taking cuttings.
- Prepare for Water: Strip off leaves from the bottom half.
- Place in Water: Place the cuttings in a clean glass jar or vase filled with fresh water. Ensure that no leaves are submerged below the water line, as this leads to rot.
- Change Water Regularly: Change the water every few days to keep it fresh and oxygenated. Keep the jar in a bright spot, away from direct sun. You should start to see tiny white nubs forming from the leaf nodes.
The “Secret Sauce” (Pro Tips)
Here are a couple of things I’ve learned over the years that really make a difference:
- Bottom Heat is Your Friend: If you can, using a heat mat under your seed trays or pots can significantly speed up root development. Roses, especially, love a bit of warmth from below when they’re trying to establish roots.
- Don’t Be Impatient with the Humidity Dome: That plastic bag or propagator dome is doing a vital job. Keep it on and sealed for as long as possible to maintain that humid microclimate. It’s the closest you can get to mimicking the conditions of a greenhouse.
Aftercare & Troubleshooting
Once you see new growth emerging from your cuttings, it’s a good sign that roots are forming! This is a critical stage.
- Gradually Acclimatize: Slowly start to remove the plastic cover for increasing periods over a week or so. This lets the new plant adjust to the drier air.
- Potting Up: Once the roots have filled the pot (you can usually tell by gently tipping the pot out or seeing roots peeking from the drainage holes), it’s time to pot them into a slightly larger container with a good quality potting mix.
- Watering: Continue to keep the soil consistently moist, but not soggy. Water when the top inch of soil feels dry.
Troubleshooting: The most common issue is rot. If your cuttings look black and mushy, or the leaves are yellowing and dropping off rapidly without any new growth, it’s usually a sign of too much moisture and not enough air circulation. Sometimes, it’s just bad luck, and that’s okay. Don’t be discouraged; just try again!
A Encouraging Closing
Propagating Rosa caesia is a journey, and like any good garden adventure, it’s about the process as much as the outcome. Be patient with your little cuttings. Celebrate every tiny sign of success. Before you know it, you’ll have new rose bushes to enjoy and perhaps even share. Happy gardening!
Resource:
https://identify.plantnet.org/k-world-flora/species/Rosa%20caesia%20Sm./data