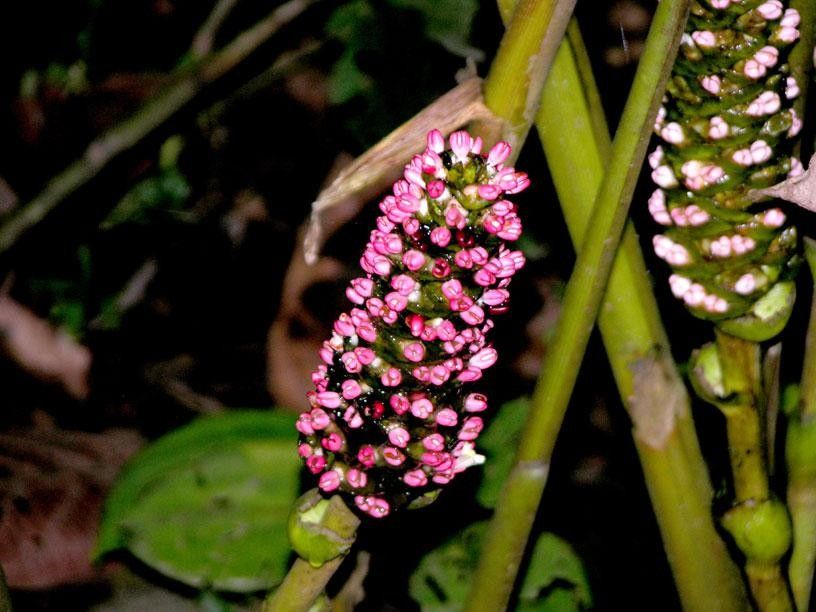
Hello, fellow plant lovers! I’m so excited to dive into a really special plant with you today: Renealmia costaricensis. If you’ve ever seen this beauty, you know exactly why it captures our attention. With its striking foliage and, if you’re lucky, those incredible, fragrant flowers, it’s a real showstopper in any tropical or subtropical garden. And the best part? You can easily bring this magic into your own space by propagating it!
Now, I know sometimes propagation can sound a bit daunting, but I promise you, with Renealmia costaricensis, it’s a wonderfully rewarding journey. This isn’t the trickiest plant to multiply; with a little care and attention, even beginners will find success. Let’s get started!
The Best Time to Start
When it comes to getting the best results, spring and early summer are your golden ticket. This is when the plant is in its most vigorous growth phase. New shoots are emerging, and the plant has plenty of energy to dedicate to developing roots. If you’re in a region with milder winters, you might even get away with starting in late summer, but err on the side of caution and aim for that warmer, active growth period.
Supplies You’ll Need
Before we get our hands dirty, let’s gather our tools:
- Sharp pruning shears or a clean knife: For making precise cuts.
- Well-draining potting mix: A mix of peat moss, perlite, and a bit of compost works wonders. You can also use a specialized succulent or cactus mix for extra drainage.
- Small pots or trays: With drainage holes, of course!
- Rooting hormone (optional but recommended): A powder or gel can significantly speed up root formation.
- Plastic bag or propagator: To create a humid environment.
- Spray bottle: For misting.
- Water: Preferably filtered or rainwater.
Propagation Methods
For Renealmia costaricensis, division is hands-down the easiest and most successful method. It’s like giving your plant a little haircut and creating new babies at the same time!
Division
- Gently remove the plant from its pot. If it’s in the ground, carefully dig around the root ball.
- Inspect the root system. You’ll see new shoots emerging from the base, often connected by rhizomes (swollen underground stems).
- Using your clean shears or knife, carefully separate a division. Aim for a section that has at least one or two healthy shoots and a good clump of roots attached.
- Trim away any damaged or dead roots or leaves.
- Pot each division into its own small pot filled with your well-draining potting mix. Make sure the base of the plant is level with the soil surface.
- Water lightly. You don’t want to drown it, just settle the soil around the roots.
- Place the pot in a bright spot with indirect light. Avoid direct sun, which can scorch the young plant.
- Maintain consistent moisture. Keep the soil lightly damp, but never soggy.
The “Secret Sauce” (Pro Tips)
Here are a couple of little tricks I’ve learned over the years that make a big difference:
- Don’t rush the separation: When you’re dividing, give the rhizomes a good look. Sometimes they are quite tough, and you might need to give a gentle tug or a slightly firmer cut. The key is to ensure each section has enough root material so it doesn’t stress too much.
- Embrace humidity: For divisions, especially if they’re a bit bare-root initially, covering the pot with a clear plastic bag or popping it into a propagator is fantastic. It keeps that humidity high, which is exactly what these tropical beauties crave to help them establish new roots without drying out. Just remember to vent it every so often to prevent fungal issues.
Aftercare & Troubleshooting
Once your division is potted and settled, give it some patience. You should start to see new growth appearing within a few weeks. Keep the soil consistently lightly moist. Mist the foliage occasionally if your home is particularly dry.
The main thing to watch out for is rot. If you notice the leaves turning yellow and mushy, or the base of the plant looks like it’s dissolving, you’re likely overwatering. Let the soil dry out slightly between waterings. If you see actual fungal spots on the leaves, lightly mist with a dilute neem oil solution.
A Encouraging Closing
Propagating Renealmia costaricensis is such a rewarding way to multiply your enjoyment of this stunning plant. It’s a process that connects you more deeply with nature’s magic. Be patient, trust your instincts, and most importantly, enjoy the journey of coaxing new life from your existing beauties. Happy gardening!
Resource:
https://identify.plantnet.org/k-world-flora/species/Renealmia%20costaricensis%20Standl./data