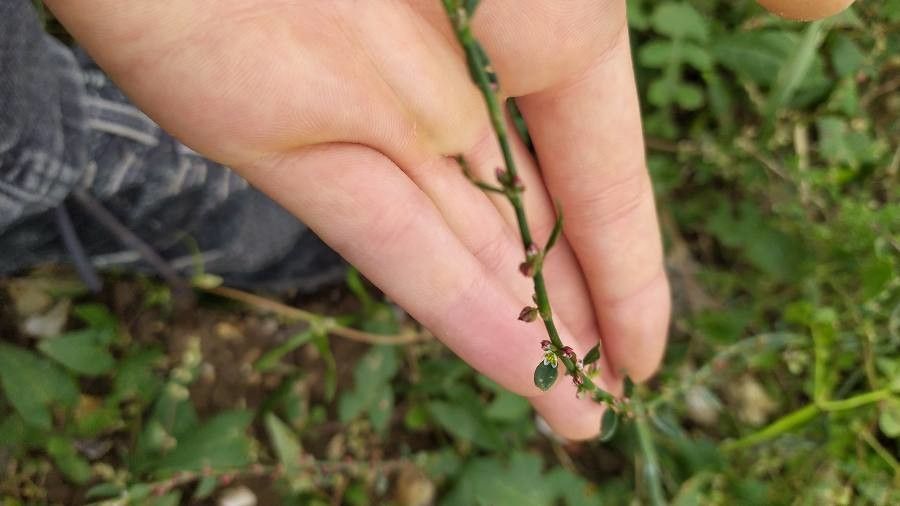
Oh, hello there! Come on in, grab a mug. I’m so glad you’re interested in Polygonum douglasii. It’s a truly charming plant, isn’t it? With its delicate, often arching stems and lovely little flowers, it brings a whisper of wild beauty to any garden. And the best part? It’s quite satisfying to multiply these beauties for yourself. Now, for beginners, I’d say propagating Polygonum douglasii falls somewhere in the middle – not impossibly difficult, but it does appreciate a bit of care and attention. You can absolutely do this!
The Best Time to Start
For the highest success rate, I find late spring to early summer is your sweet spot. This is when the plant is actively growing and has plenty of energy to put into developing new roots. Look for stems that are firm and have new growth, but aren’t yet flowering. That’s your prime material!
Supplies You’ll Need
Here’s what you’ll want to have on hand before you get started:
- Sharp, clean pruning shears or a craft knife: For making clean cuts.
- Rooting hormone (optional but helpful): Powder or gel works just fine.
- Well-draining potting mix: A good mix for cuttings usually includes perlite, vermiculite, and peat moss or coco coir. You can also buy specific seed starting or cutting mixes.
- Small pots or seed trays: Clean ones, please!
- Plastic bags or a propagation dome: To help maintain humidity.
- Water: Of course!
Propagation Methods
Let’s get our hands dirty! Here are a couple of ways to multiply your Polygonum douglasii:
Stem Cuttings
This is my go-to method for this plant, and it’s very effective.
- Select your material: Find a healthy, non-flowering stem.
- Make the cut: Using your sharp shears, cut a piece about 4-6 inches long. Make the cut just below a leaf node (where a leaf attaches to the stem). This is where the magic happens for root development.
- Prepare the cutting: Gently remove the lower leaves, leaving just a couple at the top. This prevents them from rotting when they’re in the soil or water.
- Apply rooting hormone (optional): Dip the cut end of the stem into your rooting hormone, tapping off any excess.
- Plant your cuttings: Make small holes in your potting mix with a pencil or your finger. Insert the cuttings, ensuring the nodes where you removed the leaves are buried under the soil. Firm the soil gently around them.
- Create a humid environment: Water the soil lightly and then cover the pots with a plastic bag or propagation dome. Make sure the leaves don’t touch the sides of the bag if possible. Pop them in a bright spot, but out of direct sunlight.
Water Propagation
Sometimes, for quick rooting and to check progress, I’ll pop a few cuttings in water.
- Prepare your cuttings: Follow steps 1-3 from the stem cutting method.
- Place in water: Put the prepared cuttings in a clean jar or vase filled with fresh water. Make sure no leaves are submerged in the water.
- Provide light: Place the jar in a bright location, away from direct sun.
- Change the water: Change the water every few days to keep it fresh and prevent bacterial growth. You’ll start to see little white root nubs appear in a few weeks.
The “Secret Sauce” (Pro Tips)
Okay, here are a couple of little secrets I’ve picked up over the years that can really boost your success:
- Bottom Heat is Your Friend: If you have them, placing your pots on a gentle heat mat can significantly speed up root formation, especially if your kitchen or greenhouse is a bit on the cooler side. It mimics the warmth of a summer soil.
- Don’t Rush the Transplant: I know it’s tempting to repot as soon as you see a tiny root, but wait until you have a decent network of roots, perhaps 1-2 inches long for water cuttings, or when you gentle tug and feel a bit of resistance for soil cuttings. Patience here pays off in stronger plants.
- A Little Air Circulation Helps: While we want to maintain humidity, occasionally lift the plastic bag or open the dome for a few minutes each day. This helps to prevent fungal issues.
Aftercare & Troubleshooting
Once you see good root development, it’s time to transition your new Polygonum douglasii plants.
- For soil cuttings: Gradually acclimate them by removing the plastic bag for longer periods each day over a week. Then, you can transplant them into their own small pots with fresh potting mix. Keep them well-watered but not soggy.
- For water cuttings: Once they have a healthy root system, carefully pot them up into a well-draining soil mix. Water them in well.
Now, what if things go wrong? The most common culprit is rot. If your cuttings look mushy, discolored, or have a foul smell, it’s usually a sign of too much moisture and not enough air. Don’t be discouraged if a few don’t make it. You can always try again! Sometimes, a cutting just won’t take. It’s part of the gardening adventure.
A Encouraging Closing
Propagating plants is all about patience and observation. Each new cutting is a little experiment, and the joy of seeing roots develop and a new plant emerge is truly a reward in itself. So, go ahead, grab your shears, and give it a go. Enjoy the process, learn from each attempt, and before you know it, you’ll have a whole collection of Polygonum douglasii to share and enjoy. Happy gardening!
Resource:
https://identify.plantnet.org/k-world-flora/species/Polygonum%20douglasii%20Greene/data