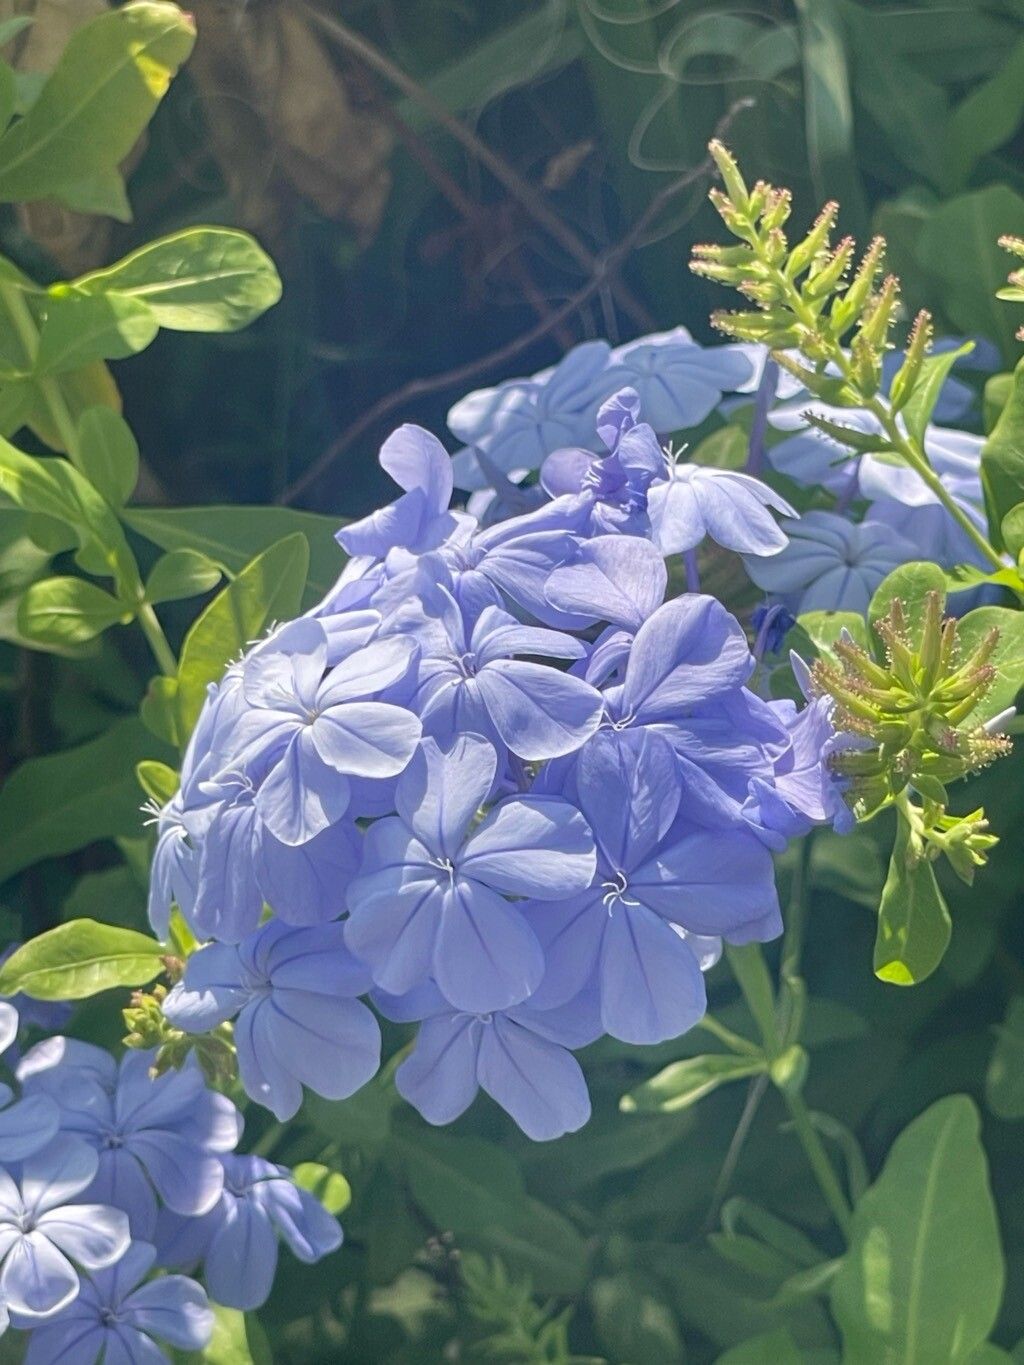
Hello, fellow garden enthusiasts! Today, we’re diving into a plant that brings such a delightful splash of sky-blue to our landscapes: Plumbago auriculata, often just called Cape Plumbago or Leadwort. If you’re looking to get more of this lovely shrub without breaking the bank, or if you simply enjoy the magic of coaxing new life from existing plants, you’ve come to the right place. Propagating Plumbago is a truly rewarding endeavor, and I’m happy to tell you, it’s quite beginner-friendly!
The Best Time to Start
For the best chance of success with Plumbago, I always recommend starting in late spring or early summer. This is when the plant is actively growing, and the new stems are nice and pliable. You’ll find that cuttings taken during this energetic growth phase root much more readily.
Supplies You’ll Need
Before we get our hands dirty, let’s gather our tools:
- Sharp Pruning Shears or a Knife: Cleanliness is key!
- Rooting Hormone (Optional but Recommended): A little boost never hurts.
- Well-Draining Potting Mix: A 50/50 blend of perlite and peat moss or coir works wonderfully. You can also use a standard seed-starting mix.
- Small Pots or Trays: Clean pots that are about 4-6 inches deep are perfect.
- Watering Can with a Fine Rose: Gentle watering prevents disturbing your cuttings.
- Plastic Bag or Propagator Lid: To create a humid environment.
- Labels and a Pen: For keeping track of your precious new plants.
Propagation Methods
I find stem cuttings to be the easiest and most reliable method for Plumbago. Here’s how I do it:
- Select Your Cuttings: Look for healthy, non-flowering stems that are about pencil-thick and roughly 4-6 inches long. You want stems that are firm but still flexible, not woody or just barely sprouted.
- Take the Cuttings: Using your clean shears or knife, take cuttings just below a leaf node. A leaf node is a slight swelling on the stem where leaves emerge. This is where the magic of root formation happens. Prepare more cuttings than you think you’ll need; not all of them will make it, and that’s perfectly normal.
- Prepare the Cuttings: Gently remove the lower leaves from each cutting, leaving just 2-3 leaves at the top. This reduces water loss. If your cuttings are very large, you can even cut those top leaves in half horizontally – it’s an old trick that helps them breathe without losing too much moisture.
- Apply Rooting Hormone (Optional): If you’re using rooting hormone, dip the cut end of each stem into the powder, tapping off any excess. This helps stimulate root development.
- Plant Your Cuttings: Fill your pots with the potting mix. Make a small hole in the center of each pot with your finger or a pencil. Then, insert the cutting into the hole, ensuring the nodes where you removed leaves are below the soil surface. Gently firm the soil around the stem.
- Water Gently: Water thoroughly but gently until water runs out of the drainage holes.
The “Secret Sauce” (Pro Tips)
Here are a couple of things I’ve learned over the years that can really give your Plumbago cuttings an edge:
- Bottom Heat is Your Friend: If you have a heated propagator or can place your pots on a gentle heat mat, do it! Consistent warmth from below encourages roots to form much faster. It mimics the conditions of springtime soil.
- Don’t Let Them Drown in Humidity: While a humid environment is crucial, make sure you provide some ventilation. If using a plastic bag, you can poke a few small holes in it, or lift the bag daily for a few minutes to allow fresh air to circulate. This helps prevent fungal issues.
Aftercare & Troubleshooting
Once your cuttings are planted and settled, it’s time for their cozy, humid spa treatment. Place the pots in a bright spot, but out of direct, scorching sunlight. Keep the soil consistently moist but not waterlogged. You can also mist the leaves lightly every few days.
You’ll know your cuttings have taken root when you see new leaf growth or gentle resistance when you lightly tug on a stem. This usually takes anywhere from 4 to 8 weeks. Once they are well-rooted and have a good amount of new growth, you can transplant them into their own individual pots or into the garden.
The most common sign of failure is wilting and browning, which can be due to either drying out or rot. If you see rot, it’s usually a sign of overwatering coupled with poor drainage or too much closed-in humidity. Don’t be discouraged if a few don’t make it; it happens to us all! Just learn from it and try again.
A Encouraging Closing
There you have it – a simple path to more beautiful blue blooms! Remember, gardening is a journey of patience and observation. Be kind to yourself and your new baby Plumbago plants. Enjoy the process, and soon you’ll have a whole collection of these cheerful flowers to share! Happy propagating!
Resource:
https://identify.plantnet.org/k-world-flora/species/Plumbago%20auriculata%20Lam./data